Laser cut Arduino enclosure
thingiverse
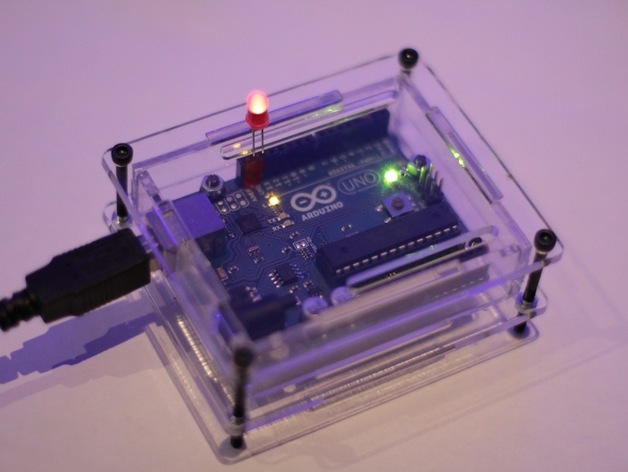
An enclosure for the Arduino that can be laser cut from sheet acrylic. Provides access to the USB port, DC jack, reset button, and pin headers. The case was designed using measurements from an Arduino Uno board. See also: 'Arduino and Ethernet shield enclosure':http://www.thingiverse.com/thing:5044 Made at the London Hack Space:http://london.hackspace.org.uk/ Instructions 1) Adjust the design to account for your laser cutter kerf: In this design the slots have been shrunk by 0.1mm to account for my laser cutter's kerf and provide a tight fit. However, this will vary depending on your equipment and true thickness of the material. 2) For a good fit you may want to cut a single slot and peg to verify the settings and adjust the design of the slot size accordingly in the DXF or SketchUp file. 3) Cut the design from 3mm acrylic. Slot the pieces together - excluding the lid! 4) Slide in your Arduino board, USB port first. Secure the board to the base plate with fixings of your choosing. I used some M3 bolts with insulating washers. But you could use PCB stand-offs if you wish - consider the alignment of the boards with the port cut-outs at this point. 5) Attach the top plate and secure with four 30mm M3 bolts. If you are likely to be removing the lid frequently then an elastic band maybe more useful than bolts. Be careful not to over tighten as this may shatter the acrylic.
With this file you will be able to print Laser cut Arduino enclosure with your 3D printer. Click on the button and save the file on your computer to work, edit or customize your design. You can also find more 3D designs for printers on Laser cut Arduino enclosure.