Laser Cut Maker Puzzle
thingiverse
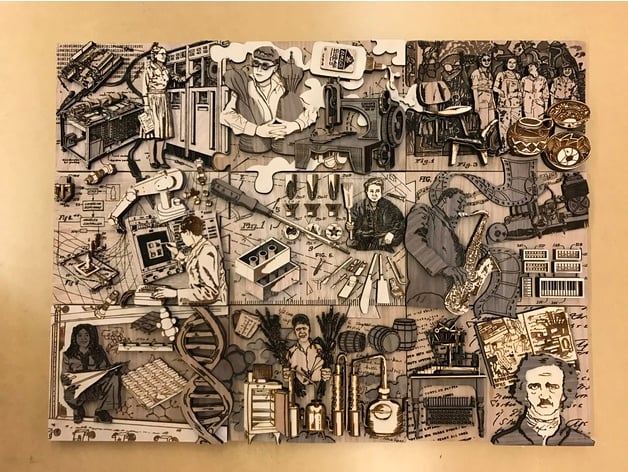
To create a puzzle from these answers, we can break it down into sections based on the categories given (COMPUTERS/ELECTRONICS, CRAFTING/TEXTILES, etc.) and assign each piece of information to its respective section. This will help in organizing the pieces and making them easier to assemble. Here's how one might start arranging these pieces: 1. **COMPUTERS / ELECTRONICS** - Piece 1: Admiral Grace Hopper - Piece 2: Microcontrollers - Piece 3: ABC Computer 2. **CRAFTING / TEXTILES** - Piece 1: Elmer's Glue - Piece 2: Sewing Machine - Piece 3: Edith Head 3. **ART / DESIGN** - Piece 1: Las Mujeres Muralistas - Piece 2: San Ildefonso Pueblo - Piece 3: Eames chair 4. **ENGINEERING / MANUFACTURING** - Piece 1: Robot Draftsman - Piece 2: Fused deposition modeling (FDM) - Piece 3: PUMA arm 5. **BUILDING / FABRICATION** - Piece 1: Acrylonitrile butadiene styrene (ABS) - Piece 2: Phillips screwdriver - Piece 3: George Nakashima 6. **MUSIC / FILM / THEATER** - Piece 1: John Coltrane - Piece 2: Midi controller - Piece 3: Phantoscope 7. **SCIENCE / BIO-TECH** - Piece 1: Solar cell - Piece 2: Double helix - Piece 3: Dr. Christine Darden 8. **FOOD / DRINK** - Piece 1: Norman Borlaug - Piece 2: Refrigerators - Piece 3: Bourbon whiskey 9. **LITERATURE / STORYTELLING** - Piece 1: QWERTY keyboards - Piece 2: The Pit and the Pendulum - Piece 3: Riot Grrrl
With this file you will be able to print Laser Cut Maker Puzzle with your 3D printer. Click on the button and save the file on your computer to work, edit or customize your design. You can also find more 3D designs for printers on Laser Cut Maker Puzzle.