Laser Reflected Z-Axis Zero-Point Detection Tool
thingiverse
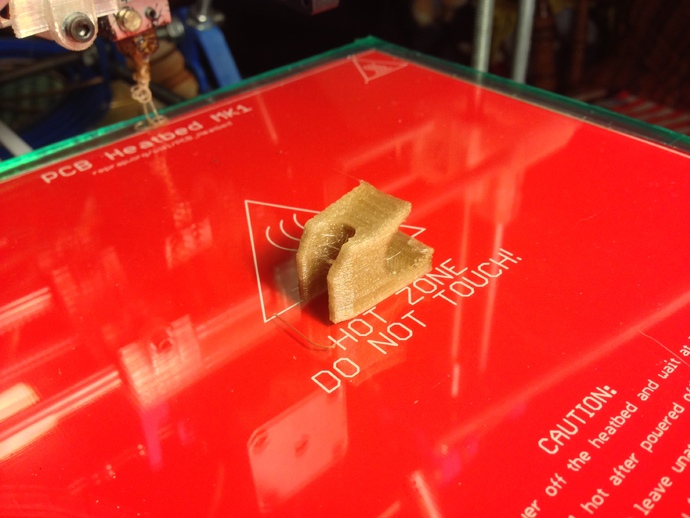
This small clamp attaches a low-cost laser pointer from Wal-Mart ($2.47) to the upper-right corner of your open-frame printer's frame. With the rubber laser button in its cradle, rotate the laser until it presses against the button. Before printing, ensure the printer bed and printhead are hot; hit home, then align the laser beam to hit the bed, causing a ceiling reflection. Adjust the Z-Axis endstop when the slightest movement causes no change in the reflection. Finally, test your first layer's quality.
With this file you will be able to print Laser Reflected Z-Axis Zero-Point Detection Tool with your 3D printer. Click on the button and save the file on your computer to work, edit or customize your design. You can also find more 3D designs for printers on Laser Reflected Z-Axis Zero-Point Detection Tool.