Lattice Rubik's-Style Cube Puzzle (MMU & Non-MMU)
prusaprinters
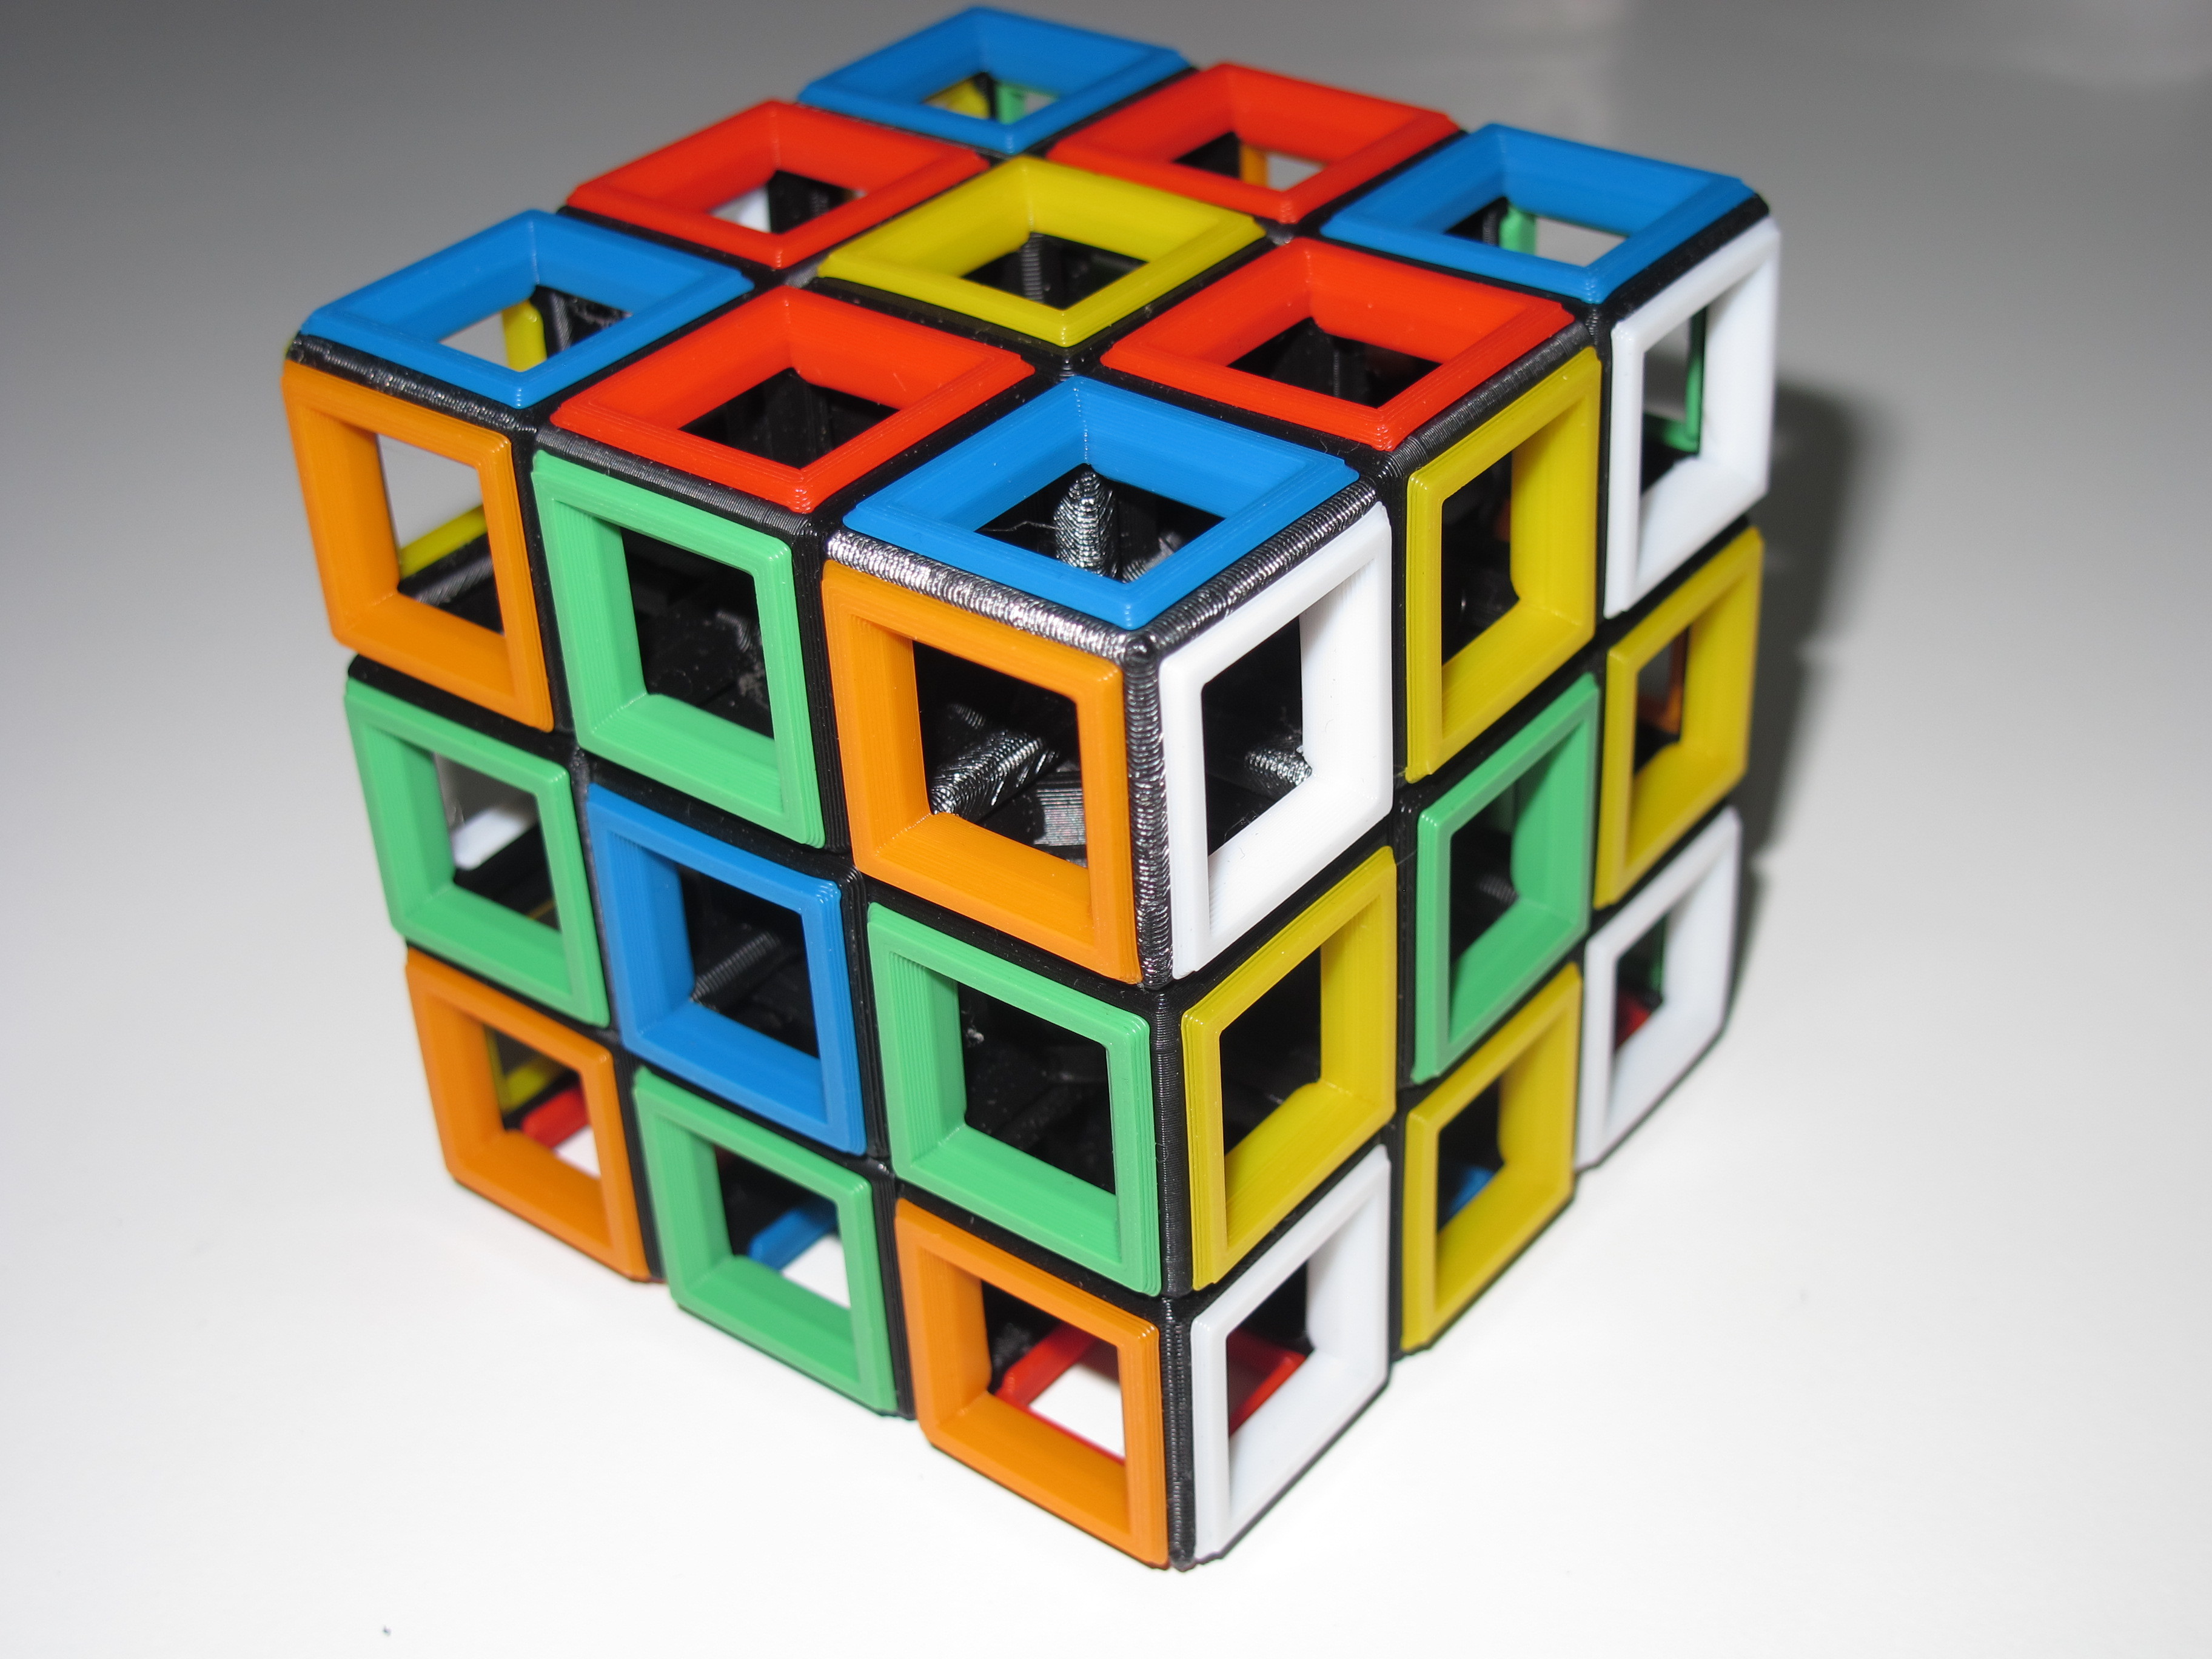
<p>See the inside of a Rubik's style puzzle while you solve it! If you're stuck inside anyway, why not learn how to solve (and build!) one with all your spare time?</p> <h3>Print instructions</h3><p><strong>Important!</strong><br/> Because this is a sliding puzzle, please don't expect to just assemble it and have it work. You will most likely have to do some sanding to get it to work smoothly.</p> <p>It is intentionally designed to be a bit tight due to the nature of 3D prints and how layer lines will wear over time. I'd rather it be rougher at first and smooth later than perfect at first and too loose after it is worn in.</p> <p>Sanding speeds this process by smoothing the ridges. So if your cube feels very rough after assembly, you can either sand it some more, or just give it time and use to get it to become smoother. When sanding, pay particular attention to faces that rested on supports and the sliding contact faces of the inner "sphere".</p> <p>The puzzle is also slightly larger than a standard cube so that it can print successfully on a wider range of printers. If your printer is capable, you could probably scale it down to 66% and use M2 screws instead of M3.</p> <h3>Required parts:</h3> <ul> <li>6x M3x20 screws</li> <li>Sandpaper or small files</li> <li>Plastic-safe lubricant (optional)</li> </ul> <h3>Print:</h3> **General Notes:** <ul> <li>You may wish to print the "core" part on these plates by itself as it has a small footprint and might detach, ruining the rest of the plate.</li> <li> The "center" part is designed to be printed without any support when sliced at 0.2mm layers. There will be a single-layer bridge blocking the screw hole when done. Just cut it out with a sharp hobby knife or a drill bit.</li> <li> The corner pieces _can_ , in theory, be printed without support, by placing them with the small flat area (on the triangular protrusion) face down. However, this is not recommended unless you have very good bed adhesion (and use a brim!). If the part wobbles then you will have difficulty getting the end result to move smoothly.</li> <li>The snap-in inserts are compatible with the MMU printed parts. So you can go for a two-tone effect or change colours later if you want.</li> <li> The core is deliberately very tight on the screws. This is so that turning the faces does not loosen the screws! Do _not_ tap or thread the core unless you are prepared to use superglue or loc-tite to keep the screws from coming out.</li> </ul> **Non-MMU:** Print all parts in Cube_Core.3mf. Print 6 sets of "Insert" plates in your 6 desired colours. **MMU:** Use the Cube_MM.3mf plate. You have some choices to make, because the MMU can only handle 5 filaments at once. You can either: <ol> <li>Opt to print one face with the same colour as the cube internals</li> <li>Print the internals in a different colour than the faces.</li> </ol> _Note: The parts are **not** placed optimally in the MMU plate. They are placed for easier visual reference as to where that part fits in the cube! Look at the non-MMU plate for reference in regards to supports - but at minimum, flip the center pieces (with screw holes) square-face down and select "support from build plate only"_ For option 1, print the plate once as is, after setting your desired filament colours. Observe the previous note about printing the core separately. Your purge block will be rather large, so if you have a suitable item you can use as a wipe model, use it! Then, remove the 8 outer-most parts and core, leaving just the inner 9 components. You will need to reassign colours, i.e. red becomes the sixth colour, and two of the opposite sides' colours will swap places (e.g. blue and green). Print the remaining bottom pieces. For option 2: Remove the rearmost six parts (the ones with white faces) on the exterior. I suggest drawing or sketching out the colour combinations and parts you will need for this as it is difficult to describe with words. Then tick them off as you print, swap one filament to a new colour, and print the next batch. <h3>Assembly:</h3><ol> <li>Sand the appropriate faces as in the general notes. </li> <li>Cut out the bridging covering the screw hole in the center pieces. </li> <li>Screw five of these six pieces to the core. Do not tighten all the way! They should still spin freely, but not have very much play parallel to the screw. </li> <li>Start slotting in the parts. (You can optionally add some plastic-safe lubricant to the faces of the inner sphere to let your cube slide better.) bottom edge pieces first, bottom corners, then center edges, and finally the top layer. </li> <li>Install the top center piece. </li> <li>If you're printing the non-MMU variant, snap in your coloured inserts now. You might need to trim the center ones a little to sit flush, depending on your printer's tolerances, and owing to the supports it has. They should be a tight snap fit by themselves, but you can glue them if they start falling out or you accidentally break the lip during assembly.</li> </ol><p><h3>Troubleshooting:</h3></p> <p><ol></ol></p> <li>If your cube is too tight, try backing off the screws a small amount.</li> <li> If it feels rough, either sand some more or break it in as described previously. </li> <li>If it is too loose or pieces pop out when you try to turn it, tighten the screws. </li> <li>If it catches when turning, inspect (and sand down) the faces that were sliding - look for ooze, sharp corners or wipe marks you might have missed</li><p>Enjoy your new puzzle cube!</p>
With this file you will be able to print Lattice Rubik's-Style Cube Puzzle (MMU & Non-MMU) with your 3D printer. Click on the button and save the file on your computer to work, edit or customize your design. You can also find more 3D designs for printers on Lattice Rubik's-Style Cube Puzzle (MMU & Non-MMU).