Launchpad case
prusaprinters
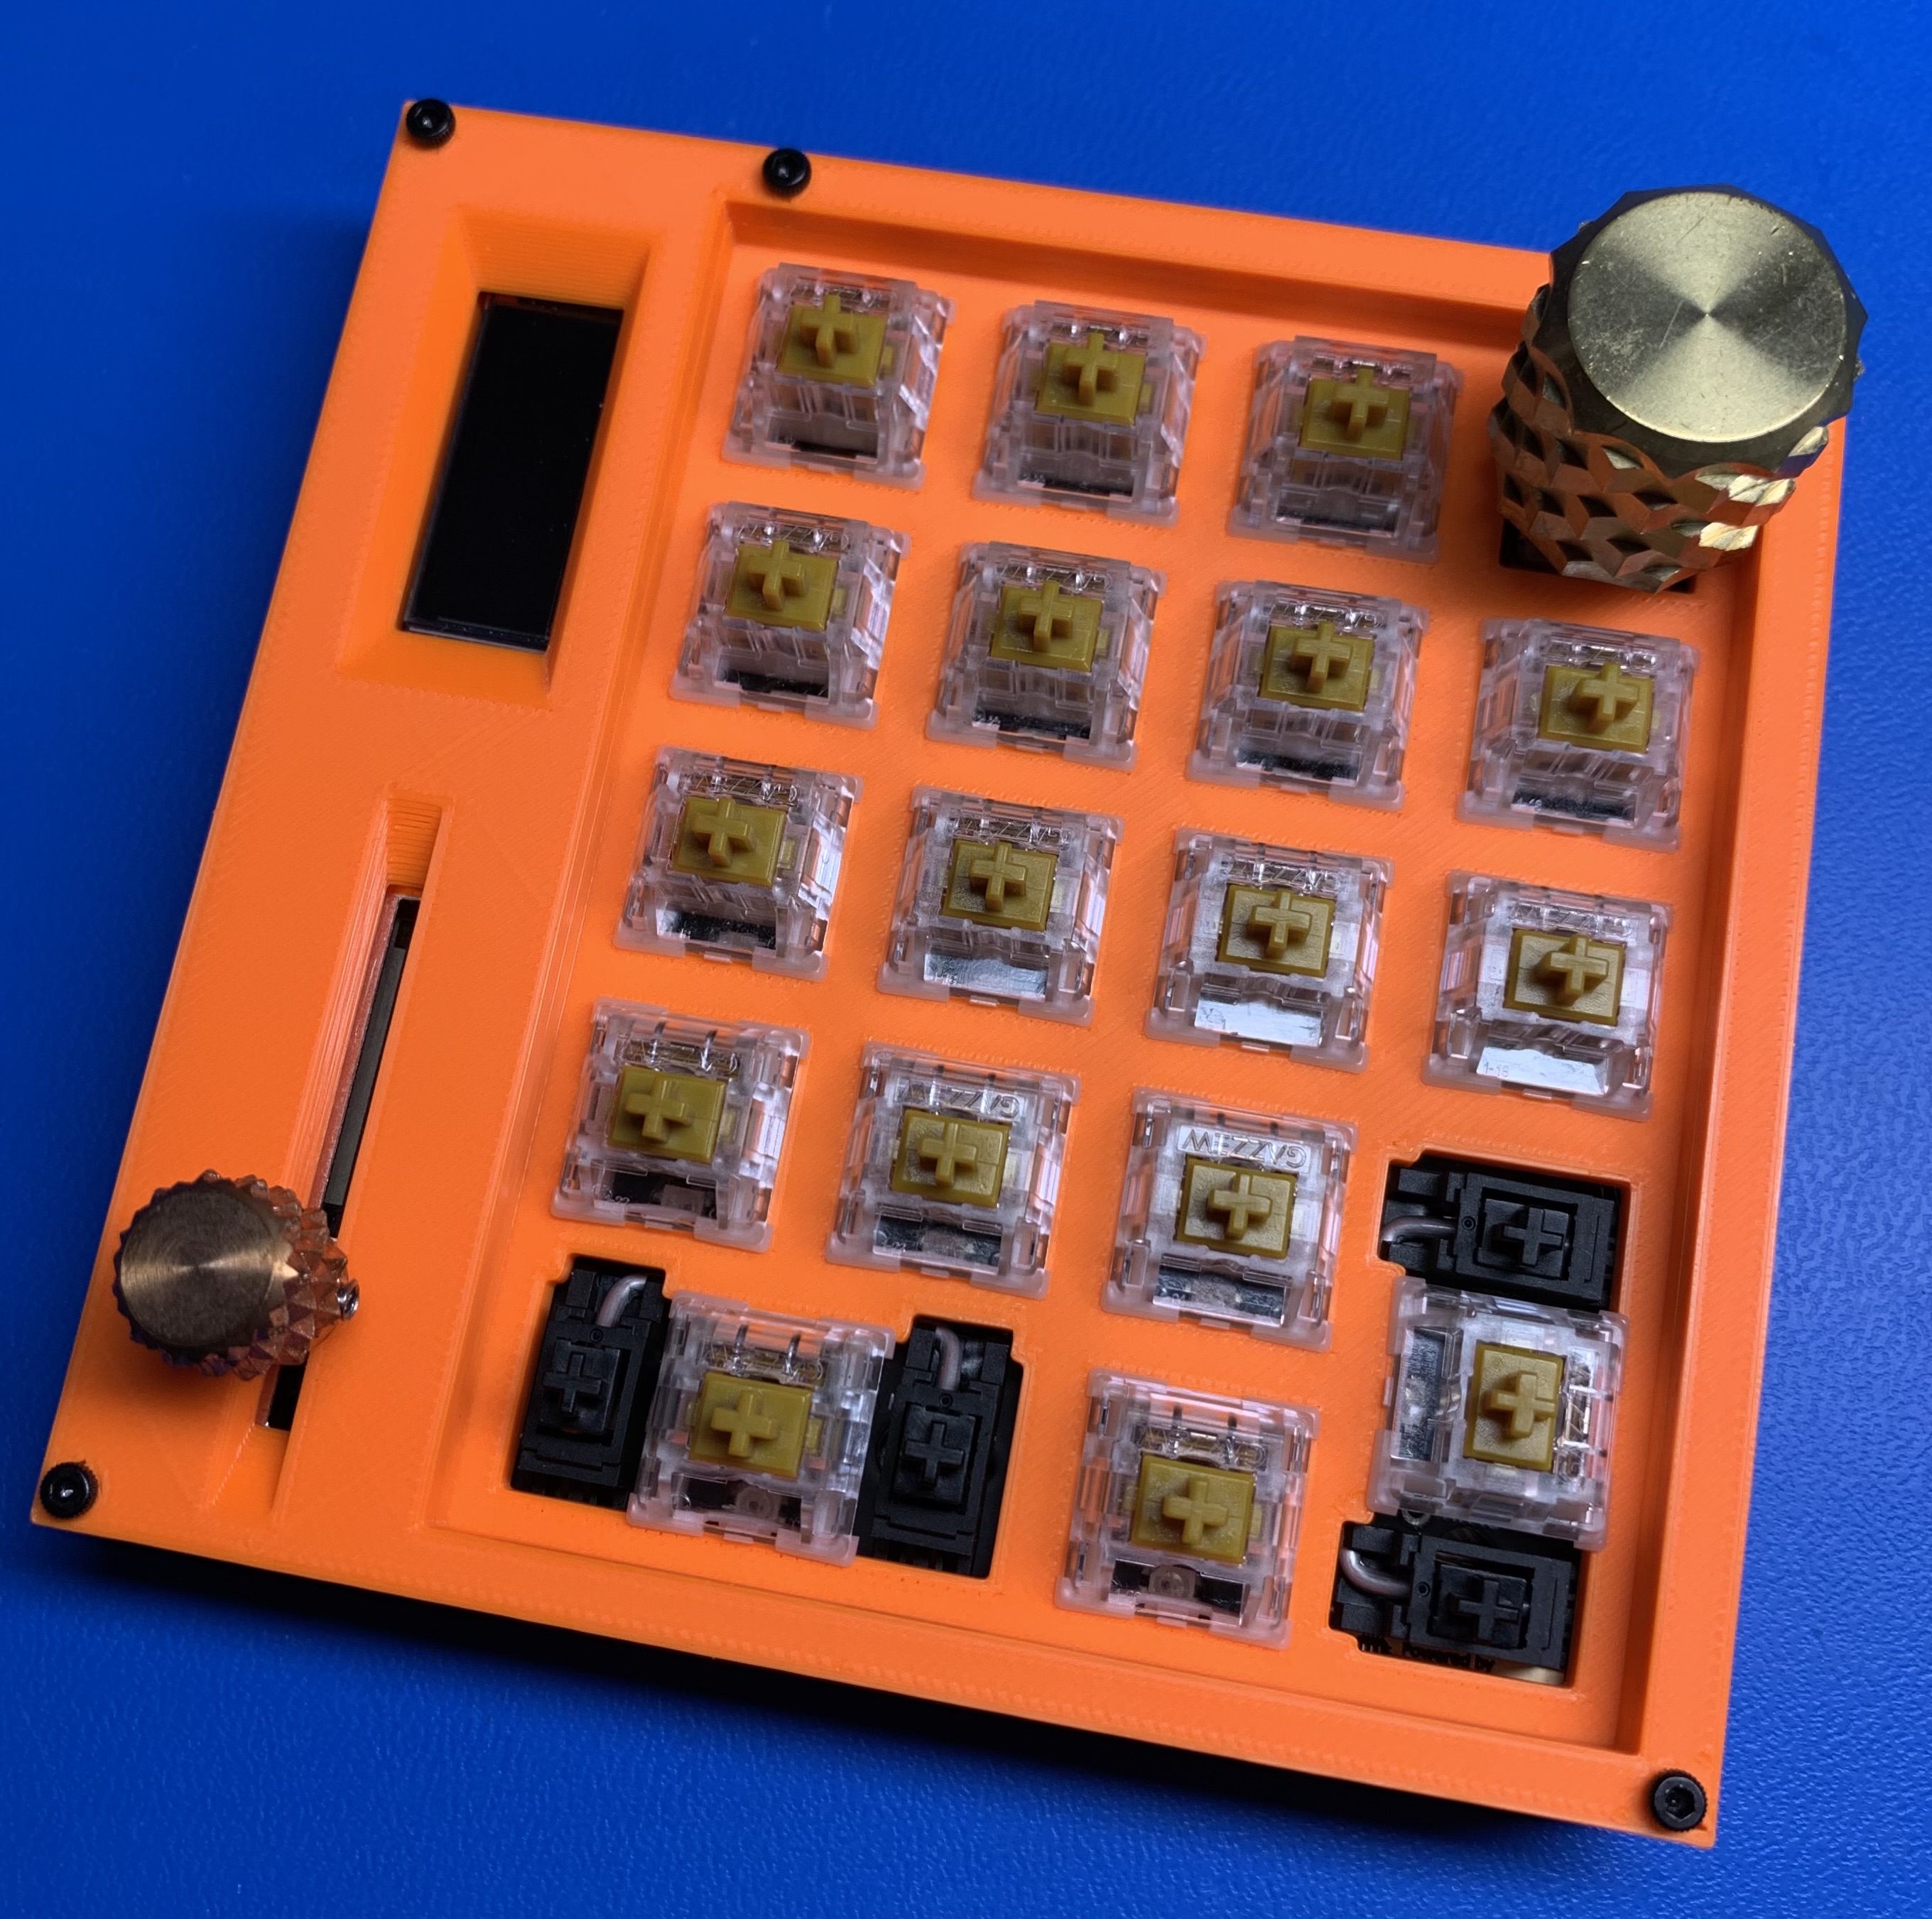
<p>I wanted an alternative case for my Launchpad. I was using an acrylic case that came with the macropad from 1up but I had some issues with it. The most prominent issue was the plate design for the switches. The cutouts are a bit too big and don't allow for good alignment sometimes resulting in bent pins . Also switches did not lock into position well and would often pull up when exchanging keycaps. </p><p>In addition, although the macropad is designed for either 18 switches or 20 switches the plate is really only designed as hot-swappable for the 18 switch option. The 20 switch option would normally require soldering the switches. Adjusting the 20 switch option for hot-swap would need mill max sockets installed into the respective positions, which is fine , however the plate was not designed to handle 20 switch hot-swap at all. The keys in these positions would just loosely sit on the PCB.</p><p>I'm including 2 primary choices:</p><ol><li>Full case</li><li>Replacement switch plates. If you would like to keep using the acrylic case and just want a new plate, then just print either “ Launchpad - case mid 2 - platemount 20 key ” or “ Launchpad - case mid 2 - platemount 18 key” and use with your acrylic plates.</li></ol><p>There are two plate options:</p><ol><li>18 key plate</li><li>20 key plate . A side benefit of this 20 key plate is that you can now use mill max sockets with the macropad and the switches will be held firmly in place.</li></ol><p>I've also provided 2 bottom options for the <strong>Full case</strong>: </p><ol><li>Solid bottom ( Launchpad - case bottom blank )<ol><li>NOTE: If you want to see bottom RGBs with the solid bottom I suggest using something like Prusament PVB clear. I have also used the pause feature to switch between PVB and PLA to produce a 50/50 ( solid bottom with clear top ) to good effect.</li></ol></li><li>Bottom with led cutouts.</li></ol><p>Top to bottom assembly order for <strong>Full case</strong>:</p><ol><li>Top</li><li>Consolidated mids 1 & 2 ( choose between 18 and 20 key )</li><li>Consolidated mids 3 & 4</li><li>Bottom</li></ol><p> </p><p>NOTE: The pictures attached of the Bottom panel also include a special provision ( a hole to access a custom reset switch ) for my assembly that are not part of these files.</p><p> </p><h3><strong>Print Settings</strong></h3><p><strong>Printer Brand:</strong></p><p>Prusa</p><p> </p><p><strong>Printer:</strong></p><p>MK3S+</p><p> </p><p><strong>Rafts:</strong></p><p>No</p><p> </p><p><strong>Supports:</strong></p><p>No</p><p> </p><p><strong>Resolution:</strong></p><p>0.20 mm</p><p> </p><p><strong>Infill:</strong></p><p>15%</p><p><br/><strong>Filament:</strong><br/>PLA, PVB<br/> </p><p><strong>Notes:</strong></p>
With this file you will be able to print Launchpad case with your 3D printer. Click on the button and save the file on your computer to work, edit or customize your design. You can also find more 3D designs for printers on Launchpad case.