LeapMotion Mount - NVIS ST-50
thingiverse
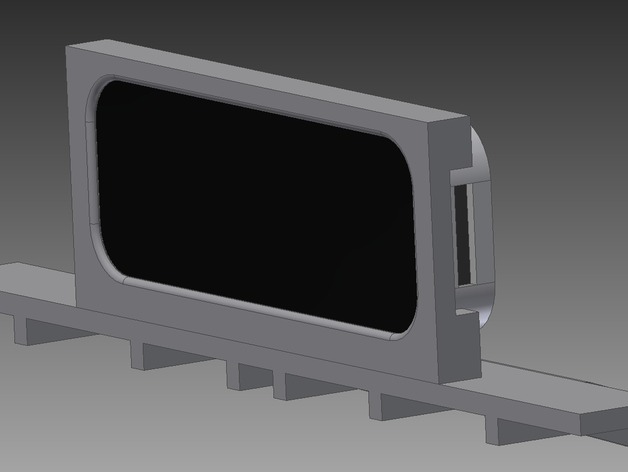
These parts make an assembly for rigidly mounting the LeapMotion controller to the front of the NVIS ST-50 Optical See-Through Head-Mounted Display. The ST-50_Leap_Mount part directly screws to the front of the NVIS display using the existing screw holes. The LP_Holder snaps around the LeapMotion controller and screws down onto the top edge of the ST-50_Leap_Mount. This assembly provides a nondestructive, and quite robust, platform for attaching other accessories to the front of the display as well. The three existing screw holes on the front of the ST-50 are easily accessible, and using slightly longer machine screws (#4-40 x 3/4in) the whole assembly is easily fastened. Print Settings Rafts: Doesn't Matter Supports: Doesn't Matter Resolution: 200 microns Notes: I printed this assembly using a Cube3 set at 200 microns, hollow fill, and line pattern (default Draft settings). The parts are quite rigid and do not require a high resolution or large amount of fill. Post-Printing Finish Parts - Smoothing and Fasteners After printing, I recommend going over both parts with some sand paper (any grit) to smooth any bumps or excess material from around the ridges of the parts. This will also make it easier for the LeapMotion to snap into place. The LP_Holder part has two polygonal cavities in the base for inserting M2 spacers. I recommend using the following spacers: http://www.ebay.com/itm/M2-Black-Nylon-Hex-Female-Female-Standoff-Spacer-6mm-8mm-10mm-12mm-Hexagonal-/201322955283?var=&hash=item2edfc88213 Simply press them into the cavities and they will remain secure. The ST-50_Leap_Mount part itself, only has the center hole for fastening to the front of the ST-50 display. You will need to remove the 3 screws from the front of the ST-50 and measure the location of the left and right screw holes. Using a Dremel, or other drill, make the remaining two holes for the left and right mount screws. The 2 screws required for attaching the plate to the ST-50 are #4-40 3/4in and can be purchased at Lowe's, Home Depot, or other hardware stores. LP_Holder with added M2 spacers pressed into place The 3 mounting holes for the ST-50_Leap_Mount part. #4-40 3/4in machine screws are recommended ST-50_Leap_Mount with lower left and lower right holes drilled (holes at the top are for mounting accessories) Assembly - Attachment to the ST-50 Remove the 3 existing screws from the front of the ST-50 (save them in case you need to remove the mount). After having drilled the left and right hole in the ST-50_Leap_Mount part (as specified in the Finish Parts section), attach the ST-50_Leap_Mount plate to the ST-50 using 3 #4-40 3/4in machine screws. Three #4-40 3/4in screws holding the plate to the ST-50 Front view of fastened plate Assembly - Attaching the LeapMotion Snap the LeapMotion controller (front first) into the LP_Holder part. Using two M2 screws. Fasten the LP_Holder to the top ridge of the ST-50_Leap_Mount plate. Full LeapMotion mount assembly Additional Accessories The ST-50_Leap_Mount can also be used to attach other accessories beside the LeapMotion. For example, constellations of retro-reflective balls for IR tracking can also be mounted, or even cameras for video see-through VR or AR tracking. IR trakcing constellation attached to the ST-50_Leap_Mount plate
With this file you will be able to print LeapMotion Mount - NVIS ST-50 with your 3D printer. Click on the button and save the file on your computer to work, edit or customize your design. You can also find more 3D designs for printers on LeapMotion Mount - NVIS ST-50.