LED Flashlight
thingiverse
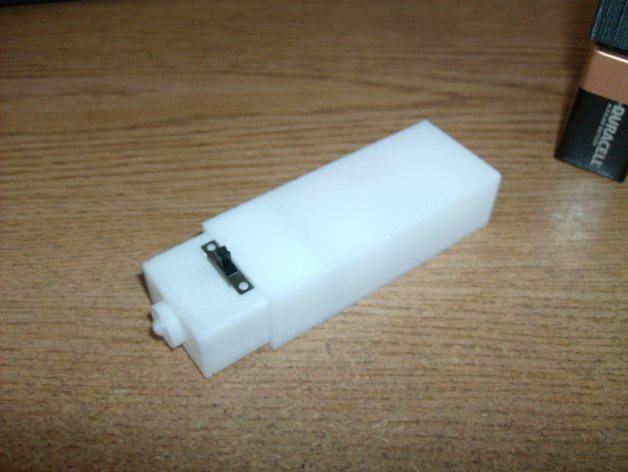
Here is an LED flashlite that you can build several ways. It has a top, body and a cover for the battery(s). There are two top files – one for a 5mm LED and one for an 8mm LED. The body has a hole for a sub-mini slide switch and a fitted opening for a 9V battery snap. The battery cover stays on by friction. There are 2 cover files – one for a 9V batt and one for 2-AAs. You will need: a high quality, hard plastic T-type battery snap with wires, a back-to-back 2 AA battery holder, an LED, a resistor, and a sub-miniature slide switch like (Jameson No. 621325). Instructions Install the battery snap. The snap will fit very snug so you will have to sand the ends of the snap a little to get it in. Even though it is very tight, I would still super glue it in place. Wire the switch. Keep all wires/leads as short as possible. Position the switch, tape it in place and drop a dab of hot glue on the back of the switch (inside the body). Install the LED. It also fits tight so use a round file to enlarge the hole just a tad. Put it in and super glue. Wire it. Cut the LED leads and solder the resistor, the ground and the hot wire from switch. I usually do it in that order. Push everything together, check for function (shorts) and then glue the top on. Notes: My 8mm LEDs have a forward voltage of 3.2-3.4 volts at 25 MA but they still work on 2 AAs, they’re just not as bright. For a 9V batt and the 8mm’s I use a 200 Ohm resistor. For 9V and a 5mm, use a 470 ohm. For 2-AA batts you can use a 10 Ohm or less for either size LED.
With this file you will be able to print LED Flashlight with your 3D printer. Click on the button and save the file on your computer to work, edit or customize your design. You can also find more 3D designs for printers on LED Flashlight.