LED Headlights for Monoprice Select Mini
thingiverse
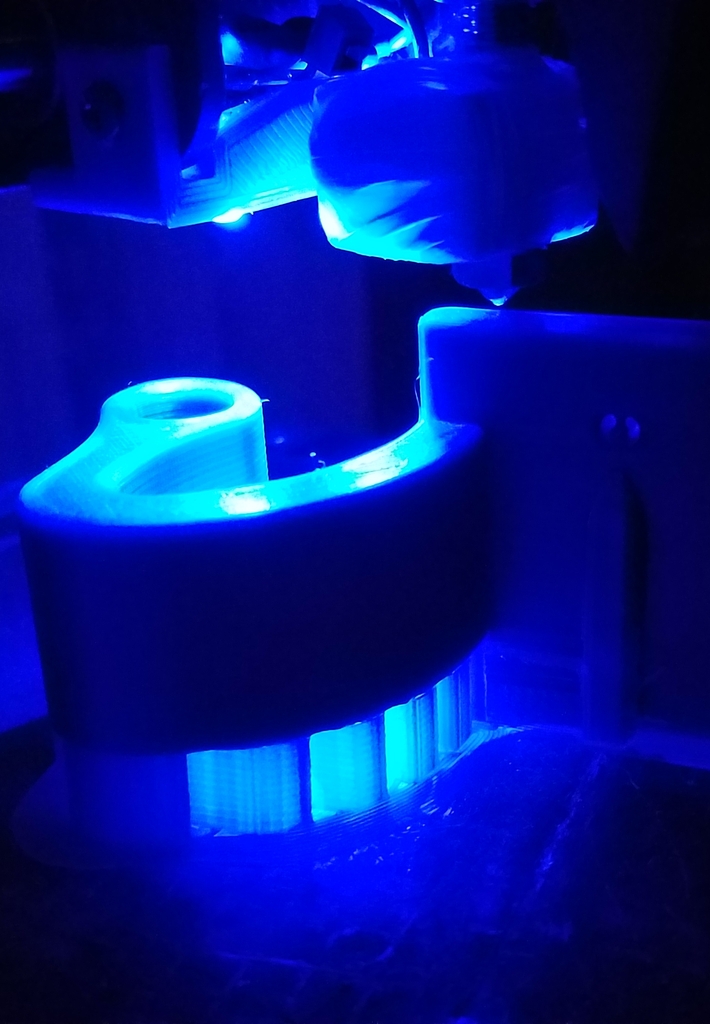
These LED headlights are only for the Monoprice Select Mini. I’ve seen other LED lighting but I wanted lighting specifically for the tip. In the past I used a flashlight to really see what was going on there. I also thought blue LEDs might look cool (see action photos). Details: The project takes typical DIY skills and these parts, tools, and materials: Parts: Headlight object, 2 LEDs (blue, wide angle), 1 resistor (270 Ohms), about 32” of +/- wire (fine gauge), 2 small screws. Materials: Heat-shrink tubing, 1 small wire tie, solder Tools: Soldering iron, a stick or snake, tape, drill and bits, screwdriver, needle, pliers, a lighter How to assemble: Print the headlight mount on edge to produce strong fastener tabs. Disconnect the power cable from the Mini. Position the mount as show. Install temporarily using a drill and 1 screw at the outboard side. Drill a hole at the top edge of the mounting tab for the +/- wire pair. Create the inboard screw hole using a hot needle (or small nail) held in a pair pliers. To avoid welding, first make a shallow mark then remove the mount before melting the through hole big enough for your screw. Place the Mini, back down, on your work surface (support the column). Remove the bottom plate and tilt it out of the way (right). Tape the +/- pair of wires to a stick or stout wire and snake them through the Mini column as show. Solder the + wire to the switch + out, and the – wire to a nearby – wire. Add heat-shrink. Unwrap the feed-tube cover, route the +/- wires along with it. Run the +/- wire through the wire hole. Give yourself a few inches extra wire to work with. It can later be tucked away in the base by pulling from there. Press fit (or glue) the 2 LEDs into the mount and solder as shown. Solder the resistor and wires while adding heat-shrink then secure all using one small zip tie as shown. *There are two small holes between the LEDs for optional securing methods. Install the completed headlight assembly. Pull any excess wire into the Mini base and reinstall the baseplate and the feed tube wrap. Done. *This method turns the headlights on when the Mini is switched on. I did not want to tap into the fan or heater. The LEDs are angled towards the hot end but not focused directly on it. I recommend using wide angle LEDs for good flood lighting.
With this file you will be able to print LED Headlights for Monoprice Select Mini with your 3D printer. Click on the button and save the file on your computer to work, edit or customize your design. You can also find more 3D designs for printers on LED Headlights for Monoprice Select Mini.