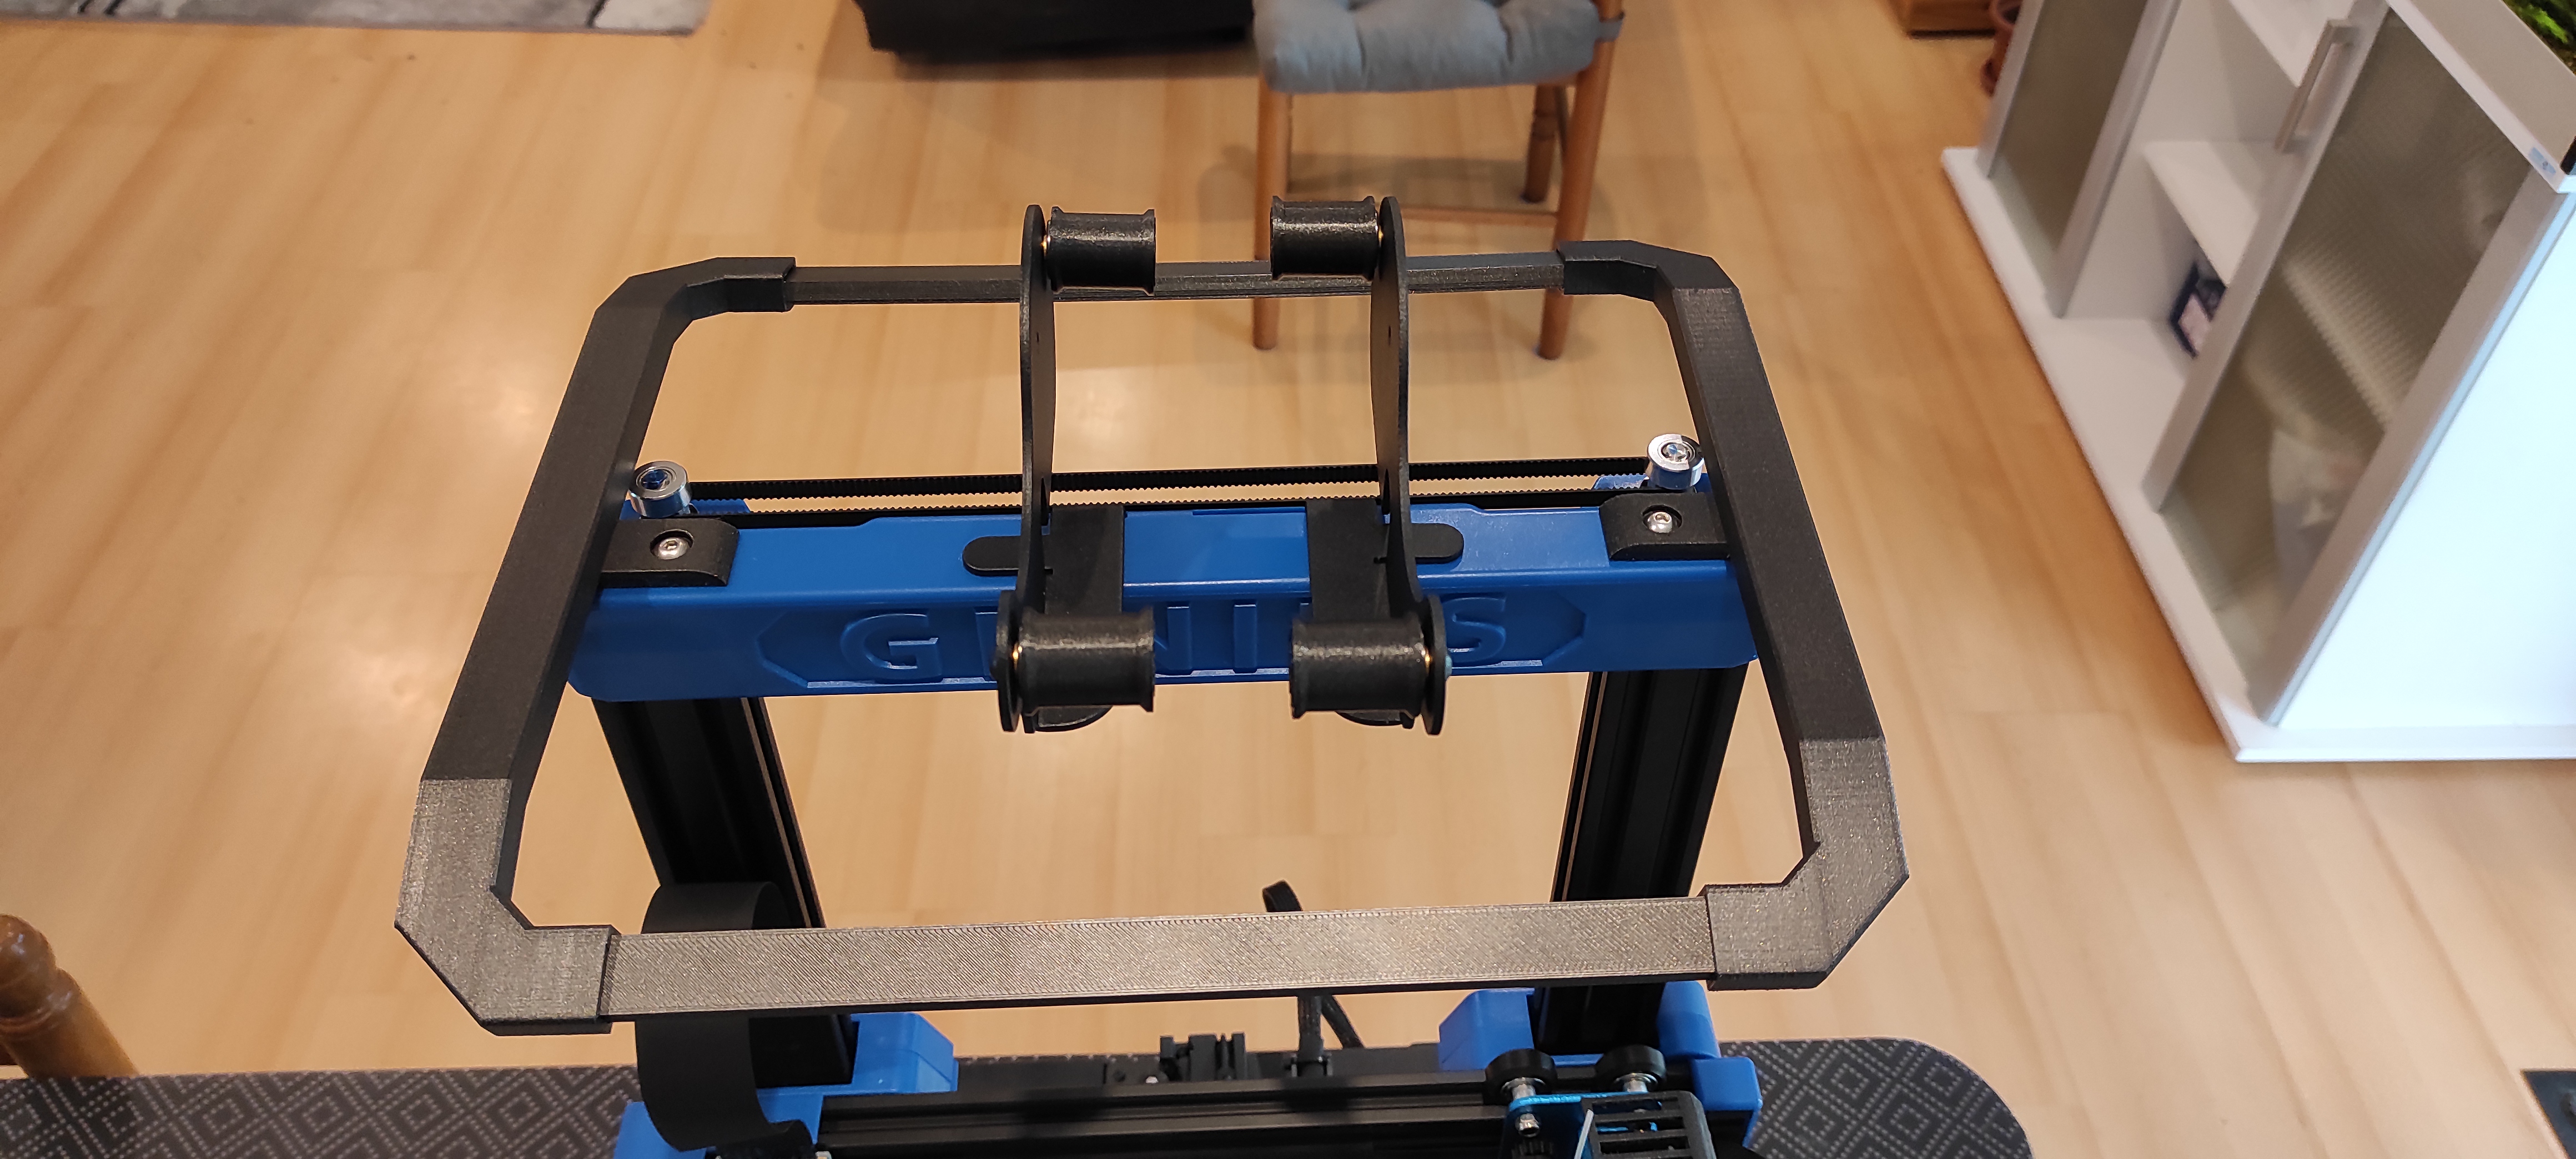
LED Light Bar Artillery Genius
prusaprinters
<p>Il s'agit d'un remix de la version Prusa Mk3. J'utilise ce système sur mes Prusa et je n'ai pas trouvé d'équivalent pour la Genius, j'ai donc fait une adaptation ^^<br><br>Il s'agit de leds en 24V, branchées directement sur l'alimentation sur les broches libres. Je ne m'en sert que pour vérifier mes prints en cours, les leds ne sont pas allumées plusieurs heures.<br><br>J'ai créer une encoche sur les fichiers afin de faire descendre le câble à droite ou à gauche vers l'alimentation. J'ai ajouté un interrupteur a bas du bras de droite (un accès super facile).</p><p>Pour fixer la support à led, vous aurez besoin de 2 vis M5x12 (D'origine, elle fond 8mm de long, elles sont peu courtes, vous aurez besoin de 12mm minimum, si c'est plus long, ce n'est pas gênant)<br><br>Je n'ai pas encore vérifié, mais je pense qu'on peux utiliser la totalité de la hauteur de print.<br><br>Impressions sans support !</p><h5><strong>Fichiers:</strong></h5><p>Modèle Prusa MK3: <a href="https://www.prusaprinters.org/fr/prints/3267-led-light-bar-prusa-i3-mk2mk3">https://www.prusaprinters.org/fr/prints/3267-led-light-bar-prusa-i3-mk2mk3</a><br>Boitier de l'interrupteur: <a href="https://www.prusaprinters.org/fr/prints/18478-artillery-sidewinder-x1-led-top-extrusion/files">https://www.prusaprinters.org/fr/prints/18478-artillery-sidewinder-x1-led-top-extrusion</a></p><p>Profil en U (258 mm pour la Genius): <a href="https://www.prusaprinters.org/fr/prints/54526-led-u-channel-9x17mm">https://www.prusaprinters.org/fr/prints/54526-led-u-channel-9x17mm</a></p><p>Profil des passages de câbles: <a href="https://www.prusaprinters.org/fr/prints/30734-20202040-extrusion-cover-cable-channel">https://www.prusaprinters.org/fr/prints/30734-20202040-extrusion-cover-cable-channel</a></p><h5> </h5><h5><strong>Achats:</strong></h5><p>Led 24v: <a href="https://www.amazon.fr/gp/product/B07L5QRPVZ/ref=ppx_yo_dt_b_asin_title_o04_s00?ie=UTF8&psc=1">https://www.amazon.fr/gp/product/B07L5QRPVZ/ref=ppx_yo_dt_b_asin_title_o04_s00?ie=UTF8&psc=1</a></p><p>Interrupteur: <a href="https://www.amazon.fr/gp/product/B076GXD7XN/ref=ppx_yo_dt_b_asin_title_o05_s01?ie=UTF8&psc=1">https://www.amazon.fr/gp/product/B076GXD7XN/ref=ppx_yo_dt_b_asin_title_o05_s01?ie=UTF8&psc=1</a></p><p> </p><p>→ si vous avez des question, n'hésitez pas ;)<br><br>____________________________________________________________</p><p> </p><p>This is a remix of the Prusa Mk3 version. I use this system on my Prusa and I have not found an equivalent for the Genius, so I made an adaptation ^^</p><p>These are 24V LEDs, connected directly to the power supply on the free pins. I only use it to check my current impressions, the LEDs are not on for several hours.</p><p>I created a notch on the files in order to lower the cable to the right or to the left towards the power supply. I added a switch at the bottom of the right arm (super easy access).</p><p>To fix the led support, you will need 2 M5x12 screws (Original, it bottom 8mm long, they are little short, you will need 12mm minimum, if it is longer, it is not annoying)</p><p>I haven't checked yet, but I think we can use the full height of the print.</p><p>Prints without support!<br> </p><h4><strong>Files:</strong></h4><p>Prusa MK3 model: <a href="https://www.prusaprinters.org/fr/prints/3267-led-light-bar-prusa-i3-mk2mk3">https://www.prusaprinters.org/fr/prints/3267-led-light-bar-prusa-i3-mk2mk3</a><br>Switch housing: <a href="https://www.prusaprinters.org/fr/prints/18478-artillery-sidewinder-x1-led-top-extrusion/files">https://www.prusaprinters.org/fr/prints/18478-artillery-sidewinder-x1-led-top-extrusion</a></p><p>U- Profil en U (258 mm for the genius, joint here): <a href="https://www.prusaprinters.org/fr/prints/54526-led-u-channel-9x17mm">https://www.prusaprinters.org/fr/prints/54526-led-u-channel-9x17mm</a><br><br>Cable entry profile: https://www.prusaprinters.org/fr/prints/30734-20202040-extrusion-cover-cable-channel </p><p> </p><h5><strong>Purchase:</strong></h5><p>Led 24v: <a href="https://www.amazon.fr/gp/product/B07L5QRPVZ/ref=ppx_yo_dt_b_asin_title_o04_s00?ie=UTF8&psc=1">https://www.amazon.fr/gp/product/B07L5QRPVZ/ref=ppx_yo_dt_b_asin_title_o04_s00?ie=UTF8&psc=1</a></p><p>switch: https://www.amazon.fr/gp/product/B076GXD7XN/ref=ppx_yo_dt_b_asin_title_o05_s01?ie=UTF8&psc=1<br><br>→ if you have any questions, do not hesitate</p>
With this file you will be able to print LED Light Bar Artillery Genius with your 3D printer. Click on the button and save the file on your computer to work, edit or customize your design. You can also find more 3D designs for printers on LED Light Bar Artillery Genius.
