LED Lithophane Lamp
thingiverse
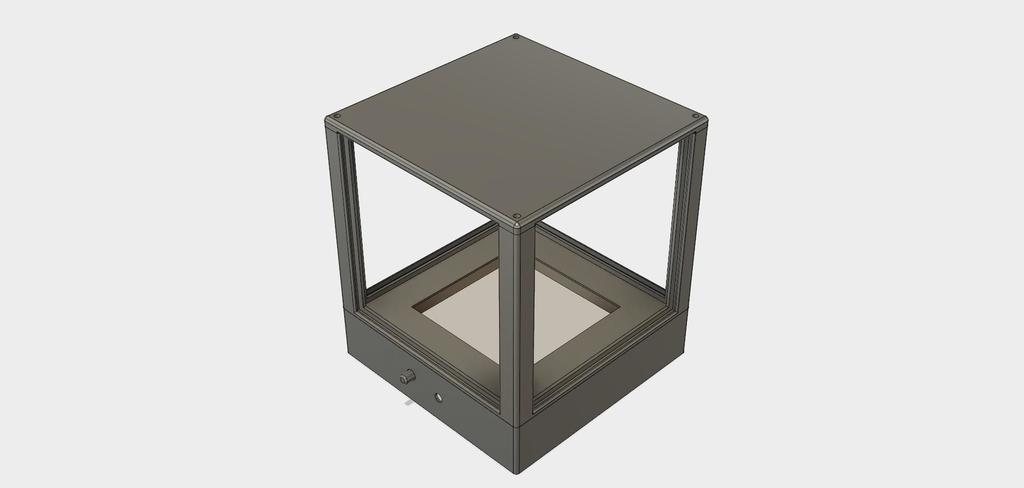
You will need to purchase this LED Lamp from Amazon: https://www.amazon.com/gp/product/B005HF3ULY/ref=oh_aui_detailpage_o01_s00?ie=UTF8&psc=1 You will also need (8) M3x8mm pan head screws. Supports are not necessary but you might want to add a couple to support the button and power cord holes on the base. I did not purchase the power cord as I just use batteries to power the lamp. Each picture that you convert to a Lithophane will need to be cropped before conversion. It must be 110mm X 110mm square. You can convert photographs to a printable lithophane by uploading it to: http://3dp.rocks/lithophane/ Here is a great tutorial on how to prepare your photgraphs, convert and then print. https://www.youtube.com/watch?v=KRdMwuBQQ0U Be sure to change the settings for each conversion to: Maximum size = 110mm Positive Image Leave the thickness at 3mm. I used a 2mm border but your preferences may vary. Once you have the base printed, you will need to disassemble the LED lamp and remove it's cover. Peel back the rubber feet from the bottom and remove the 4 screws. They are not needed for the base you will print. There are 4 tabs that snap into place that secure it well enough without using the screws. Before installing the base onto the lamp you will need to attach the frame to the top of the base using 4 M3x8 screws. I made the holes a touch bigger to make sure you didn't have to force the screw in. So be sure not to over tighten so you don't strip them out. Mine were perfect and held everything tight. Once the screws inside the base have been installed you can attach the base to the lamp fixture. Be sure to install the button into the button hole and hold it in a way that it doesn't slide out before installing. Once installed the button will be secured and can't fall out. Make sure you install the base in the correct position so that the button lines up with the side of the light switch on the lamp fixture. Gently slide each lithophane into the grooves from the top of the frame. Make sure they seat against the base. Then install the lid onto the frame. Be sure that each lithophane is seated in the grooves on the lid as well. If printed properly everything should seat perfectly. Secure the lid to the frame using (4) M3x8 screws. I printed this in Wood PLA. Whatever filament you use, you must make sure that there is no warping of the parts while printing or they will not fit properly. I hope the directions are clear enough to understand. If not please ask any questions and I will answer them asap. Enjoy!
With this file you will be able to print LED Lithophane Lamp with your 3D printer. Click on the button and save the file on your computer to work, edit or customize your design. You can also find more 3D designs for printers on LED Lithophane Lamp.