LED MATRIX Case - MAX7219 - 4 x 64 (8x8)
thingiverse
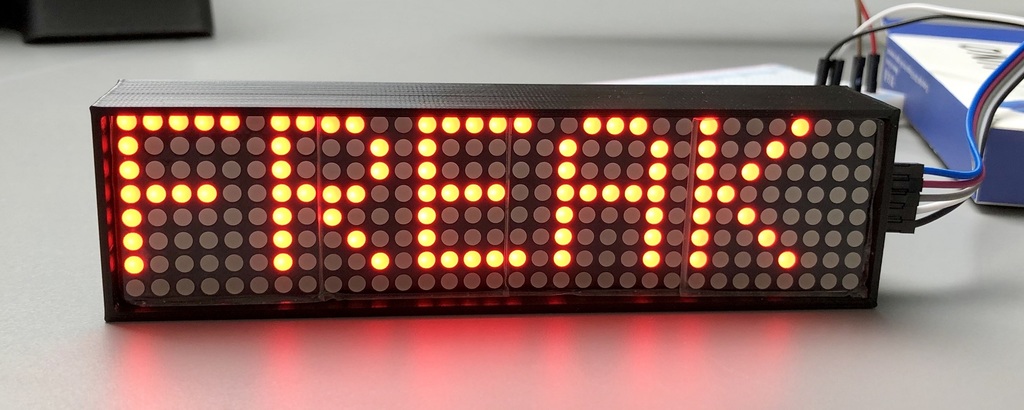
This was built by me from scratch to hold my LED MATRIX. It is built for the straight connector at the board (see picture). I plan to attach this to my garage wall to use it with my Arduino range finder for garage parking. Feel free to use it. Likes are appriciated. Tips are welcome. Use PLA or ABS. I used PLA with the follwing setting: - Nozzle Temp.: 203 degrees celsius - Bed Temp.: 60 degrees celsius - Printing Speed: 60mm/s - Resolution: 0.2mm - Support: YES - Infill: 25% UPDATE - August 04th 2019: It just fits like a glove. For installation I would suggest to remove the first of the four matrix panels (like shown on the picture). Once the board is inside the case, just reinstall the matrix panel. Done! Nevertheless I will add a new file with a spacer inside the case to support the matrix board in the middle of the case. As soon as I am done with the file, I will provide it here called "LED_MATRIX_V2". For those of you who already printed the old thing, I will add a spacer to easily put into the old case, without the hassle to print the whole case again :) UPDATE August 05th 2019: Spacer 10x5 mm added (print it 3x, you can easily duplicate it in your slicer) Spacer 5x5 mm added (print it 1x) LED_MATRIX_V2 added (the new case which includes the spacers already) ------------------------------------------------------------------------------------------------------------------------ Das Gehäuse wurde von mir für eine LED MATRIX von null konstruiert. Es ist speziell für den geraden Stecker an der Platine (siehe Bild). Ich plane es in meiner Garage an die Wand zu hängen, mit meiner Arduino Einparkhilfe. Lade es runter und drucke es aus. Likes werden dankbar zu Kenntnis genommen. Trinkgeld ist natürlich auch gerne gesehen :) Benutze PLA oder ABS. Ich nutze folgende Einstellungen: - Düsen Temp.: 203 Grad Celsius - Druckplatte Temp.: 60 Grad Celsius - Druckgeschwindigkeit: 60mm/s - Schichtdicke: 0.2mm - Stützstruktur: JA - Füllung: 25% UPDATE - 04. August 2019: Es passt wie angegossen. Für die Installation empfehle ich die erste von den vier Matrix Panels zu entfernen (wie auf dem Bild zu erkennen). Sobald die Platine eingebaut ist, einfach das Matrix Panel wieder einsetzen. Fertig! Nichtsdestotrotz werde ich eine neue Datei anfertigen, wo in der Mitte des Gehäuses ein Abstandshalter drin ist, dies dient dann als Unterstützung für die Platine. Sobald die Datei fertig ist, werde ich Sie hier Hochladen unter der Bezeichnung "LED_MATRIX_V2". Für diejenigen von euch, die das Gehäuse bereits gedruckt haben, werde ich auch eine Unterstützung entwerfen, die in das alte Gehäuse passt, ohne dass Ihr es erneut drucken müsst :) UPDATE 05. August 2019: Abstandshalter 10x5 mm hinzugefügt (drucke es 3x, duplizier es einfach im slicer) Abstandshalter 5x5 mm hinzugefügt (drucke es 1x) LED_MATRIX_V2 hinzugefügt (das neue Gehäuse mit integrierten Abstandshalter)
With this file you will be able to print LED MATRIX Case - MAX7219 - 4 x 64 (8x8) with your 3D printer. Click on the button and save the file on your computer to work, edit or customize your design. You can also find more 3D designs for printers on LED MATRIX Case - MAX7219 - 4 x 64 (8x8).