LED Matrix Prototyping Mount
thingiverse
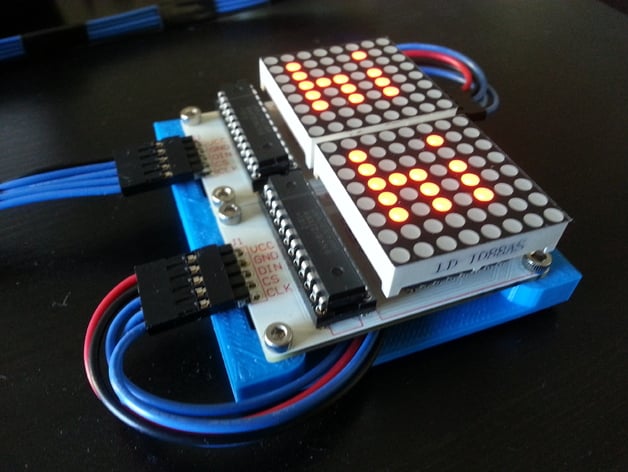
This is a simple prototyping mount to hold two SparkFun LED Matrix breakout boards. I'm working on a larger LED Matrix setup, but wanted to do some software prototyping using two of the MAX7219 LED controller ICs. Here is the parts list and purchase links: Hardware: (1) M2.5 Tap (8) M2.5 x 5mm Machine Screws Electrical: (2) SparkFun LED Matrix Kit (4) 0.1" Crimp Connector Housing 1x5 (15) Female Crimp Pins (5) Male Crimp Pins (1) Crimping Tool (N/A) Wire and Wire Strippers (N/A) Soldering Iron NOTE: You will also need a microcontroller (or anything with Digital Input/Output pins) to interface with the LED Matrix controller ICs. I personally have been using an Arduino. Instructions Just tap the 8 holes with the M2.5 tap, and then screw the LED Matrix PCB's to the mounting plate.
With this file you will be able to print LED Matrix Prototyping Mount with your 3D printer. Click on the button and save the file on your computer to work, edit or customize your design. You can also find more 3D designs for printers on LED Matrix Prototyping Mount.