LED Pen
prusaprinters
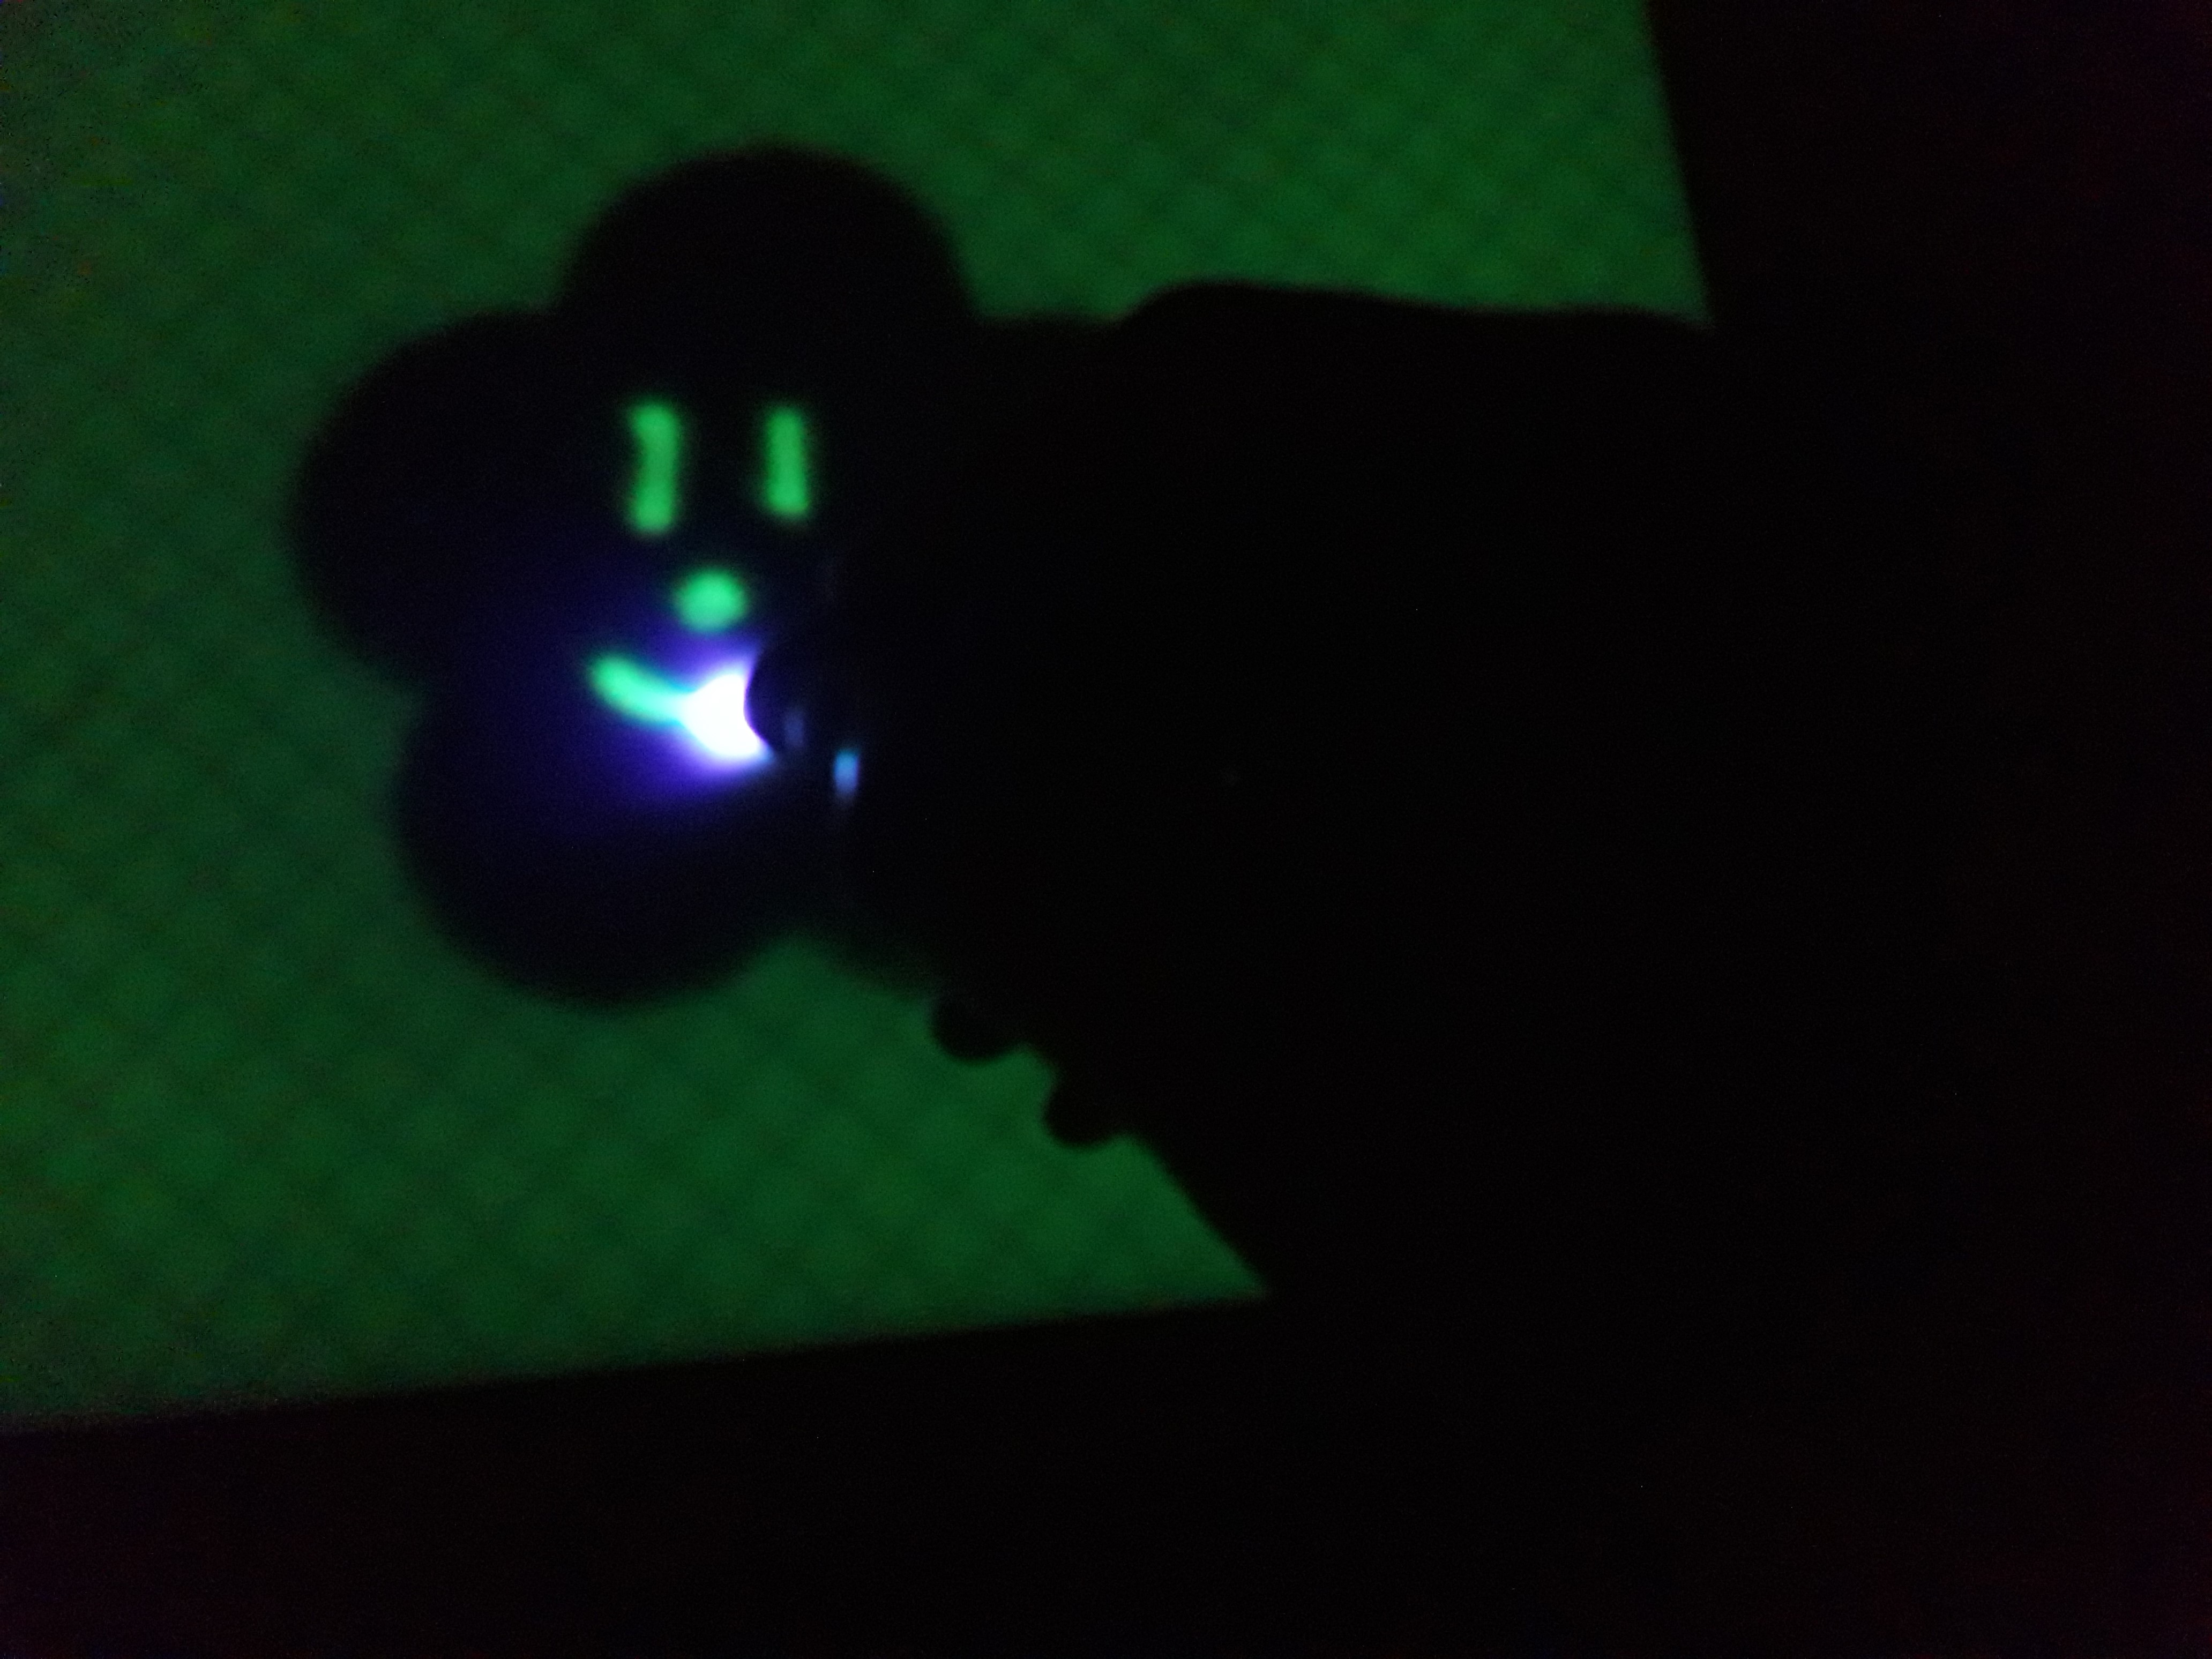
<p>This is quite well known toy... simple plate printed with glow in the dark filament and a pen with built in LED... assembly requires a bit of soldering and patience for debugging :-)<br>I used spare parts that I found at home, but these are easily available in any e-shop with Arduino-like electronics.</p><h3>Print instructions</h3><p><strong>Glowing plate</strong></p><ul><li>Print glowing_plate drawing side down.</li><li>Smooth sheet is preferable. This way you will get smooth surface for your doodles.</li><li>I overextruded first layer a little to make sure there wont be any holes or imperfections in a surface.</li><li>Use hardened steel nozzle.</li><li>From my experience, roughly 1mm thickness of glowing material is enough for drawing, the rest of the plate can be printed with normal filament</li></ul><p><strong>Pen assembly:</strong></p><ol><li>Prepare all printable parts</li><li>You will also need:<ol><li>glue (super glue)</li><li>tweezers (optional)</li><li>tools for soldering</li><li>2x 20 cm long wires, with no more than 1mm outer diameter. </li><li>2x AAA baterry</li><li>5mm LED, color of your choice (UV do the best)</li><li>2x "Arduino header" JWT female cable connectors</li><li>1x switch button</li><li>1 pair of AAA contacts</li><li>reisitor (I used 20 Ohm that was laying around.)</li></ol></li></ol><figure class="image image_resized" style="width:50%;"><img src="https://media.prusaprinters.org/media/prints/41635/rich_content/f5171ea1-9d7d-4110-909d-d6fcb6939e95/doodle_1.jpg#%7B%22uuid%22%3A%22f1eb26c0-4756-4953-aeeb-f0b987b3ab71%22%2C%22w%22%3A500%2C%22h%22%3A375%7D"></figure><p> </p><ul><li>Take one cable connector and attach it to resisotr. You can use soldering.</li></ul><figure class="image image-style-align-center image_resized" style="width:50%;"><img src="https://media.prusaprinters.org/media/prints/41635/rich_content/38ad0a5b-642c-4a15-b972-c3ca304396d7/doodle_2.jpg#%7B%22uuid%22%3A%227f6827b7-52af-4b9a-bf67-3aeb8f627ce4%22%2C%22w%22%3A500%2C%22h%22%3A280%7D"></figure><p>note: dont put resistor too close to connector, you need some space there</p><p> </p><ul><li>Solder short piece of wire to the other end of the resistor</li></ul><figure class="image image-style-align-center image_resized" style="width:34.3%;"><img src="https://media.prusaprinters.org/media/prints/41635/rich_content/e7b21fcd-8764-4644-b97a-917d1f3134aa/doodle_3.jpg#%7B%22uuid%22%3A%2293fb104d-ef89-425e-8907-ce7235eddc9b%22%2C%22w%22%3A255%2C%22h%22%3A195%7D"></figure><p>note: keep that 90° angle there</p><p> </p><ul><li>Prepare the button - remove unnecessary pair of contacts or bend them inwards</li></ul><figure class="image image-style-align-center image_resized" style="width:50%;"><img src="https://media.prusaprinters.org/media/prints/41635/rich_content/7a067bf6-c7c8-433c-aa3b-8ee500dc3663/doodle_4.jpg#%7B%22uuid%22%3A%22f5e73cec-08ef-4938-b3d1-7bdd8bb06bcb%22%2C%22w%22%3A500%2C%22h%22%3A483%7D"></figure><p>note: use your multimeter to decide which contacts you are going to cut</p><p> </p><ul><li>Solder the button to the wire</li></ul><figure class="image image-style-align-center image_resized" style="width:50%;"><img src="https://media.prusaprinters.org/media/prints/41635/rich_content/ed646442-65d1-41ed-a1e2-5e615227ad07/doodle_5.jpg#%7B%22uuid%22%3A%22fb481963-5f94-4290-bfc5-6320bfe04d9b%22%2C%22w%22%3A500%2C%22h%22%3A388%7D"></figure><p><br> </p><ul><li>Take button_body and insert your cable contact through it as in the pictures below<br><img class="image_resized" style="width:42.05%;" src="https://media.prusaprinters.org/media/prints/41635/rich_content/0dd1a3f2-6e92-493b-ac6e-e01399cccb90/doodle_6.jpg#%7B%22uuid%22%3A%22a9ad59db-12fe-4e57-91c7-61ecda759f82%22%2C%22w%22%3A500%2C%22h%22%3A375%7D"> <img class="image_resized" style="width:40.13%;" src="https://media.prusaprinters.org/media/prints/41635/rich_content/2cdeceb1-0df4-44e4-9167-3a09af2174c3/doodle_7.jpg#%7B%22uuid%22%3A%22a5eb4d4b-514f-4eac-93a3-70c3be6e8a61%22%2C%22w%22%3A500%2C%22h%22%3A397%7D"><br> </li></ul><p> </p><ul><li>Cover the cable contact</li></ul><figure class="image image-style-align-center image_resized" style="width:50%;"><img src="https://media.prusaprinters.org/media/prints/41635/rich_content/c721a37d-4351-4a66-a63c-6d1b35d96158/doodle_8.jpg#%7B%22uuid%22%3A%22d30be903-cb23-49f2-b0a2-944a982a6577%22%2C%22w%22%3A500%2C%22h%22%3A402%7D"></figure><p>note: be carefull of plastic cover position with respect to the contact itself. It needs to click together. Use tweezers or other tool to help you.</p><p> </p><ul><li>Take one cable connector and attach it to wire. You can use solder.<br><img class="image_resized" style="width:50%;" src="https://media.prusaprinters.org/media/prints/41635/rich_content/046f41d6-7e29-4cda-a34b-14a4e89b48f1/doodle_9.jpg#%7B%22uuid%22%3A%225ca279be-d93a-46fd-aa09-34ed70855d98%22%2C%22w%22%3A500%2C%22h%22%3A161%7D"><br><img class="image_resized" style="width:50%;" src="https://media.prusaprinters.org/media/prints/41635/rich_content/5d0675cb-f728-4455-9c86-5e79963d1144/doodle_10.jpg#%7B%22uuid%22%3A%220408ac55-3b83-4f85-992c-85c83a43b21e%22%2C%22w%22%3A500%2C%22h%22%3A171%7D"></li></ul><p> </p><ol><li>Pass wire through the button_body</li></ol><figure class="image image-style-align-center image_resized" style="width:50%;"><img src="https://media.prusaprinters.org/media/prints/41635/rich_content/ede3d13c-e08e-4641-842e-a5b16fef8601/doodle_12.jpg#%7B%22uuid%22%3A%223ca04864-e9b2-483c-8341-d0039fb07d52%22%2C%22w%22%3A500%2C%22h%22%3A342%7D"></figure><p><br> </p><ul><li>Both connectors should fit inside</li></ul><figure class="image image-style-align-center image_resized" style="width:50%;"><img src="https://media.prusaprinters.org/media/prints/41635/rich_content/a9d32c74-5d09-4077-bef1-b2fd9e27d266/doodle_13.jpg#%7B%22uuid%22%3A%22e8e6806f-26fe-45c4-b163-b760c73a1243%22%2C%22w%22%3A500%2C%22h%22%3A377%7D"></figure><p><br> </p><ul><li>Solder wire to second button contact</li></ul><figure class="image image-style-align-center image_resized" style="width:50%;"><img src="https://media.prusaprinters.org/media/prints/41635/rich_content/c838d188-3990-43ea-b994-c5ac37b16528/doodle_14.jpg#%7B%22uuid%22%3A%227001aeb5-6c46-4479-a72d-48f3daf0e10a%22%2C%22w%22%3A500%2C%22h%22%3A350%7D"></figure><p><br> </p><ul><li>Thread the wire through the other end of the button_body</li></ul><figure class="image image-style-align-center image_resized" style="width:50%;"><img src="https://media.prusaprinters.org/media/prints/41635/rich_content/d3e4b874-ff60-4ad3-8f41-e5618f9e637a/doodle_15.jpg#%7B%22uuid%22%3A%229a955103-5cae-4501-b73f-3a755deb7bcb%22%2C%22w%22%3A500%2C%22h%22%3A348%7D"></figure><p><br> </p><ul><li>Push the button inside, it should not fall too deep.</li></ul><figure class="image image-style-align-center image_resized" style="width:50%;"><img src="https://media.prusaprinters.org/media/prints/41635/rich_content/272be55a-e2fb-4e8c-8182-08e92b250efc/doodle_16.jpg#%7B%22uuid%22%3A%22ab87e063-9a4d-4fb2-af95-4d30b252261d%22%2C%22w%22%3A500%2C%22h%22%3A351%7D"></figure><p><br> </p><ul><li>Trimm the LEDs leads to the same length</li></ul><figure class="image image-style-align-center image_resized" style="width:39.14%;"><img src="https://media.prusaprinters.org/media/prints/41635/rich_content/ed57138f-3bcd-4dba-b4e3-c4bf2a284036/doodle_17.jpg#%7B%22uuid%22%3A%22c9745178-4ee0-4080-a7d8-47cc602f65f3%22%2C%22w%22%3A500%2C%22h%22%3A369%7D"></figure><p>note: mark the polarity</p><p> </p><ul><li>Insert the LED </li></ul><figure class="image image-style-align-center image_resized" style="width:50%;"><img src="https://media.prusaprinters.org/media/prints/41635/rich_content/b6fa1f28-8489-4055-8656-f83082ffa4d4/doodle_18.jpg#%7B%22uuid%22%3A%22de3728bb-f5d8-472e-824a-79bdb5cf7ee4%22%2C%22w%22%3A500%2C%22h%22%3A341%7D"></figure><p><br> </p><ul><li>Thread the wires through middle_spacer.</li></ul><figure class="image image-style-align-center image_resized" style="width:50%;"><img src="https://media.prusaprinters.org/media/prints/41635/rich_content/cf4bec4d-d72a-46e0-995d-081fa906a772/doodle_19.jpg#%7B%22uuid%22%3A%229b192a01-975a-47ba-abce-b68bfa061914%22%2C%22w%22%3A500%2C%22h%22%3A375%7D"></figure><p>note that "S" folding on black wire. It makes much more wire length tolerance. You will need it. Also make sure that black wire is much longer than main pen body.</p><p> </p><ul><li>Solder the AAA contact.</li></ul><figure class="image image-style-align-center image_resized" style="width:50%;"><img src="https://media.prusaprinters.org/media/prints/41635/rich_content/5fe18287-7ea5-40db-a48c-9f44b09c0c19/doodle_20.jpg#%7B%22uuid%22%3A%22924472db-e8fa-4adf-ab16-6475a5da47f9%22%2C%22w%22%3A500%2C%22h%22%3A349%7D"></figure><p>note: I trimmed mine AAA contacts with scizors to fit round shape</p><p> </p><ul><li>Glue AAA contact in place. And push the middle_spacer to the button_body</li></ul><figure class="image image-style-align-center image_resized" style="width:50%;"><img src="https://media.prusaprinters.org/media/prints/41635/rich_content/bc59fb6a-c28e-4af8-8c88-0d4de888c82f/doodle_21.jpg#%7B%22uuid%22%3A%22c5ba0073-f04a-457d-811c-b8f5d4a832d7%22%2C%22w%22%3A500%2C%22h%22%3A292%7D"></figure><p>note: There should be enough space for squeezed in wires.</p><p> </p><ul><li>Take middle_spacing_ring .</li></ul><figure class="image image-style-align-center image_resized" style="width:50%;"><img src="https://media.prusaprinters.org/media/prints/41635/rich_content/45a8ec05-e88f-49b9-9d1f-44d95a3af65d/doodle_22.jpg#%7B%22uuid%22%3A%22dac191a2-5aa4-4b03-ab03-430592fe71ba%22%2C%22w%22%3A500%2C%22h%22%3A327%7D"></figure><p>note: there is a round cut for wire</p><p> </p><ul><li>Thread black wire through middle_spacing_ring and pen_body.</li></ul><figure class="image image-style-align-center image_resized" style="width:50%;"><img src="https://media.prusaprinters.org/media/prints/41635/rich_content/2062eaed-66f2-4c52-a059-c75261023425/doodle_23.jpg#%7B%22uuid%22%3A%22309d9593-1713-4214-94b4-ae9e4d3c124b%22%2C%22w%22%3A500%2C%22h%22%3A264%7D"></figure><p>note: black wire should have some overhang. Also note that there is a groove for wire inside of the pen_body. You can glue those parts together button_body, middle_spacer, middle_spacing_ring and pen_body) after you get sure that it works.</p><p> </p><ul><li>Solder second AAA contact.</li></ul><figure class="image image-style-align-center image_resized" style="width:50%;"><img src="https://media.prusaprinters.org/media/prints/41635/rich_content/d3f2557c-13c7-44a1-9aaa-5a88990d9804/doodle_24.jpg#%7B%22uuid%22%3A%229e772137-ed1b-4a9f-ae60-8b6d1966cb98%22%2C%22w%22%3A500%2C%22h%22%3A255%7D"></figure><p> </p><p> </p><ul><li>Place AAA batteries inside of the pen_body. Bend the AAA contact inwards and push it down to the batteries. Take cap_spacing_ring and screw the cap</li></ul><figure class="image image-style-align-center image_resized" style="width:50%;"><img src="https://media.prusaprinters.org/media/prints/41635/rich_content/3a16d684-c148-42ff-8cd5-856484b67e0a/doodle_25.jpg#%7B%22uuid%22%3A%2295b78eff-e0f2-49fe-8230-91b8dbddc86e%22%2C%22w%22%3A500%2C%22h%22%3A262%7D"></figure><p>note: that "S" like folding you did earlier should allow the wire to go inside a little bit better.</p><p> </p><ul><li>Cover the LED with the pen_tip and tip_spacing_ring</li></ul><figure class="image image-style-align-center image_resized" style="width:50%;"><img src="https://media.prusaprinters.org/media/prints/41635/rich_content/17d0044e-f4fd-41aa-9c29-41ec82762806/doodle_26.jpg#%7B%22uuid%22%3A%2291b74014-e402-404e-a1d8-bfd918153dae%22%2C%22w%22%3A500%2C%22h%22%3A284%7D"></figure><p>note: Check your LED position and LED leads length. Pen_tip should not push down the LED. You can change LED's color anytime later.</p><figure class="image image-style-align-center image_resized" style="width:50%;"><img src="https://media.prusaprinters.org/media/prints/41635/rich_content/0f760882-7f57-451e-a4ef-4bf0fa9dc00d/doodle_27.jpg#%7B%22uuid%22%3A%22b74e03e8-a365-44e0-b08a-c7d6da579a44%22%2C%22w%22%3A3952%2C%22h%22%3A1138%7D"></figure><p><br> </p>
With this file you will be able to print LED Pen with your 3D printer. Click on the button and save the file on your computer to work, edit or customize your design. You can also find more 3D designs for printers on LED Pen.