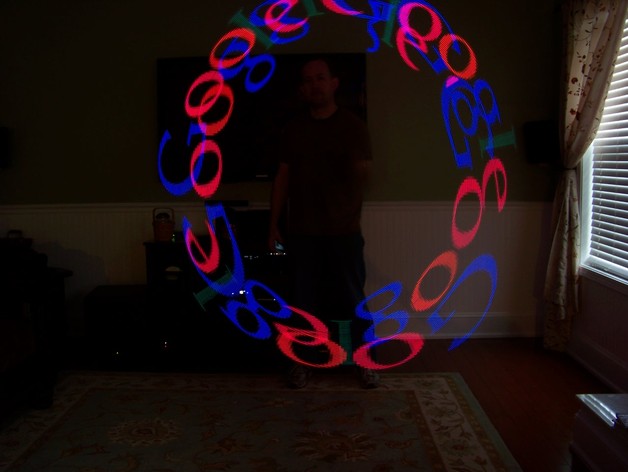
LED POV Poi
thingiverse
APA102 LEDs controlled by Teensy 3.1 board deliver variable brightness, delay, and intermission thanks to a custom Android app built with MIT App Inventor 2 over Bluetooth and an HC-05 Module connection. FastLED library powers this amazing setup. https://www.youtube.com/watch?v=p9_Nv5Tiq-Q Instructions: I'll add supporting documentation as I get it ready, bear with me. I've just got this up to apologize for the wait. Parts: Teensy 3.1 HC-05 Wireless Bluetooth Transceiver Module 144 LED/m APA102 LED Strip (1 meter long) Polycarbonate Tubing: ID 1/2", OD 5/8", Wall Thickness 1/16", Clear Color "Lipstick-sized" External battery Power Bank, Dimensions 3.5 x 0.9 x 0.9 inches Zip ties or 1/4" bolts and nuts for the main assembly Software: The Arduino program is "Led_POV_POI.ino". Compile or modify the App Inventor 2 program as "Led_POV_POI.aia" at http://ai2.appinventor.mit.edu. A .Net application, "BitMapConverter.zip", creates byte arrays from bmp files. There are probably better ways to do this, but it worked for my project. Assembly: The main body of the 3D printed parts is fairly easy to put together based on the pictures. You can either print one piece or two pieces; using two gives a sturdier design. Mounting surfaces: "equilateral_10mm_led_mounting_surface" has 3 mounting points (3m tape was used) which stick the LEDs right into polycarbonate tubing. LED Strip Wiring: pin 5 to DI (Data in) pin 6 to CI (Clock in) VUSB from Teensy to 5V on LED Strip GND from Teensy to GND Daisy chain: V, CO, DO, and G for the remaining strips HC-05 Module Wiring: pin 10 to RXD pin 9 to TXD 3V from Teensy to VCC
With this file you will be able to print LED POV Poi with your 3D printer. Click on the button and save the file on your computer to work, edit or customize your design. You can also find more 3D designs for printers on LED POV Poi.
