Left Barbie Prosthetic Leg
thingiverse
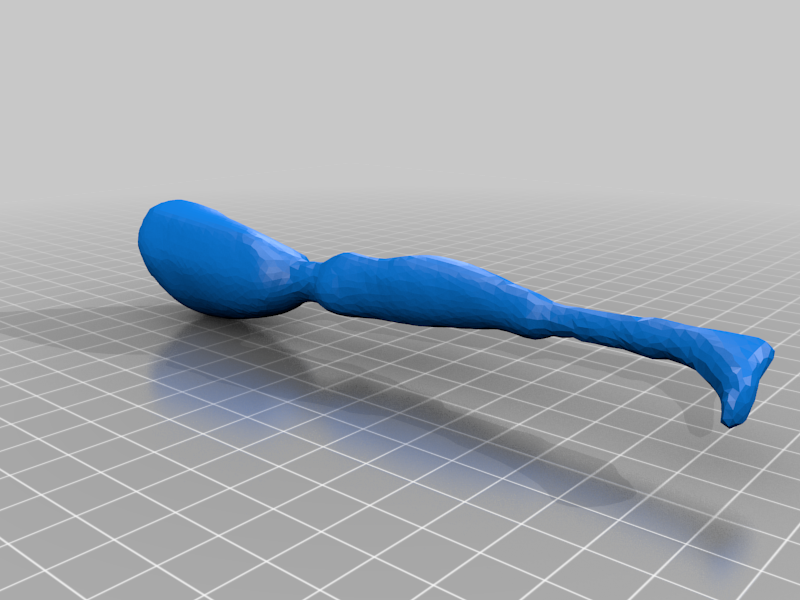
Prosthetic leg for Barbie. Socket requires grinding out post-printing in order to fit on the residual limb - this can be done drilling a pilot hole and then using a larger bit, or using a dremel. I made modifications post-print to improve functionality including: -Adding a pin to the distal end of Barbie's limb to improve suspension, heated the end of a bolt and secured in place with super glue -Drilled hole for pin in the socket -Added a cut-out window to see limb in socket on the lateral side How to Allow Knee Flexion (Bending): -Cut between end of socket and knee -Drill screw into knee segment, leaving approximately 1/4" for a notch -Shape screw head into a reactangle -Notch distal end of socket to allow modified screwhead to slip in -Poke hole through notched distal end of socket -Align screw and mark where hole needs to be drilled, drill hole -Attach using a small nail, snip and secured sides with superglue Have fun with your new Barbie!
With this file you will be able to print Left Barbie Prosthetic Leg with your 3D printer. Click on the button and save the file on your computer to work, edit or customize your design. You can also find more 3D designs for printers on Left Barbie Prosthetic Leg.