LEGO Spike Color Sensor Demo Tool
thingiverse
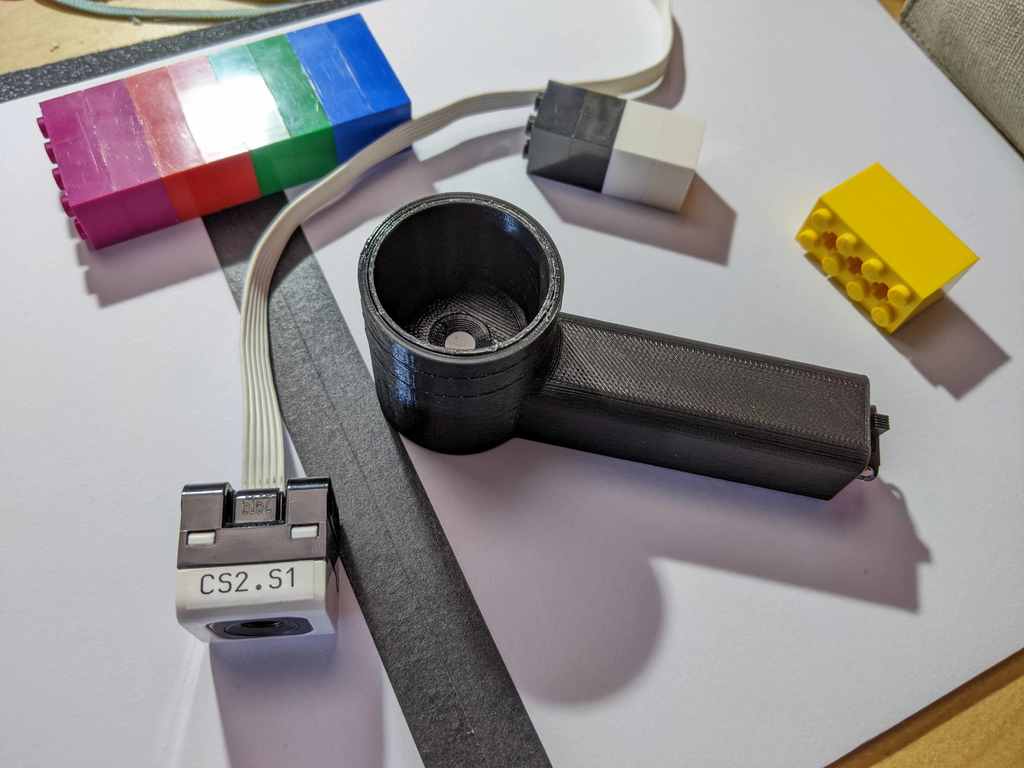
Print out of black plastic. You will need 2-6 ∅3mm white LEDs (I used 3), 3x 100Ω resistor, an AA battery holder with soldering tabs, 14500 size Lithium cell and some wire. Install LEDs as per photo, wire through the handle, the handle has enough place inside for an AA battery holder. I didn't intend to put a switch in, just remove the battery when done (to avoid the risk of forgetting the switch is ON and draining the cell). Put a piece of thin paper on top of the LED block where the hole is - I used a piece of thermal receipt paper (what you get your grocery bill printed on) folded twice and it works nicely. If you can still see an edge when going between white and black, then the paper is too thin, if the view is dim - it's too thick (or you need few more LEDs). Here's the explanation on what why and how: https://www.youtube.com/watch?v=LkHvaUaD_tY
With this file you will be able to print LEGO Spike Color Sensor Demo Tool with your 3D printer. Click on the button and save the file on your computer to work, edit or customize your design. You can also find more 3D designs for printers on LEGO Spike Color Sensor Demo Tool.