Lego Wall Switch Plate
prusaprinters
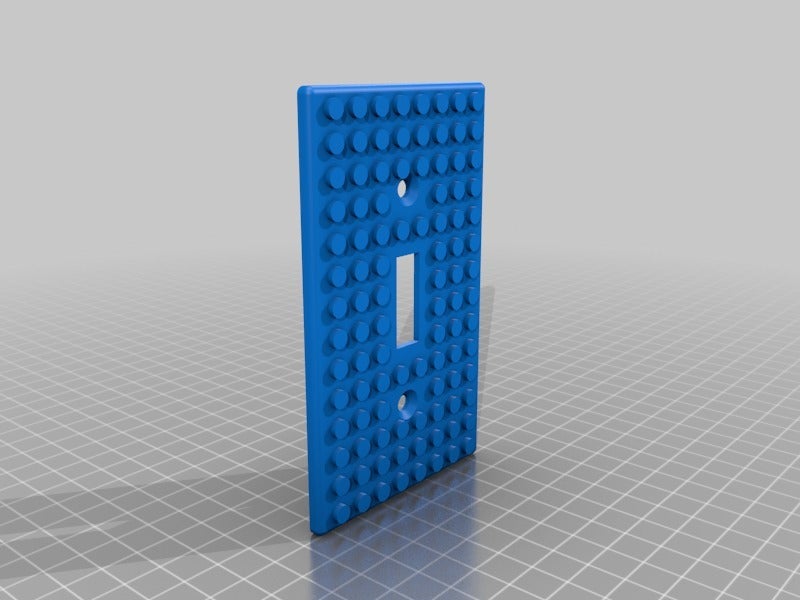
<p>Print the Test to see which size studs will hold Lego bricks best. Even a new filament can affect how bricks will stick. Either will probably work for your printer, but for best fit, print the test.</p> <p>After you figure out which size to use, then figure out if you want a solid switch plate or one that is shelled. The shelled one will require support material and probably bridging. Spin the models around to see what the back looks like. The good news is that the supported surface will be against the wall.</p> <p>Remove the switch plate you plan to replace and look to see if the switch box is completely inside the wall. If it is, print the solid switch plate. If screws or the box sticks out from the wall some, print the shelled version; it will fit better against the wall.</p> <h3>Print instructions</h3><h3>Category: Decor Print Settings</h3> <p><strong>Printer Brand:</strong> Prusa</p> <p><strong>Printer:</strong> <a href="http://amzn.to/2DxjZlB">i3 MK2S</a></p> <p><strong>Rafts:</strong> Doesn't Matter</p> <p><strong>Supports:</strong> Yes</p> <p><strong>Resolution:</strong> .2mm layers</p> <p><strong>Infill:</strong> Any</p> <p><strong>Notes:</strong></p> <p>Support and possibly bridging might be necessary for the shelled versions. Look and rotate the models to see which one you want.</p> <p>The studs are slightly different sized, so print the test to see if brinks stick better for the smaller size or not.</p>
With this file you will be able to print Lego Wall Switch Plate with your 3D printer. Click on the button and save the file on your computer to work, edit or customize your design. You can also find more 3D designs for printers on Lego Wall Switch Plate.