Lesson 1 Object 260
myminifactory
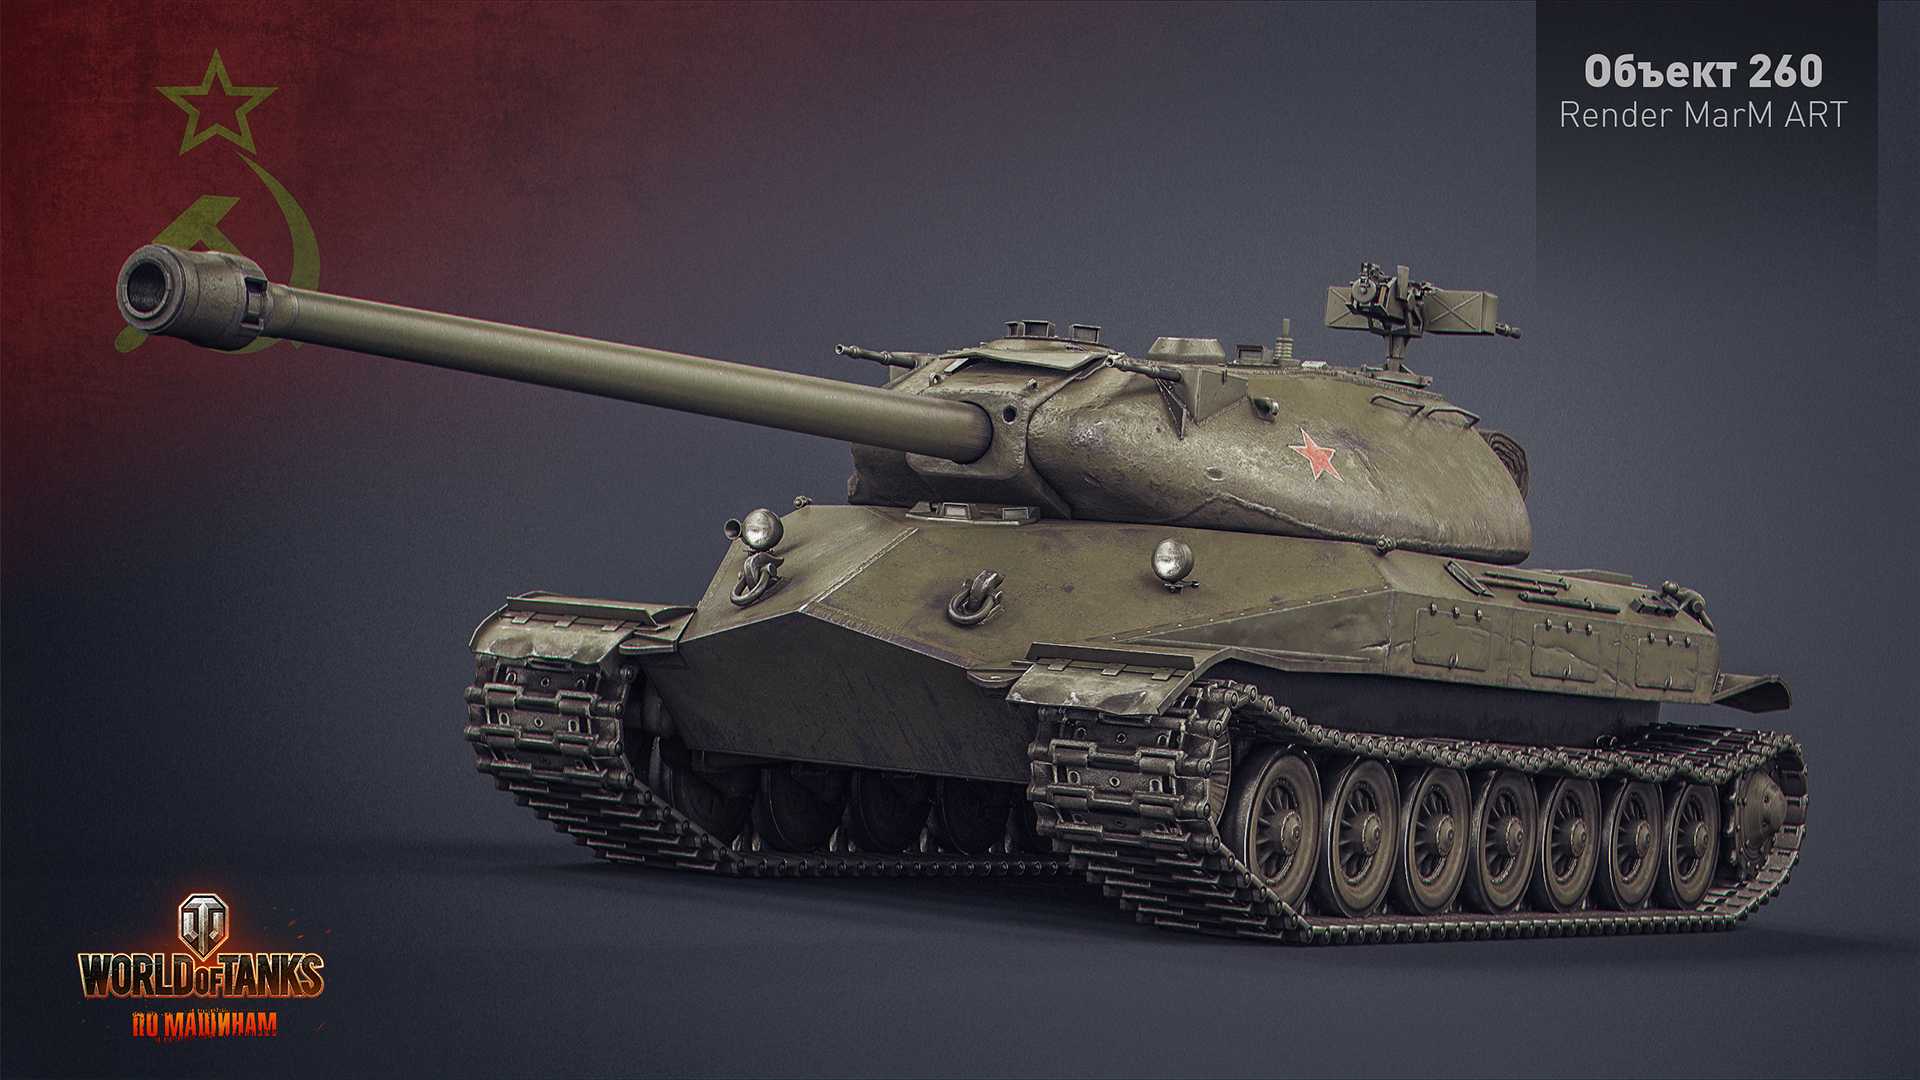
Printing Tutorial Object 260 Part 1 of 8 DOWNLOAD ASSEMBLY IMAGES HERE DOWNLOAD ASSEMBLY HERE Over the next eight lessons, I'll be showing you how to reproduce the Object 260 tank on your home printer. I will include detailed part lists and assembly instructions plus videos of different stages during manufacturing, assembly, and finishing of the tank. The tutorial will cover printing individual parts, post-preparation of printed parts, assembly, painting, and finishing. If you follow this tutorial, you'll end up with a scaled version of the Object 260 and probably a headache from the repeated Casatchock music in each video. If anyone has difficulties or needs advice, please contact me through MMF Studios; I will be more than happy to help. Lesson 1: Main Body Unzip the STL files B0001, B0002, and B0003. Printer settings remain the same for all three parts: Three top, bottom, and side layers 15% infill No support material See above photos for the correct orientation of each piece on the print bed. I suggest printing each part individually as print times are quite long for parts B0001 and B0002. This video will walk you through the printing process.
With this file you will be able to print Lesson 1 Object 260 with your 3D printer. Click on the button and save the file on your computer to work, edit or customize your design. You can also find more 3D designs for printers on Lesson 1 Object 260.