Lesson 6 Object 260
myminifactory
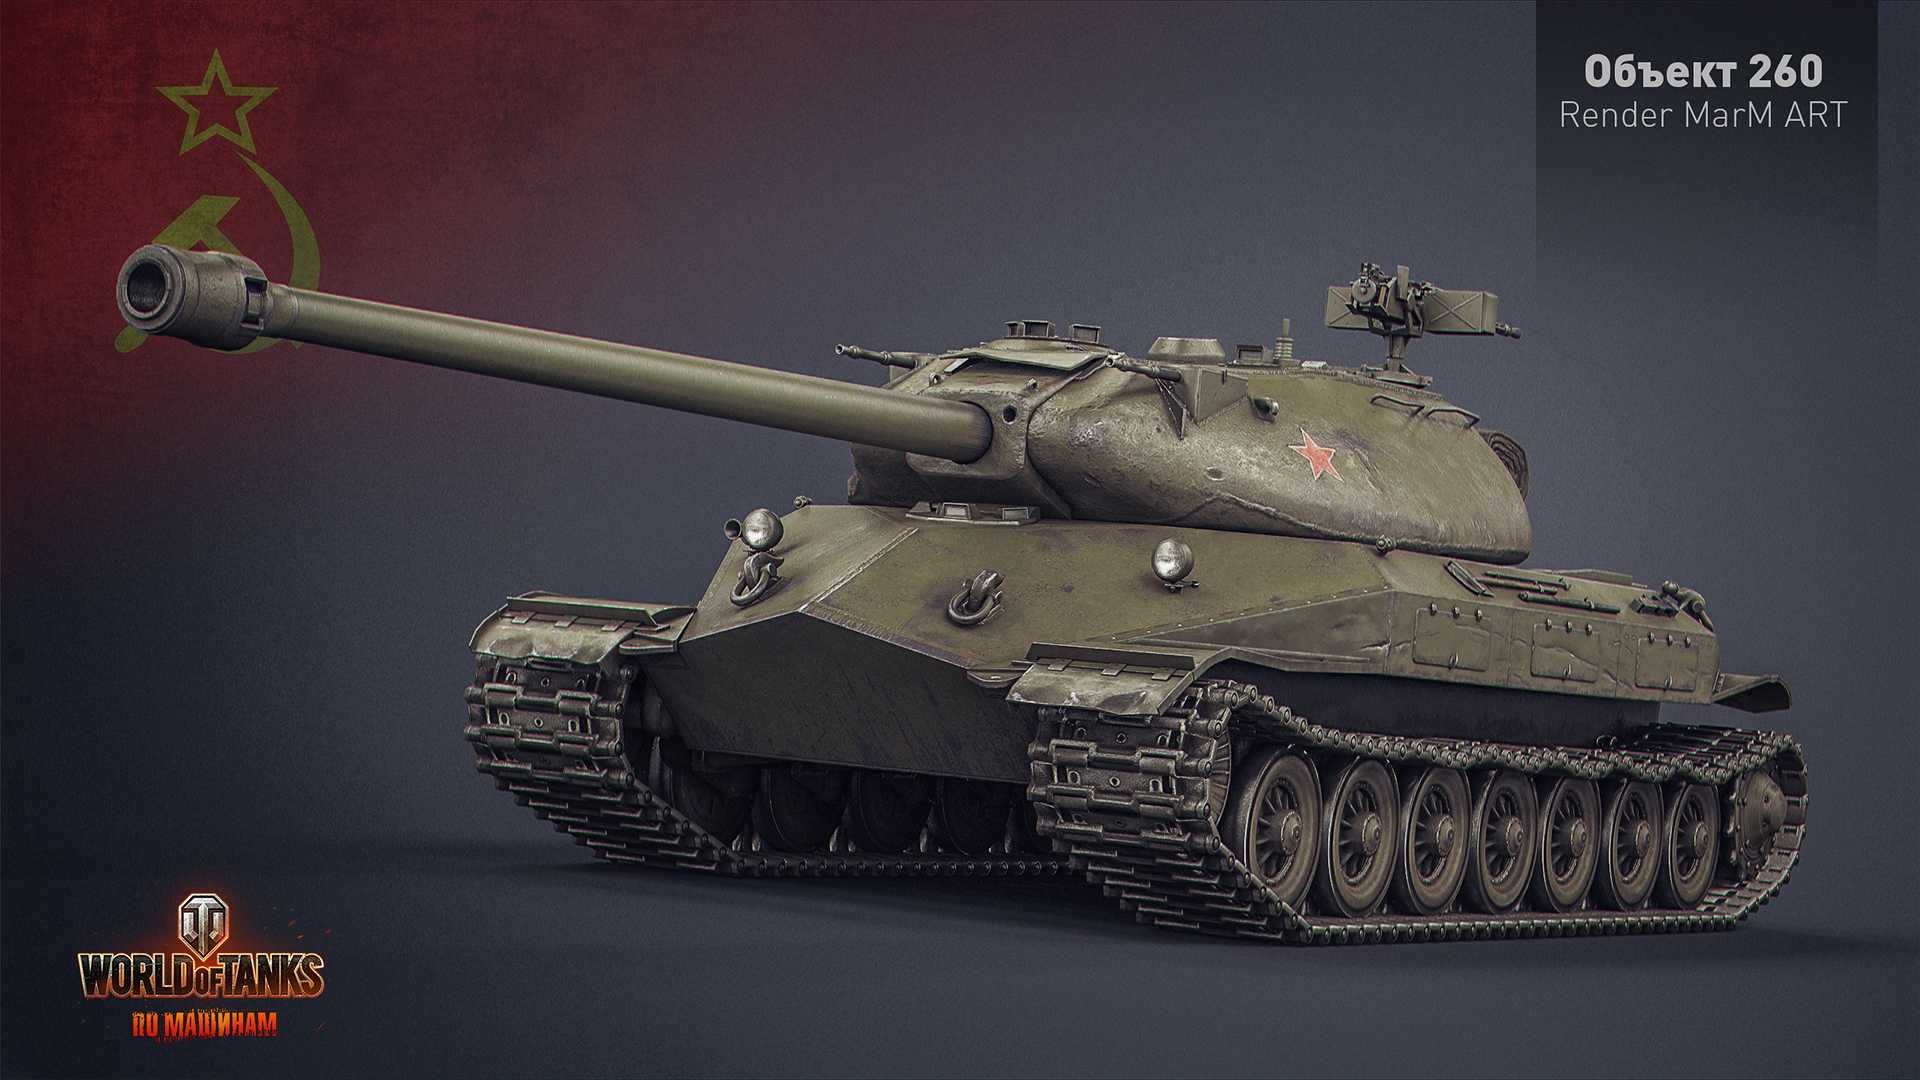
Printing Tutorial Object 260 Part 6 of 8 PART ONE CAN BE FOUND HERE PART TWO CAN BE FOUND HERE PART THREE CAN BE FOUND HERE PART FOUR CAN BE FOUND HERE PART FIVE CAN BE FOUND HERE Over the next 8 lessons I will be showing you how to reproduce the « Object 260 » tank on your home printer. I will include detailed part lists and assembly instructions plus videos of different stages during the manufacturing, assembly and finishing of the tank. The tutorial will cover : Printing the individual parts Post preparation of printed parts Assembly Painting and finishing If you follow this tutorial you will end up with a scaled version of the Object 260 and probably a headache from the repeated « Casatchock » music in each video. If anybody has difficulties or needs advice please contact me through MMF studios, I will be more than happy to help. Tank Tracks Part name Description Qty TR01 Track section 140 Printing the tracks Start by printing 2 pieces. This will allow you to test fit them together before printing the 140 pieces needed, scale in the X,Y or Z axes if adjustment is needed and print new test pieces. You could mix and match 1 standard piece and 1 scaled piece if needed. Once you are happy with the fit you can print all the pieces I could print half the required parts in one go. 70 pieces Printer settings Layer height 0,2mm Top, bottom and side layers 3 Infill 25% Support 0% Download the PDF file for more details Object 260 Lesson 6 from Reg Taylor on Vimeo.
With this file you will be able to print Lesson 6 Object 260 with your 3D printer. Click on the button and save the file on your computer to work, edit or customize your design. You can also find more 3D designs for printers on Lesson 6 Object 260.