Letter Building Blocks
thingiverse
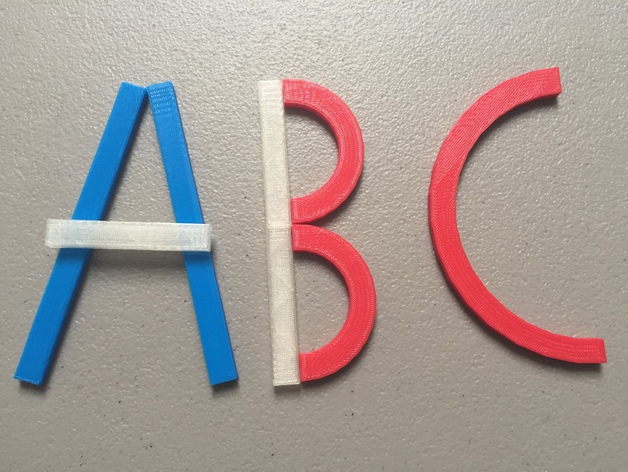
You can use building blocks to teach kids about letter formation. These blocks are great for supporting knowledge of capital letters and noticing similarities or differences between each one. To make a complete set, print 8 Big Lines, 6 Little Lines, 6 Big Curves, and 6 Little Curves. However, you can build any single letter with at least 4 Big Lines, 3 Little Lines, 2 Big Curves, and 2 Little Curves. In the classroom, a teacher could have each student use the shapes needed to make the first letter of their name in Tinkercad. Model how to rotate shapes on the workplane, move pieces, and group pieces into one object. This project supports several Reading: Foundational Skills Standards for Kindergarten, including recognizing uppercase and lowercase letters. There are two options for this activity. Option 1 is for teachers/family members to print a letter making set of blocks. Children can use these blocks to create/build capital letters to gain knowledge of letter formation. Option 2 involves importing different .stl files into Tinkercad and having students work in teams to design the first letter in their name out of different blocks/pieces. This project supports several Reading: Foundational Skills Standards for Kindergarten, including demonstrating understanding of print organization and recognizing uppercase and lowercase letters. The lesson plan includes activities such as introducing children to block names, modeling how to make the first letter of each child's name, and having kids try it themselves.
With this file you will be able to print Letter Building Blocks with your 3D printer. Click on the button and save the file on your computer to work, edit or customize your design. You can also find more 3D designs for printers on Letter Building Blocks.