Life Sized Talking BMO From Adventure Time (that's Also an Octoprint Server!)
prusaprinters
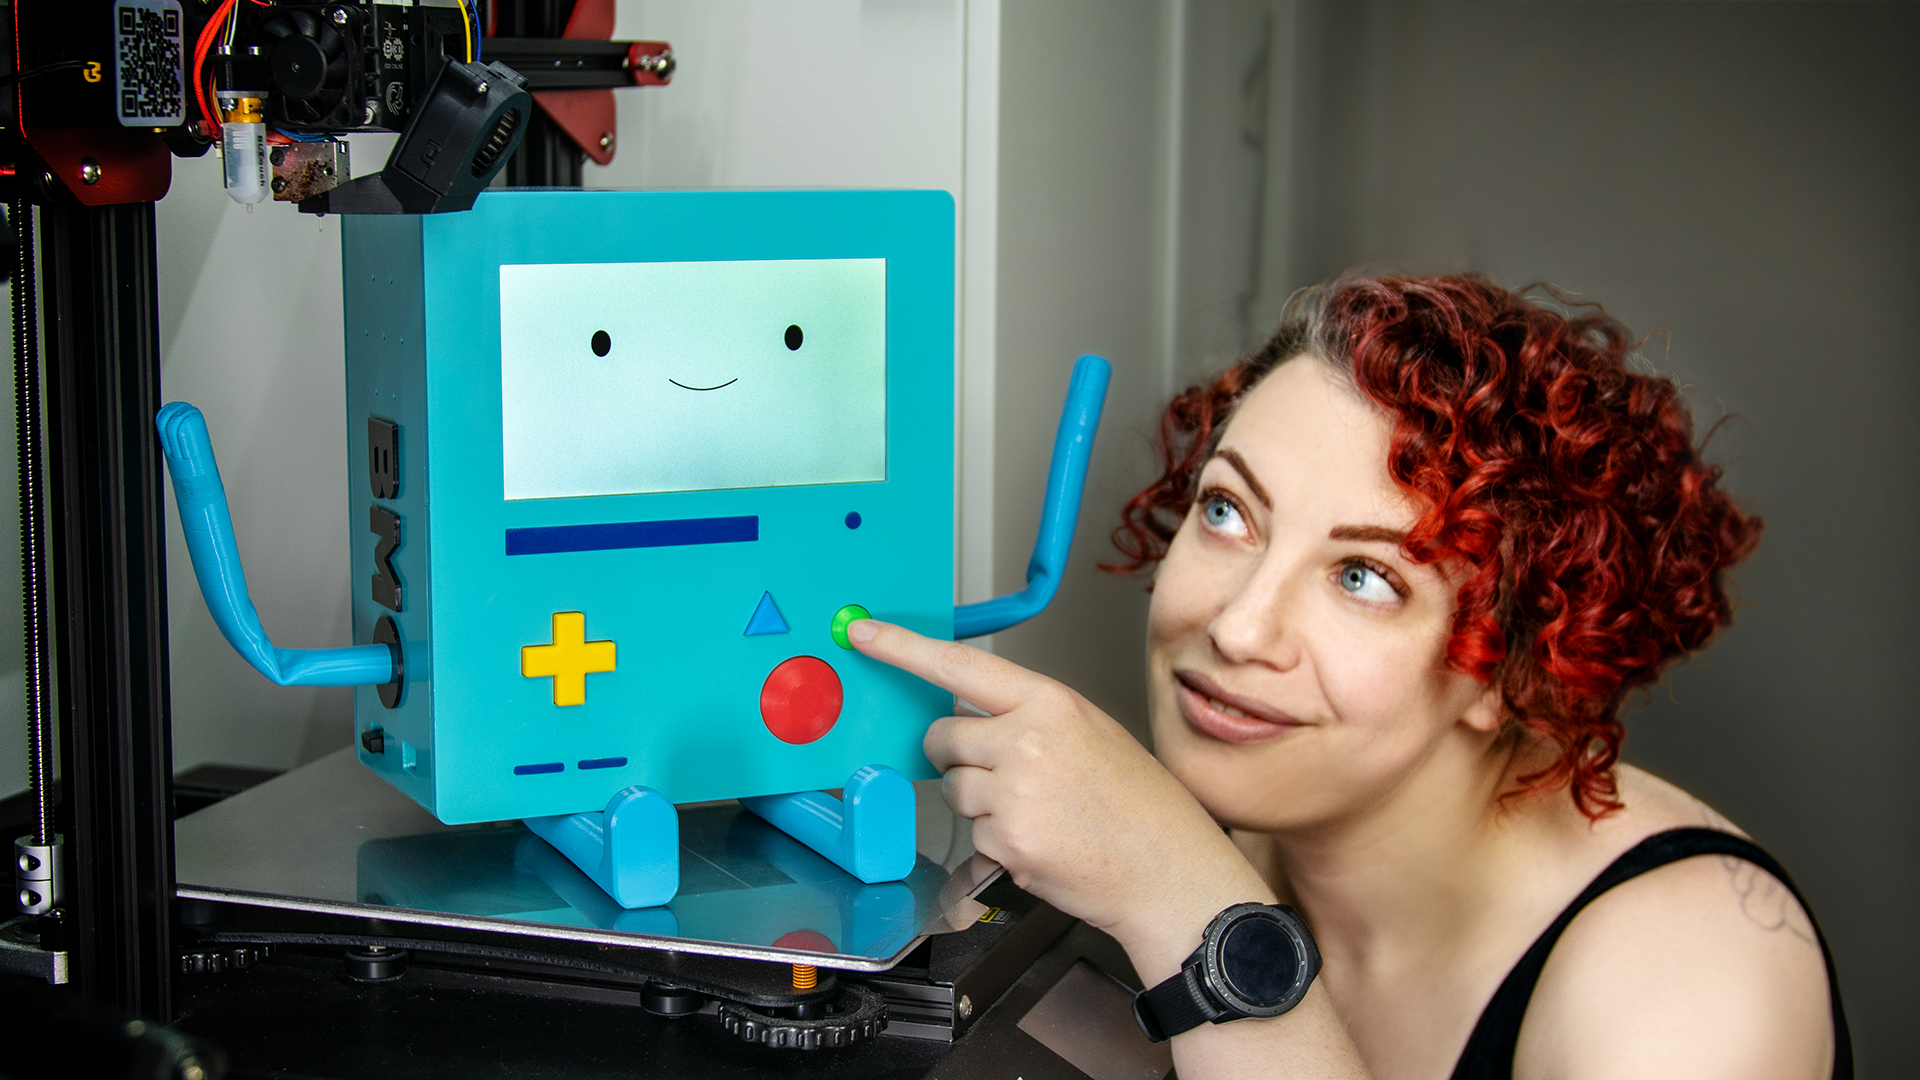
<figure class="media"><oembed url="https://youtu.be/1ew_Q0nsBG4"></oembed></figure><p> </p><p>Who WOULDN'T want their own life sized BMO who could say nice things and help control their 3D printer??</p><p> </p><p>I love using <a href="https://octoprint.org/">Octoprint</a> to control my 3D printers, an open source plugin and web interface that gives incredible remote access to any 3D printer with a USB port. I also LOVE <a href="https://adventuretime.fandom.com/wiki/BMO">BMO</a> from Adventure Time, the adorable little robot friend that accompanies Finn and Jake on their adventures and looks a bit like a giant Gameboy. Why not combine the two things to have a fun little robot friend who drives your 3D printer AND says nice things to you??</p><h3><strong>Introducing; BMOctoprint!</strong></h3><p> </p><p>All the 3D printable files can be found here; additional files like animation and code can be downloaded from my <a href="https://github.com/katzcreates/BMOctoprint">Github</a>. The full build instructions can be found on <a href="https://www.instructables.com/Life-Sized-Talking-BMO-From-Adventure-Time-thats-A/">Instructables</a> as it's a rather complex build!</p><p>Be sure to watch the whole build video series on <a href="https://www.youtube.com/c/katzcreates">YouTube</a> to get the whole experience of creating <strong>BMOctoprint</strong> and to help if you get stuck anywhere along the way. I've done my best to capture as much of the creation process as I can, but <strong>BMOctoprint</strong> is a complex build, so please comment and ask if I've missed anything essential! You can also reach me on my <a href="https://katzcreates.com/">website</a> or on <a href="https://twitter.com/KatzCreates">social</a> <a href="http://instagram.com/katzcreates">media</a>!</p><p> </p><p>(Since I have provided CAD files for BMO's case, it is possible to alter <strong>BMOctoprint</strong> to serve a different purpose or use different parts. The printed parts here are meant to follow along with how I have built and purposed <strong>BMOctoprint, </strong>but you are encouraged to alter the design to accommodate different components. Please feel free to create your own version if you feel so inclined!)</p><p> </p><p><strong>BMOctoprint</strong>'s 3D printing files have been optimised to make printing as simple and straight forward as possible, however, as with all large 3D printing projects there is still a certain degree of prior 3D printing knowledge required to successfully create your build. I recommend that you be comfortable printing with PETG and have a good PETG printing profile for your printer, as there is a lot of PETG printing for this project.</p><p><strong>These are large prints! Please proceed with appropriate caution or risk wasting filament!</strong></p><p> </p><p>In addition to all the individual pieces being available as STL files, there are also CAD files (.f3d and .STEP) that contain the whole model in 'assembled' form. The large case parts have been optimised for use with either a 0.4mm or 0.6mm nozzle, while the smaller pieces print best with either 0.4mm or smaller nozzles (I have successfully printed the buttons with a 0.1mm nozzle, but that is hardly necessary!).</p><h3> </h3><h3><strong>I highly recommend printing the large case pieces with a 0.6mm nozzle to save on print time. While a 0.4mm nozzle can be used, it will take substantially more time and will not save on filament.</strong></h3><p> </p><p>Tolerances should be fine for most printers, but it is still recommended that you print the provided Test Fit pieces to check the fit of the pieces before committing to the larger prints. This will allow you to check the piece alignment/fit, as well as the fit for the screws. A M4x6 can be used to check the larger screw hole, and a M3x16 for the three aligned holes.</p><h3> </h3><h3><strong>If you are struggling with tolerances and fit, it is possible to adjust these within the CAD files, but I'm afraid I cannot provide a range of part sizes for this due to the work involved. I am happy to advise on how to improve the fit but cannot provide additional files.</strong></h3><p> </p><p>All STL files are in the best orientation for printing as is and don't require moving. Most pieces can be printed without supports, but minimal supports are required for some pieces. If unsure, print with supports!</p><p>Main case pieces and mounting pieces should be printed in PETG to handle the heat from the electronics without issue. I can highly recommend <a href="https://eu.polymaker.com/product/polylite-petg/?aff=44">Polymaker PolyLite PETG</a> (affiliate link) in Teal for this, as it is the perfect BMO colour!</p><p>BMO's limbs ideally should be printed in a soft TPU to allow for flexibility and posing! I used <a href="https://recreus.com/gb/filaments/9-694-filaflex-82a.html#/2-diameter-175_mm/3-weight-500_gr/14-colour-blue">Recreus Filaflex 82A in Blue</a> with great results, <a href="https://eu.polymaker.com/product/polyflex-tpu90/?aff=44">Polymaker PolyFlex 90A</a> (affiliate link) works as well if you struggle with softer TPU. The Arm model comes in two variations; a whole version and a segmented version. If you are struggling to print the whole version in one go but don't want to use the segmented version (less clean looking) it's also possible to 'slice' it into two pieces in your slicer of choice and use <a href="https://www.instagram.com/reel/CcI-6JzDguU/?utm_source=ig_web_copy_link">TPU welding to put the two pieces together</a>. <strong>There are slots in the hands for neodymium magnets that can be pushed into place while the print is paused if you so desire.</strong></p><p>Buttons and other detail pieces can be printed in PLA or whatever you please!</p><p>Some minor clean up may be required to get everything looking good and fitting together properly, but it should be minimal. If at all possible, print on a smooth or shiny print bed to get a BMO with a shiny surface!</p><p>Once you've printed the test prints and are feeling comfortable with the tolerances, get printing! It will be a good couple of days worth of printing to get everything done, so go do something else fun while <strong>BMOctoprint</strong> prints!</p><p> </p>
With this file you will be able to print Life Sized Talking BMO From Adventure Time (that's Also an Octoprint Server!) with your 3D printer. Click on the button and save the file on your computer to work, edit or customize your design. You can also find more 3D designs for printers on Life Sized Talking BMO From Adventure Time (that's Also an Octoprint Server!).