Lifecam HD-3000 Fixed Mount
thingiverse
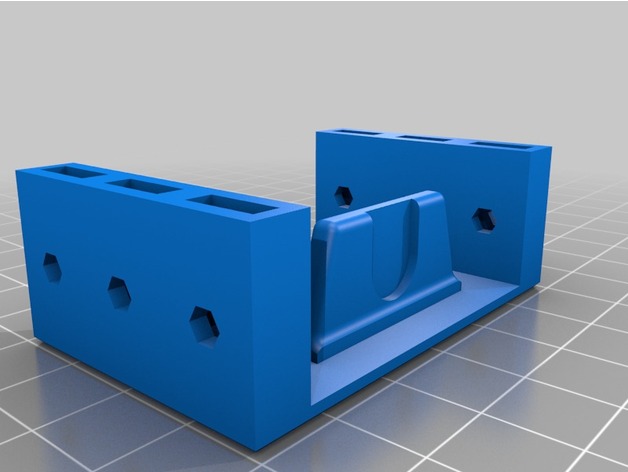
Some basic files to hard mount a Lifecam HD-3000 on your robot. Can be used for the camera alone, or add a high power LED on a heatsink. (Details still TBD, but see the notes section.) Also on Github: https://github.com/Techbrick/Electronics-CAD Use short screws when mounting - there is no clearance between the Lifecam and the printed wall. Also, these files will require a fairly well calibrated printer. There are no tolerances built in on the meshing surfaces. Heatsink & Wiring Heatsink: The current plan is to try a 1" long section of Heatsink USA's 1.813" heatsink for the LED star. Drill and Tap four #8-32 screw holes, centered on the corners of a 23/16" x 1/2" rectangle, on the face of the heatsink. Secure the LED star to the heatsink with thermal tape. Mount standard 20mm optics over the LEDs. Wiring: Currently planning to use Meanwell Constant Current regulators. Power in will be connected to the PDP, and the enable signal will be tied into a Rio DIO, so that we can control the LEDs being on or off. (Note: For any high power LED, please make sure you can turn it off if you are not using it. Your teammates, opponents, field staff, and spectators will all appreciate it.)
With this file you will be able to print Lifecam HD-3000 Fixed Mount with your 3D printer. Click on the button and save the file on your computer to work, edit or customize your design. You can also find more 3D designs for printers on Lifecam HD-3000 Fixed Mount.