Light painting LED orb
thingiverse
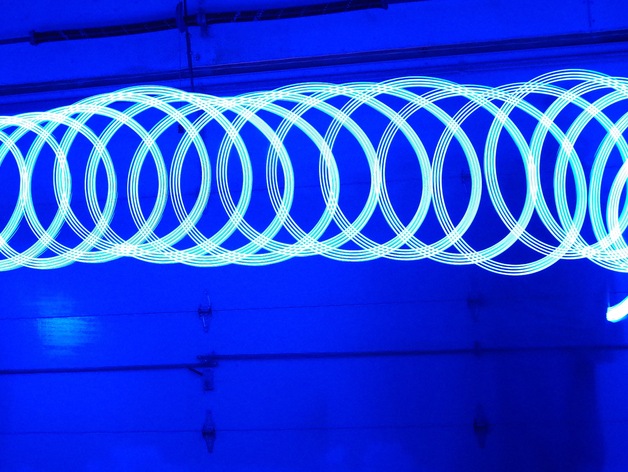
My daughter and I have been experimenting with light painting, producing interesting photographic effects by leaving the camera shutter open for a long time in a dark room, and moving various kinds of lights in front of the lens. One popular piece of equipment for light painting is generically referred to as an 'orb tool', a light source on a string that you can swing in circles. There are fairly simple ways to make them by taping LED light strings into bunches or modifying flashlights, but I wanted something with a little more character, and in particular something that would be visible from all sides. This project lets you combine some inexpensive LED tape with a 9 volt battery to create a cylindrical light source that can be safely attached to a piece of paracord and swung around to make interesting light painting patterns. Do be careful though - you're swinging a bright light in a dark place, and it's easy to get confused and smack it into something or someone! Print Settings Printer Brand: RepRap Printer: OB1.4 Rafts: Doesn't Matter Supports: No Resolution: 0.3 Infill: 50% Post-Printing After printing the form, you'll need some other supplies: 9 or 12 volt LED light tape (I used inexpensive stuff that I got on eBay, with a self-adhesive backing) a 9 volt battery clip (you could disassemble an old toy and steal its clip) 9 volt battery paracord soldering iron and solder Wrap the LED tape around the cylinder to see how much you'll need, and trim the tape at the closest cut point (there will be marks where it's safe to cut). Solder the wires from the battery clip to the tape, minding the polarity. From the bottom, thread the paracord into one hole, pull a loop out of the the body of the tool, then push it through the other hole. The 9v battery should fit snugly in the hollow, with the paracord crossing over the top between the two contacts. Tie a secure knot at the bottom of the body. Then attach the battery clip to the battery and wind the LED tape around the cylinder, leaving enough slack in the wires to let you easily remove the clip when you want to turn the light off. If you have self-adhesive LED tape, it should stick well enough; if not, you can use double-sided tape or foam. You may also want to cover the LEDs with clear tape to keep them secure and provide a little more protection. To use the tool, just attach the battery clip and start painting. I like to drop the tool in my pocket when I'm done with the shot so I don't get any extra light. For ideas and examples of how to use it, just search for "light painting orb".
With this file you will be able to print Light painting LED orb with your 3D printer. Click on the button and save the file on your computer to work, edit or customize your design. You can also find more 3D designs for printers on Light painting LED orb.