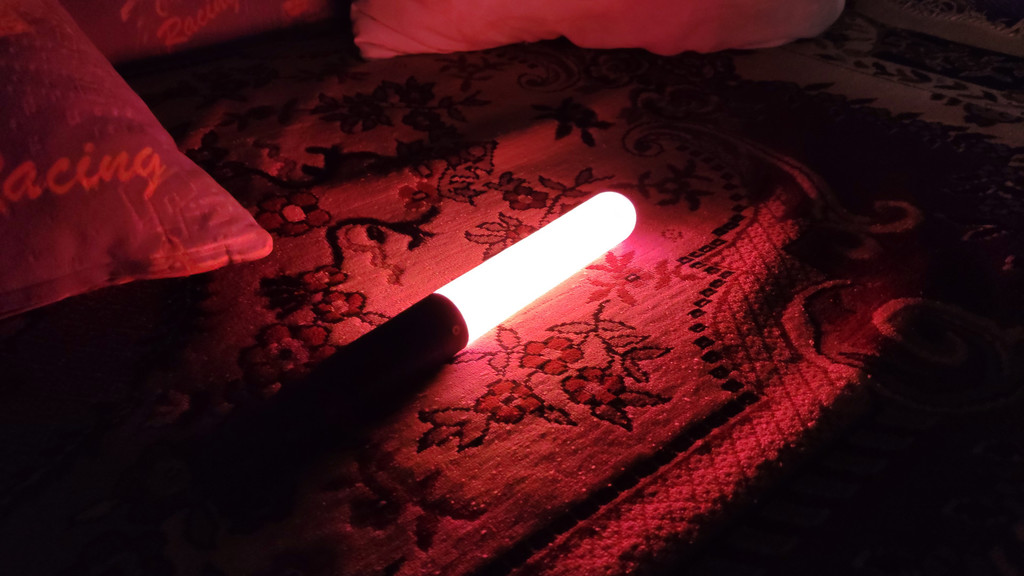
Light stick
thingiverse
**Components:** --------------------- * 2x 2x5mm screws * 1x 2.5x20mm screw * 1x 12x12x3mm button with cap * ESP-01s + [WLED firmware](https://github.com/Aircoookie/WLED/releases) * Charger (TC4056A) + DC-DC boost controller * Custom board with soldered AMS1117-3.3v (ESP power and connections board. I cut from prototype board) * 3x15cm LED strip (WS2812b) * 1x 21700 or 18650 battery * Soldering iron + straight hands ^_^ **WLED tuning:** --------------------- Add presets ("API Command"): * "`T=2`" - Power switch * "`P1=1&P2=31&PL=~-`" - Previous preset * "`P1=1&P2=31&PL=~`" - Next preset Note: P1 - First preset, P2 - last (Count of presets). Go to Config - Time&Macros - Button actions And set this 3 presets to any button actions you like. In "segments" - add 3 segments, 9 leds per segment. "Reverse direction" for 2nd segment (Or 1 and 3) for better animations. WARNING: ==================== 1. On full bright - LEDs can generate too much heat, possible to deform holder. Use ABS plastic or reduce brightness. 2. DC-DC converter based on TP4056A chip. This chip does not have uder-voltage protection, so possible to damage battery (voltage drop upto 2.7v - then ESP may glitch and/or you can see some light glitches) **TODO: Replace DC-DC to more reliable and functional module.**
With this file you will be able to print Light stick with your 3D printer. Click on the button and save the file on your computer to work, edit or customize your design. You can also find more 3D designs for printers on Light stick.
