
Light Up Sign
thingiverse
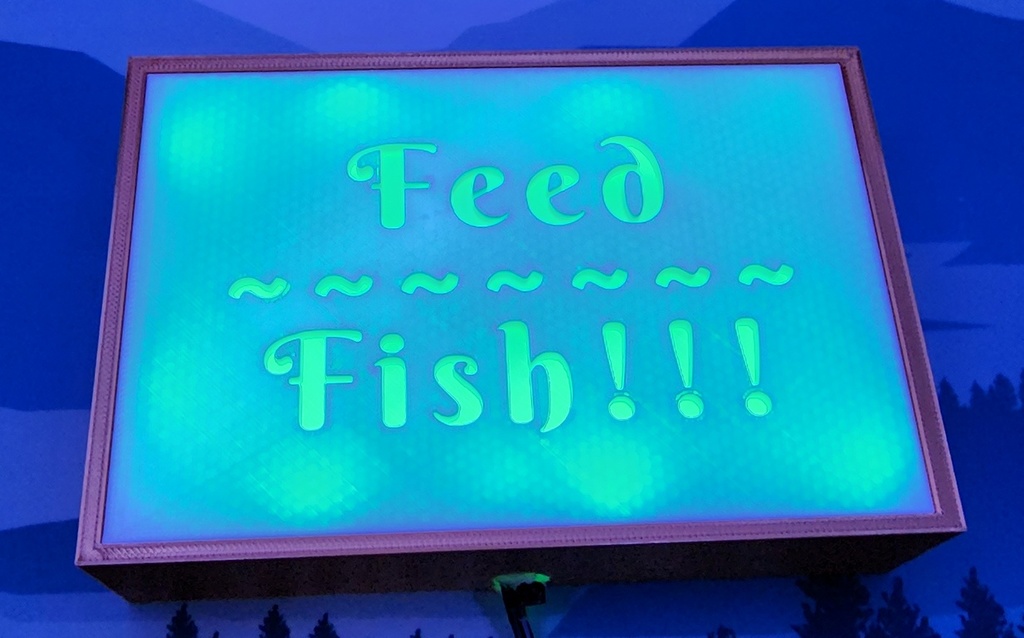
I have a daughter who loves feeding my fish, it is a 125 gallon aquarium with a lot of fish... we feed them twice a day. Problem is, I don't always know if my daughter has fed them or not and I am sure there are days where I make the wrong assumption and they get fed too much after I feed them a third time or too little that day after they only get fed once and eagerly chase anyone who walks along the tank from end to end, they beg like a sad puppy, and trust me, a parrot fish can do sad puppy eyes... That's where this project comes in! This is a light that turns on based off a desired time and turns of after a tilt/vibration sensor that is installed on my fish food container senses movement for 10 seconds. What you need: - 3d printer... obviously, check, done... why else would you be looking for printer stl files... - Smart home running home assistant (or another smart home equivalent with custom automation capability). I have an Intel NUC running VM VirtualBox with Home Assistant that has USB radio sensors, ZigBee sensors and z-wave sensors. Its also running a Minecraft server for my kids, but that's another topic. - A tamper switch I'm using this guy with Z-Wave: https://smile.amazon.com/dp/B0B3CNN8VC?psc=1&ref=ppx_yo2ov_dt_b_product_details - A smart LED Light I'm using a strip light controller with extra LED light strip I have from other projects: https://www.ebay.com/itm/223985412718?var=522743154544 and a basic power supply: https://smile.amazon.com/dp/B00FEOB4EI?psc=1&ref=ppx_yo2ov_dt_b_product_details - Some Automation capability, feel free to hate on me for my lack of coding ability, but I use Node Red in my Home Assistant! To make the sign I used the following website to generate the text file i wanted: https://text2stl.mestres.fr/en-us Use the negative text on support option, look at the examples on the initial webpage. Once you have your stl for the top of your sign, lets edit it! I use Blender to edit files, there's a learning curve to it, but that's what YouTube is for... the top size is 153mm x 102mm x 4mm. Resize your file appropriately, if you don't like the way the text looks, go back to the website and tweak your original design and try again. This next part is optional, but if you use letters like O or D or Q, anything that will leave a detached piece of lettering, you may want to do this so that part will stay attached to the top.... Using the Boolean function in Blender, ad a 0.5mm thick backing to your top. I just sized a cube mesh to 150mm x 99mm x 0.5mm and placed it so that it was flush with the back of the box top and all edges were inside the top and used the Boolean Union option, then deleted the cube. By doing this you have made a very thin layer to hold any floating text in place and also made a "diffuser" for the LED that we will be putting in the box. I printed my top in white PLA which lets the LED colored light through nicely, and the box in Silk Copper PLA which helps reflect light to the top of the box! Alright, so now we have a box printed, but we need to put a light in it, and make it smart... Lets Go! The hole in the bottom of the box is sized to the size of the DC Plug in the LED controller. I hot glued it and the controller in place on the inside of the box, then stuck a strip of LEDs around the walls of the box to make the light with a little hot glue to hold those, the supplied tape on LEDs is pretty bad... power up and sync your LEDs with Tuya, which I have setup to communicate with home assistant, again, watch/learn on YouTube! ~In full disclosure, I ended up having to use a different LED controller (older, not a smart device) and a smart outlet to automate this one due to the month lead time for me to get the LED controller that I wanted delivered, which of course I now have 5 of those controllers on order for future projects because I'm impatient! It does show that all you need is a controllable light source for this project, use whatever you can find that fits in the box!~ Then I attached my Tilt Sensor (which is also synced to home assistant) to the top of my mason jar lid that I use for fish food. I mix my own fish food from many different types (Flakes, Pellets, floating and sinking cichlid food, freeze dried shrimp, etc.) and keep it in a small mason jar on my aquarium. Finally, I use Node Red in Home Assistant to setup timers to turn the LEDs on in the morning and at night (0400, 1600) and watch for an event state change on the tilt sensor with a 10 second delay to turn off the light. I added the 10 second delay so that the sensor has to detect movement for 10 seconds before shutting off the light, thus preventing momentary bumps or shocks from turning off the light. So, at 0400/1600 the LEDs will turn on lighting up my "Feed Fish" sign. When I/my kids pick up the mason jar and unscrew the lid to feed the fish, the sensor sends a motion detected signal to home assistant to turn off the light!
With this file you will be able to print Light Up Sign with your 3D printer. Click on the button and save the file on your computer to work, edit or customize your design. You can also find more 3D designs for printers on Light Up Sign.