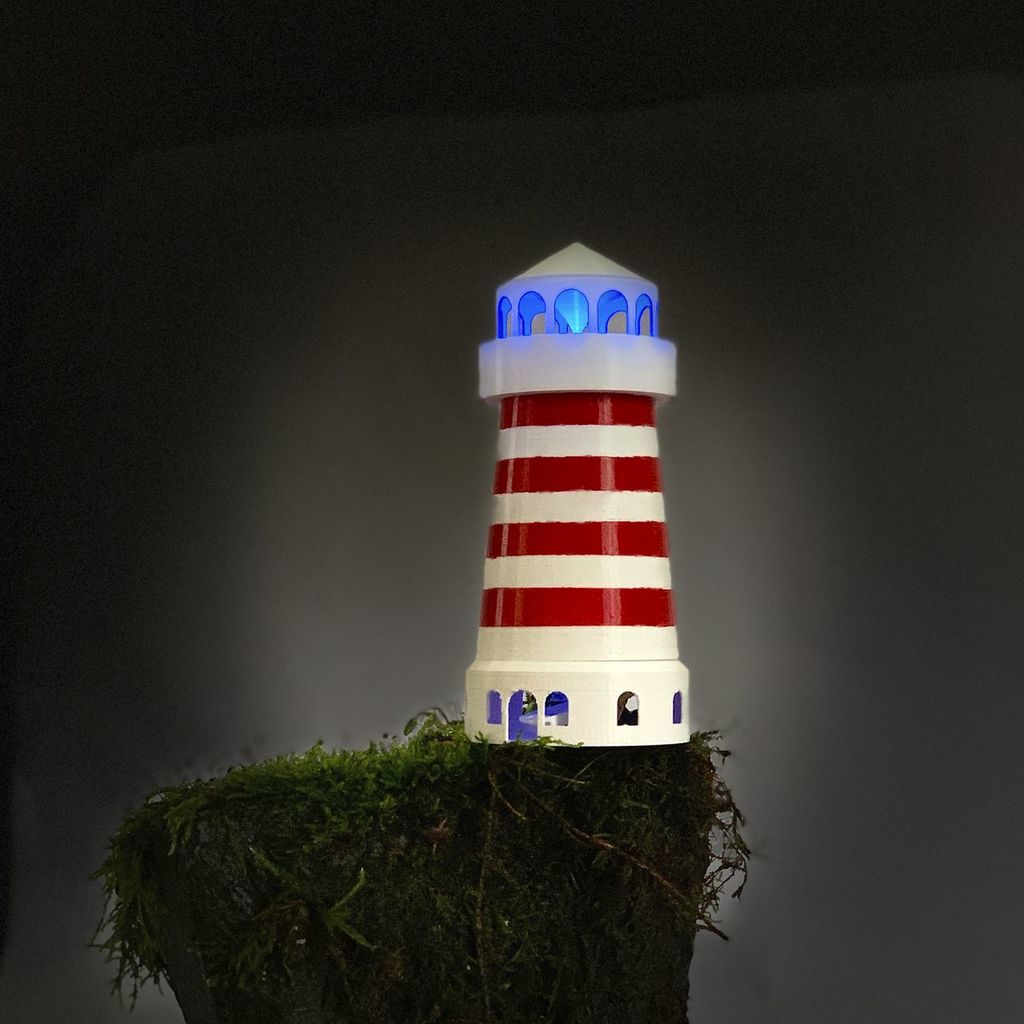
Lighthouse - CO2-Temp-Hum-MQTT-Sensor - Homeassistant
thingiverse
I wanted to build another sensor for homeassistant and needed a housing. I thought about some kind of chimney where the air flows in from the base and then up to the top. Therefore the sensors are mounted in the base, the ESP in the trunk and the LEDs at the top. The color of the LED indicates the concentration of CO2 in the air by changing it´s color from blue over green, yellow to red or even flashing red. To make it more attractive, the form of the lighthouse came to my mind :) PARTS USED Node MCU (ESP8266) DHT22 - temperature and humidity sensor MHZ19b - CO2 infrared-sensor Neopixels LED - one in my case, a small ring will fit too. I did some experiments with different CO2-sensors in the earlier project. The MHZ19b combines reliability and affordability. The wiring diagram is taken from my older project (so just forget about the display for the lighthouse). SKETCH Before using the sketch, you´ll have to change the credentials matching to your wifi and MQTT-broker. Look for it, it´s marked by matching comments. The sketch subcribes to a topic "zh-19b3/lamp". This is used to switch the LED off - so you won´t be disturbed at night for example. In that case, the data is still sent to the broker of course. PRINTING Everything prints without support. The material doesn´t matter. Use some double-side tape to attache the EPS-mount to the inside of the trunk. If needed, you can fix the eps with a little (3 mm) screw. The sensors and the LED are mounted with gluing pads as well.
With this file you will be able to print Lighthouse - CO2-Temp-Hum-MQTT-Sensor - Homeassistant with your 3D printer. Click on the button and save the file on your computer to work, edit or customize your design. You can also find more 3D designs for printers on Lighthouse - CO2-Temp-Hum-MQTT-Sensor - Homeassistant.
