Limit switch mounts for Shapeoko
thingiverse
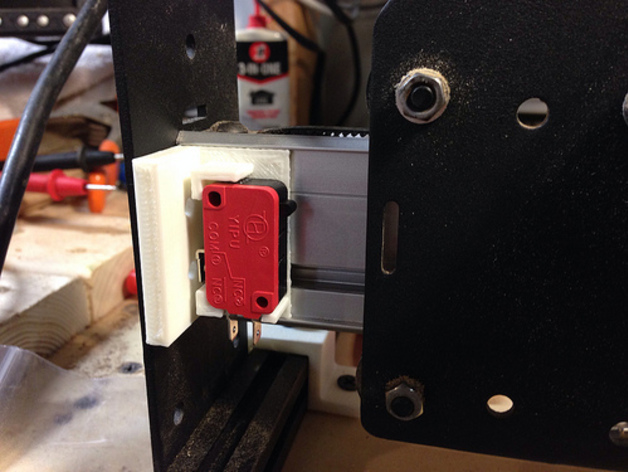
Limit switches are crucial for safeguarding your Shapeoko from carriage overruns, as well as enabling auto-homing routines. You can purchase a 5-Pack of limit switches on Amazon for under $5, providing ample switches for an auto-zeroing system. To install these switches, simply tap the two holes for M5 screws, insert into makerslide grooves, and secure to the Shapeoko end-plates. Additionally, a third hole has been added for y-axis end-plate mounting. Check out this video to see the limit switches in action! Remember, this document outlines how to connect limit switches to grbl.
With this file you will be able to print Limit switch mounts for Shapeoko with your 3D printer. Click on the button and save the file on your computer to work, edit or customize your design. You can also find more 3D designs for printers on Limit switch mounts for Shapeoko.