Linear Guides Mod for Anycubic Predator
thingiverse
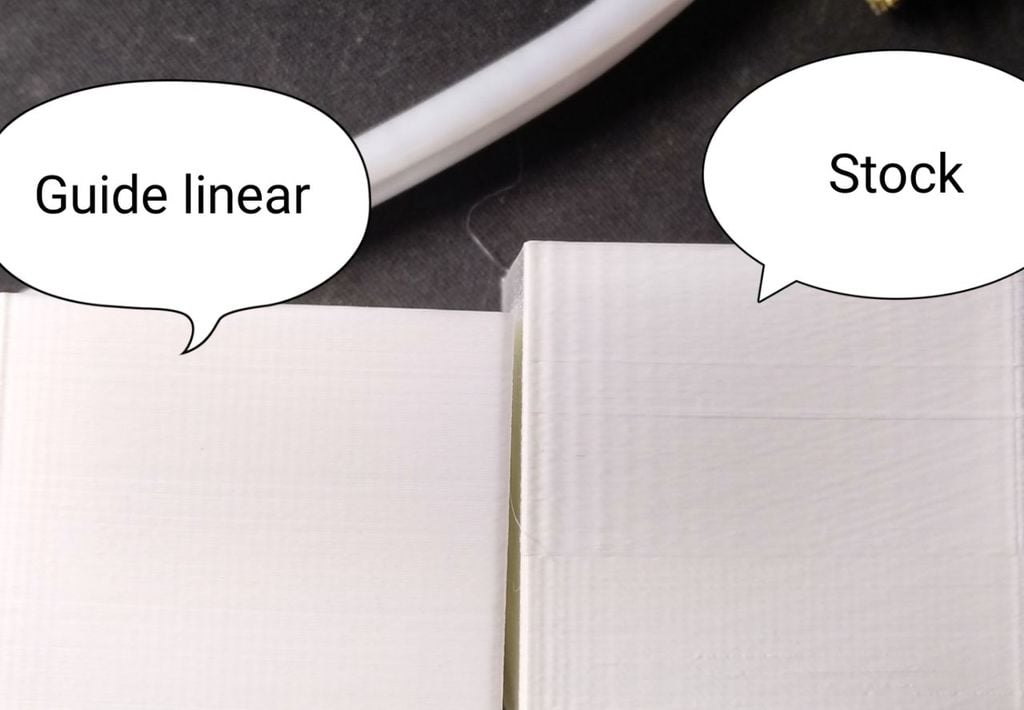
¡Hola! Me alegra ayudarte a entender el proceso de montaje del perfil de tu impresora 3D Anycubic Predator. El documento proporcionado es detallado y ofrece instrucciones paso a paso, pero te menciono algunos puntos importantes para asegurarte de que cada pieza esté bien calibrada: 1. **Calibra las piezas antes del montaje**: Asegúrate de que todas las piezas están impresas correctamente y no tienen daños o deformaciones. Esto es crucial para garantizar la precisión y funcionalidad de tu impresora. 2. **Utiliza el material adecuado**: El documento menciona que se han utilizado soportes y un alto de capa de 0.25mm con cuatro capas superior e inferior, lo cual es común en la mayoría de las impresoras 3D para obtener una calidad óptima. 3. **Montaje cuidadoso de los componentes**: Durante el montaje, asegúrate de no apretar demasiado los tornillos en los puntos de unión. Esto puede causar daños a las piezas o afectar la precisión del movimiento de la impresora. 4. **Ajuste y calibración fina**: Después de completar el montaje, es importante ajustar y calibrar todos los componentes. Esto incluye asegurarse de que todas las correas estén sueltas, pero no demasiado, y que los tornillos estén apretados suficientemente para mantener todo en su lugar. 5. **Pruebas previas al uso**: Antes de empezar a usar tu impresora 3D, es importante realizar pruebas simples para asegurarte de que todo está funcionando correctamente. Esto puede incluir imprimir pequeños objetos y verificar la precisión del movimiento. Recuerda que cada pieza debe estar bien calibrada para garantizar el buen funcionamiento de tu impresora 3D. Si tienes alguna duda durante el proceso, no dudes en buscar ayuda adicional o consultar las instrucciones proporcionadas por el fabricante de tu impresora. ¡Buena suerte!
With this file you will be able to print Linear Guides Mod for Anycubic Predator with your 3D printer. Click on the button and save the file on your computer to work, edit or customize your design. You can also find more 3D designs for printers on Linear Guides Mod for Anycubic Predator.