Little green lamp
thingiverse
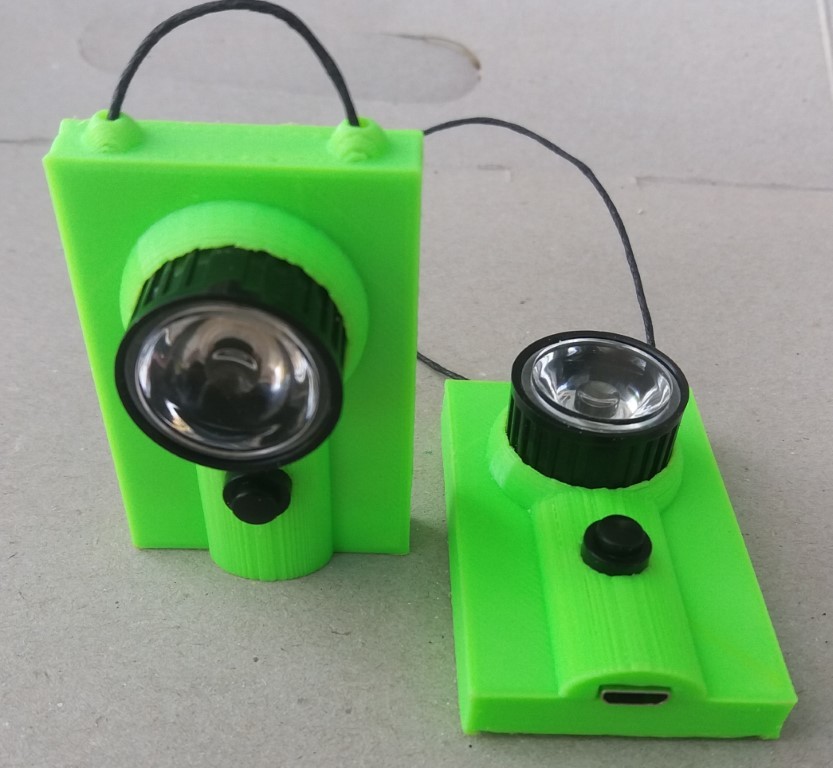
Nice looking little 1W LED lamp, about half creditcard size. Parts : Phone battery 34x54x6mm max. size, power LED 1W white, coolplate, reflector 22mm, USB connector, resistors,TP4055, enamel wire 0.2mm, thin string. Parts source : Aliexpress The charge circuit is the TP4055 SMD chip. The charge current is adjusted to 100mA. There is very little room for parts, please follow these instructions. Cut a perfboard with 3x2 pads. Bend up pin2 of the chip, solder pins 3-4-5 on the board (pin 1 is NC). Solder a short wire to pin3, feed it through the PCB to the other side, solder 1uF on the other side to pin 3. Same time, solder this wire to the flashlight switch's side tab. Solder 1uF 0805 to pin 4 and 10kohm 0603 to pin 5. Solder a thin wire to pin2 and pull it to the other side of the PCB connecting the 1uF there and coming back to the 10kohm GND point. This way the whole assembly is not thicker than 3 mm. Follow the schematics for the rest. Charger circuit too complicated ? see the simple version with diode + resistor. Slow, and the charger voltage must be exact 5.0V. Charger current drops to 5mA at the end. All parts must lay flat, or the battery won't fit. Check the charge current. Pull the carry string in and tie a knot. The LED current is 200-300mA, giving 2-3 hours continous bright light with a full charge. The back cover has wedge sides, take care when sliding it in. Notch is USB side. GreenLampV3.stl is a version for slightly wider (36mm) batteries.
With this file you will be able to print Little green lamp with your 3D printer. Click on the button and save the file on your computer to work, edit or customize your design. You can also find more 3D designs for printers on Little green lamp.