LM3 Drag Chain
thingiverse
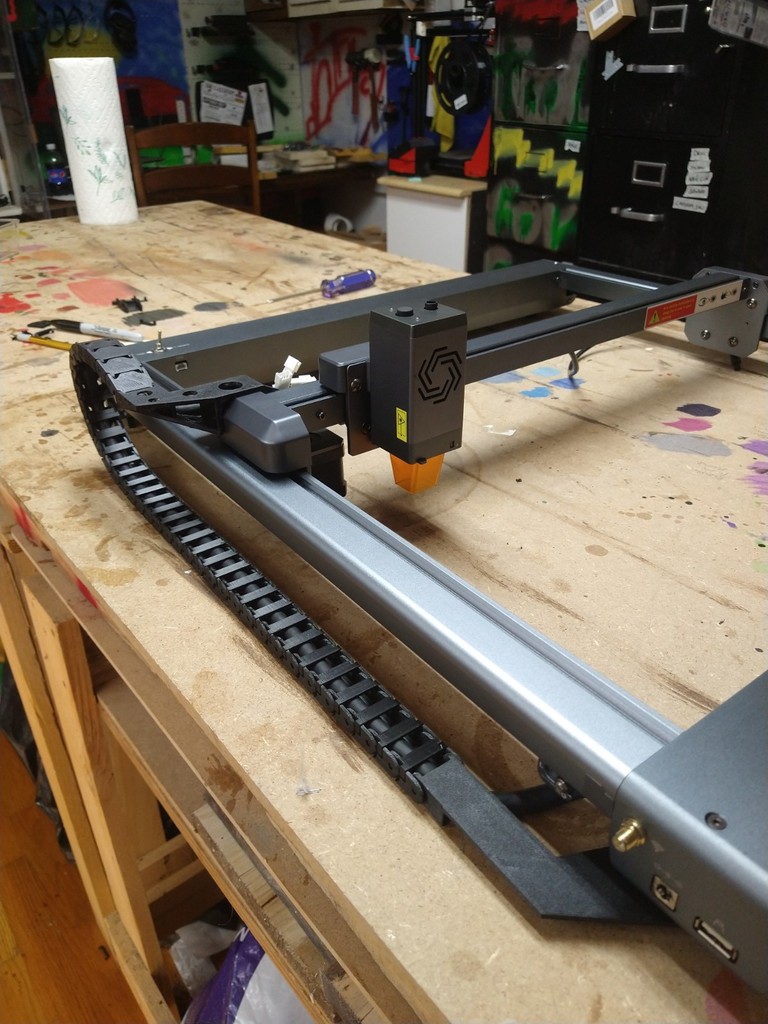
This design makes no modifications to the machine, uses existing holes and existing screws in the gantry. You will need (2) small M4 screws to attach the the frame bracket. Length isn't important, I think I used 10mm. No M4 screws? double-sided tape, duct tape, or bubblegum might work, there's no mechanical stress here, screws just keep the bracket from walking. Bubblegum might invalidate the warranty though so use with caution :P Instructions to print and mount: Print both brackets, whatever material, whatever infill. I used PETG 15%. Gantry bracket will need supports. Print 35 links and covers. I used PLA for these. Install frame bracket from the bottom of machine using (2) M4 bolts. With the machine back upright, attach all 35 chain links to frame bracket. Remove cable from gantry stepper motor and laser. Remove small black factory bracket for main cable located on the gantry. Set screw aside. remove rear screw from dust cover, save this screw too. Remove zip-tie from gantry hole above stepper motor if it's there. Sliding gantry bracket forward from the rear of the machine, insert locating pin into aforementioned hole. (This pin controls "roll" movement of the bracket, those two little screws aren't enough alone). Continue sliding bracket forward around the wheel dust cover until it's snug against the gantry. Put factory screws back in previous positions. Put main cable in drag chain Attach link covers. Attach chain to gantry bracket. Make money :)
With this file you will be able to print LM3 Drag Chain with your 3D printer. Click on the button and save the file on your computer to work, edit or customize your design. You can also find more 3D designs for printers on LM3 Drag Chain.