LNG Ship (Please read building instructions in summary.)
thingiverse
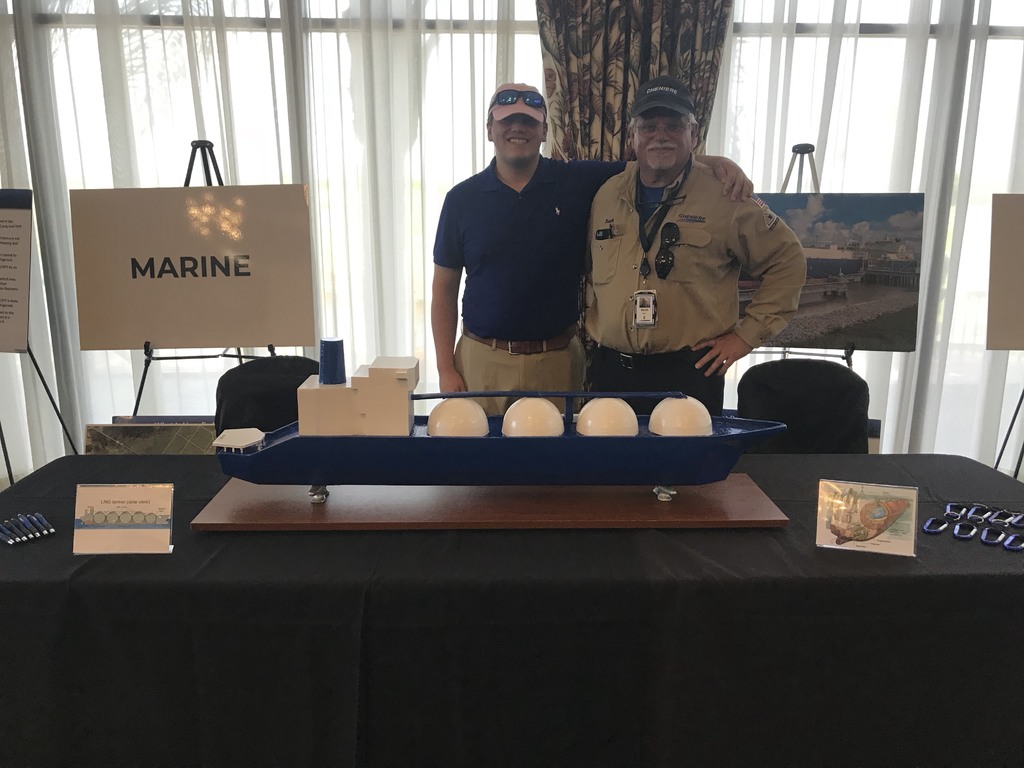
Hello all! Today I have a very special design I worked a total of two months to build! This model is a simplified model of an older LNG carrier model. Each piece has what I call an "outlet" inside of them. These outlets are built to put the included long and short rods inside of. I have included Important side notes, Building instructions, and Detailing instructions. I hope you all enjoy! Link to article about ship: https://www.caller.com/picture-gallery/news/local/2018/07/12/cheniere-energy-open-house/36810873/ THIS SHIP MUST BE MADE OF ABS PLASTIC FOR BOTH CORRECTIONS IN WARPING AND ASSEMBLY. IMPORTANT Side Notes: 1.) You will need to print a total of 4 long rods for each bottom hole in every outlet (the square hole not parallel to any other square holes) half of each long rod should fit perfectly in length (meaning they are a tight fit and need to be hammered in). 2.) You will need to print a total of 8 short rods for each of the top square holes that are both parallel to each other. 3.) The right and left center piece file MUST be printed twice and attached to each side of the piece labeled "CenterPiece), creating one giant center piece. Instructions (Fairly Simple) 1.) When hammering in the included rods make sure to align both the dowel ends and the inner walls of each hole with acetone before hammering the rods.(this will not only be secure but also weld the rods in place) 2.) After assembling all of the main pieces together (Nose, CenterPiece, RightAndLeftCenterPiece, and Tail) you will then need to acetone weld each of the 4 printed tanks to the top as seen in the pictures included in the post. 3.) After tanks have been acetone welded on you will then need to acetone weld the bridge piece towards the back of the ship as seen in the included pictures of this post. 4.) Finally acetone weld each of the pipe pieces and helipad into place as seen in the pictures of this post and the ship will be finished! Instructions for perfect detailing 1.) Make sure to look for any possible warps. If you have warps you will need a 3D pen (I recommend the 3Doodler). Fill in each crack/warp with abs plastic (must be the same color and plastic as the rest of the ship) 2.) After cracks have been filled with abs plastic, you will then cover each of these cracks full of plastic in acetone to weld the plastic in place/ 3.) Sand over each crack, if there are tiny holes fill them with plastic and repeat step one. 4.) Repeat step 1 and 2 until the ship is finally perfectly smoothened and the cracks are no longer there. 5.) If you have left over cloud marks from using lots of acetone you will simply need to give the ship a paint job.
With this file you will be able to print LNG Ship (Please read building instructions in summary.) with your 3D printer. Click on the button and save the file on your computer to work, edit or customize your design. You can also find more 3D designs for printers on LNG Ship (Please read building instructions in summary.).