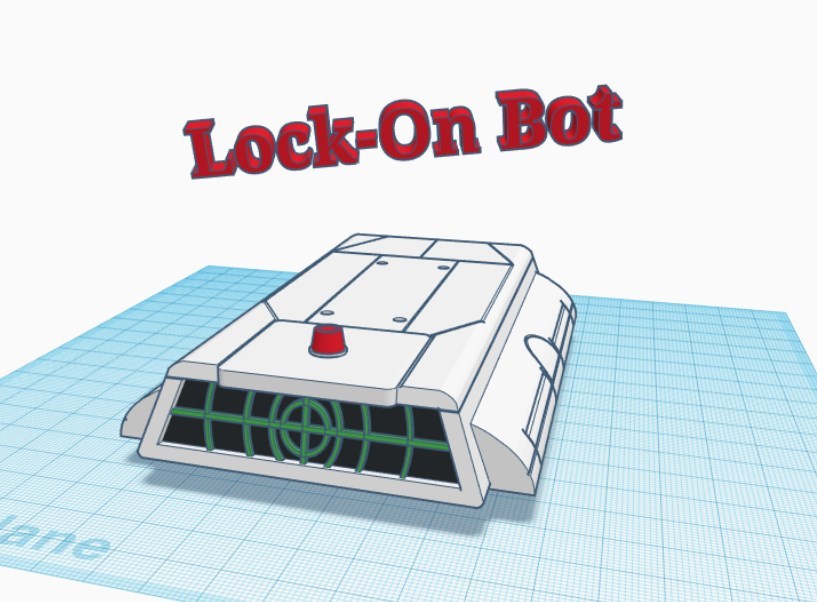
Lock-On Bot From the movie Runaway
thingiverse
Lock-On Device from the movie Runaway (1984) Another build from the Runaway movie, this time the little computer controlled Lock-On devices, this is a simple 7 hour build, A day of design work and test printing (Currently in paint) but some nice features, and some new test features. November-16-2020 - changed the wheel size so it should be a drop in fit now - changed the display size for a more drop in fit - electronics fit perfectly into the new v2 body (micro switches and dimensions I used are here: https://www.amazon.ca/gp/product/B00O9YOEDC/ref=ppx_yo_dt_b_asin_title_o05_s00?ie=UTF8&psc=1 ) What do I need for this kit? - 2-3x Green 5mm LED - 1x Red 5mm LED - 1 Micro switch - Wiring for lights - Battery (Double A or cr2032) - 4 6mm M3 cap hex screws Design features - simple print - mounts for LED's and on off switch - bolts tie into the prop design and allow access to the electronics - variable front display, the grid can be printed alone from a background plate allowing multi material printing (black background and green grid) or printing in clear and paint blocking to allow back LED colour projecting. - A nice bright top light - Insets for all parts for simple assembly Assembly: - Print and or paint the wheels black, glue into the insets - Print and or paint the body in white - Print the display using the type of print you want (multi material or clear) and glue to the inner frame - Optional: Mount the switch and glue in place, mount the red LED to the top and the green LEDs to the front posts), wire together to the battery - Glue the back hub into the inset provided - Screw the top down carefully to the body posts (DO NOT OVERTIGHTEN) - Enjoy! Issues: - the line cuts may not be the best, this was my fist time trying to do this, and it's in tinkercad so it is not designed for it. I think it came out well. My first print had some minor issues with placement, LED's and switch all too close in the same area, and after test printing and testing the front display I found for my LED's I needed 2-3 so I added a holding post for a second and moved the switch back towards the center so it's not an issue - be careful removing the front support on the main body, the top crossover is thin!!!! I did not break mine and once you glue the front display in it fully strengthens it. Post print: - files the holes for the fit you need to friction fit the LED's (posts were fine, top led needed light filing - remove any elephants foot, widened the insets for this - bolt the top down, fit's nice. - file/sand the edges of the display if it is still tight, my first test needed some sanding, not much but it did need it. - I have tested the blackout paint on the alternate combined display (leaving the grid clear) and it works out excellent. I have fully tested this print. Photos coming shortly after the paint dries. Any questions please ask. If you are interested in other models from this movie check out my Spider-bot thing here: https://www.thingiverse.com/thing:4652780 If you enjoy my prints or remixes please consider becoming a Patron! https://www.patreon.com/rkxdesigns Becoming a patron gets you early access to files and opportunities to get involved with the creative process. Early STLs, images of works in progress, and voting for upcoming designs!
With this file you will be able to print Lock-On Bot From the movie Runaway with your 3D printer. Click on the button and save the file on your computer to work, edit or customize your design. You can also find more 3D designs for printers on Lock-On Bot From the movie Runaway.