Low Filament Alarm
thingiverse
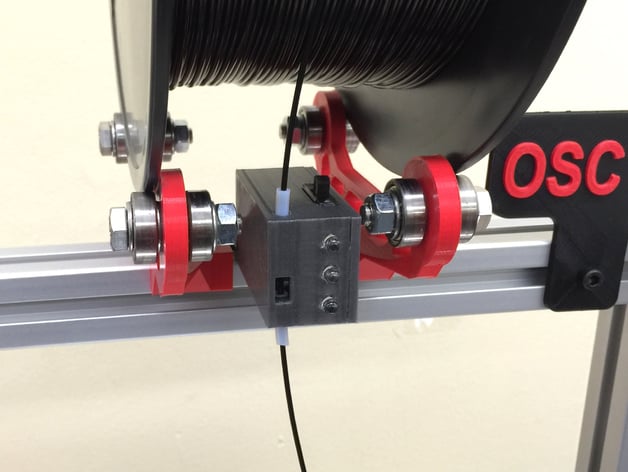
There's a lot of features compacted into this little alarm: On-Off switch, mechanical limit switch for detection, LED light indicators, piezo alarm, as well as teflon tubing for smooth passing of filament through the mechanism. Here are the needed components: (1) Micro switch: https://ultimachine.com/content/microswitch-ss-3gl13pt (1) 6P Slide Switch: http://www.robotshop.com/en/tamiya-mini-power-switch-2pk.html (1) 12V Piezo alarm: http://www.ebay.com/itm/95DB-Alarm-DC-3-24V-12V-5V-Electronic-Buzzer-Continuous-Beep-Piezoelectric-/261752800917? (3) LEDs (40mm) 4mm OD/2mm ID teflon tubing Wire and glue. The whole thing cost less than $5. 1) Print with whatever settings you want 2) Insert microswitch and teflon tube inserts. I cut out a little chamfer on the lower tube to make insertion easier. You will need to bend the tab on the microswitch just a bit to ensure good contact with the filament. Test functionality before moving forward. 3) Insert LEDs 4) Solder the circuit. Be sure to test the circuit to make sure it works before closing everything up. 5) Screw or glue in the alarm and On-Off switch. 6) Glue the cover on, mount to your 3D printer, and wire directly into the 12V Power supply. Practice SAFE PRINTING!!! Custom Section
With this file you will be able to print Low Filament Alarm with your 3D printer. Click on the button and save the file on your computer to work, edit or customize your design. You can also find more 3D designs for printers on Low Filament Alarm.