Low Power 3D Printable Rockets
thingiverse
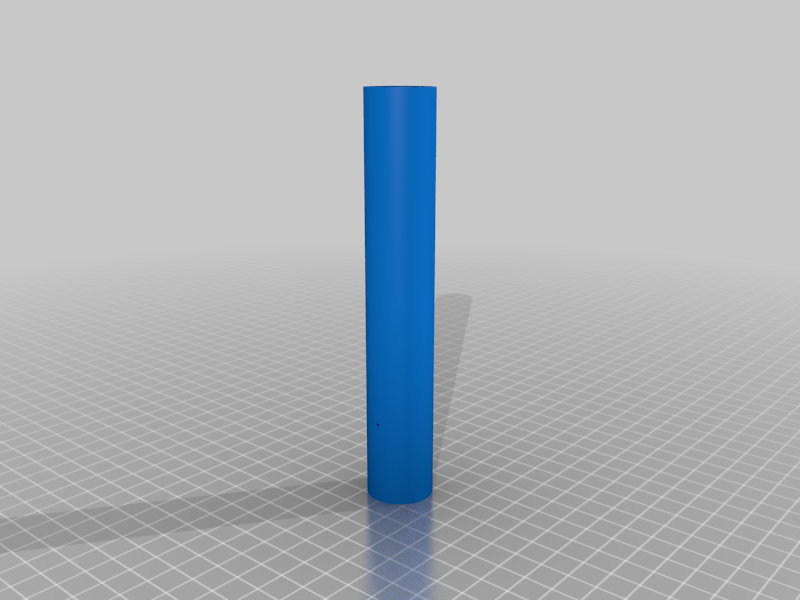
A simple 3D model rocket for low power model rocket motors, class A through C,, for use with 1/8th launch rods. **Print with ABS recommended or material with a higher deflection temp.** Other parts can be printed in PLA, PETG or ABS. **NOTE** These can be at best one shot rockets due to the heat involve with the engines and the ejection charge. The updated design with the lining in the motor helps, but not with the ejection charge - best to pack wadding as loose as possible, as you want the recovery gear to come out as fast as possible to keep the gases from the ejection charge from lingering. Each of the included designs includes a OpenRocket (https://openrocket.info) design file. # Rockets * 3 Fin Delta * untested * OpenRocket file available * 4 Fin Delta * tested on a B6-4 * OpenRocket file available * 5 Fin Dagger * untested * OpenRocket file available * 4 Tube Fins * untested * OpenRocket file available # Rocket Components There are handful of body tubes, fin cans and nose cones available. * Fin Cans * 3 Fin Delta * 4 Fin Delta * 5 Fin Dagger * 4 Tube Fins * Nose Cone * Short Nose Cone (75mm) * Medium Nose Cone (100mm) * Long Nose Cone (125mm) * Cone Short Nose Cone (75mm) * Cone Medium Nose Cone (100mm) * Cone Long Nose Cone (125mm) * Ball Nose Cone * Body Tubes * Short Body Tube (100mm) with and without shock chord mount * Short Body Tube (150mm) with and without shock chord mount * Long Body Tube (200mm) with and without shock chord mount * Short Body Tube w/ Coupler (100mm) with and without shock chord mount * Long Body Tube w/ Coupler (150mm) with and without shock chord mount * Long Body Tube w/ Coupler (200mm) with and without shock chord mount Important dimensions to make compatible modules: * Tube Outside Diameter - 25mm * Tube Inside Diameter - 23.8mm # Required Parts * Swivels * Barrel swivel size #1 * Large enough eye to loop shock chord through * https://www.amazon.com/Dr-Fish-Fishing-Rolling-Terminal-Connector/dp/B0154JF9LG?th=1&psc=1 * Snap swivel size #1 * https://www.amazon.com/AMYSPORTS-Stainless-Saltwater-Resistance-Freshwater/dp/B07PR9K9BG * Shock chord * Kevlar #100 string * https://www.amazon.com/9KM-DWLIFE-70lb-2000lb-Braided-Survival/dp/B0B1WKH21R?th=1 * Elastic * https://www.amazon.com/Coopay-Length-Elastic-Stretch-Sewing/dp/B07V7CSSDS/ref=sr_1_36 # Instructions A minimum of 100x100x250mm build area is required to print all parts individually. The rocket parts are designed to have .18mm layers for .4mm nozzles, which with PrusaSlicers be a single wall width for the body tubes and nose cones. ### Step 1: Select Components. You will need a nosecone, body tube and fin can. Multiple body tubes can be used to make a longer rocket. It is always recommended to create the rocket in OpenRocket and run some simulations. Until you've printed out the actual parts, a good estimate is the amount of filament the slicer says is required to print a part. When checking for filament amounts, do not use supports. ### Step 2: Print parts. These parts are tight to fit, on my printer a Bambu Labs X1 Carbon so individual printers and settings may very. You may need some light sanding needed. #### Printing Components * Nose cones * Print vertically with the base against the print bed. * No support is needed * Body tubes * Printvertically with the opposite tube end from the coupler against the print bed. * Fin cans * Print vertically with the motor end against the print bed. * 3 Fin Delta - bed only supports suggested * 4 Fin Delta - bed only supports suggested * 5 Fin Dagger - no supports necessary * 4 Tube Fins - no supports necessary ### Step 3: With the body tube test the fit of the coupler into the fin can. You may need to slightly sand the coupler surface, its ok if its not perfectly smooth. You want the surfaces to engage with some friction so that they do not come apart when the ejection charge fires. You can also wrap a piece of masking or painters tape around the joint. ### Step 4 With the nose cone test the fit of the nose cone into body tube. The nose cone coupler surface should be smooth, so will probably need some sanding, but does not to be perfectly smooth. You want to make sure that the nose cone disengages smoothly and is neither too tight or too loose. You may need to sand the coupler surface more, or add tape for the correct fit. ### Step 5: Chose the shock chord material Either use an elastic chord similar to what Estes uses and can be found at my fabric stores, or use Kevlar - usually #100 or slightly bigger should work fine. ### Step 6: Cut the shock chord to length. Usually shoot for about 3x the length of the rocket min. with Kevlar. With the elastic 18" or so should suffice. The internal mounting loop for the shock chord is near the bottom of the body tube where the coupler is. ### Step 7: Thread the shock chord through the internal mounting loop and tie a stopper knot at the end of the shock chord. The stopper knot should be sufficiently large to not pull through - suggested would be Estar Stopper Knot or Stevedore Stopper knot. ### Step 8: On the other end of the shock chord either use a cinch knot to attach to a small fishing clasp. ### Step 9: Choose a small piece of shock chord, about 6" will work for a leader. Thread the shock chord around the nose cone's attachment point using cinch knot such as a Improved Clinch Knot or Trilene Knot to secure the leader to the nose cone. ### Step 10: On the other end of the leader use a loop knot such as the Non-Slip Mono knot to form a look at the end of the leader. You want the loop to be about 1/2" long. Then with the clasp the fishing clasp onto the leader loop. ### Step 11: Choose either a parachute or streamer based on the simulation in OpenRocket. Attach either the parachute or stream to the loop at the end of the shock chord leader # Prep for Launch ### Step 1: Insert motor based on the OpenRocket simulations. You should off the rod be targeting about 40 fps in velocity. The motor will fit loosely in the fin can, and this is by design, and slide up against and internal bulkhead. Use masking tape at the top of the motor and the bottom of the motor to friction fit the motor into the fin can. The bottom should be a bit tighter of fit. The slight gap between motor and fin can allows some additional cooling around the plastic pieces - the motors are quite hot even through the thick cardboard motor casing. ### Step 2: Insert the ignitor in the motor as per the instructions. ### Step 3: Slide the rocket over an 1/8th Estes launch rod, connect the igniter leads. ### Step 4: Upon clearance from the flight and ranger directors, LAUNCH the rocket! # Fly safely and have fun! ## Always follow the safety codes in your area! # Links * Knots * https://www.animatedknots.com/fishing-knots * OpenRocket * https://openrocket.info/ * NAR * https://www.nar.org/safety-information/model-rocket-safety-code/ # Change Log * 6/3/2023 Updated OpenRocket files * 6/3/2023 Re-uploaded the body tubes, adding some new options * 6/6/2023 Uploaded booster STL; slightly redesigned to print better * 6/18/2023 Updated Filament guidance. * 6/19/2023 Updated Filament guidance and note about heat.
With this file you will be able to print Low Power 3D Printable Rockets with your 3D printer. Click on the button and save the file on your computer to work, edit or customize your design. You can also find more 3D designs for printers on Low Power 3D Printable Rockets.