LRS-75 Stand
thingiverse
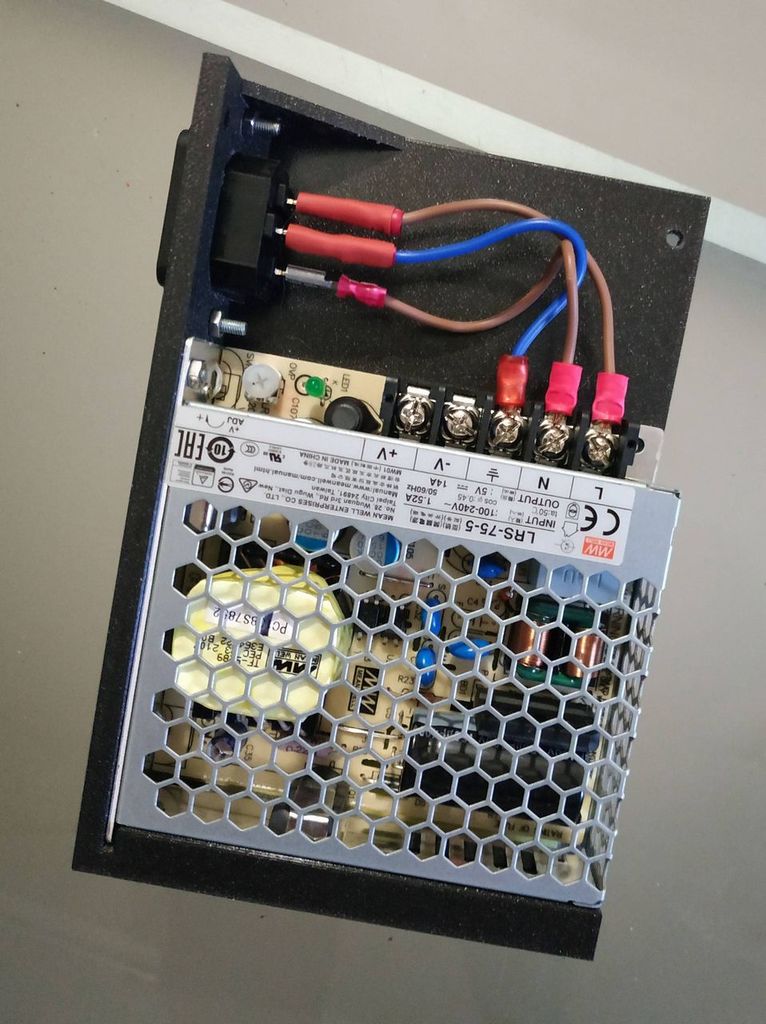
I've designed this box to hold the PSU in a vertical position and use a C13 cable to power it (without button). Also, I have protected the wires from undesired touches with a lid. It should be compatible with all the LRS-75 series: LRS-75-5, LRS-75-12, LRS-75-15, LRS-75-24, LRS-75-36, LRS-75-48 When printing the lid, you must pause the print twice to insert 3 nuts. ### Assembly: * C14 * 2 x M3x4 for the back of the PSU * 3 x M3x6 for the side of the PSU * 1 x M3 nut for the side of the PSU * 2 x M3x8 for the C14 2 x M3 nuts for the C14 * 3 x M3x8 for the lid 3 x M3 hex nuts for the lid. They will be inserted during the print ### To do: * Create a hole for the psu led * Move the 3 screws from the lid to the front side for easy removal. * The top angle from the box should be bigger to protect the wires coming from the C14 (230V). I've used two heat shrink tubes to protect them Note: The scad file isn't printable directly. You must edit the code to show one or another part.
With this file you will be able to print LRS-75 Stand with your 3D printer. Click on the button and save the file on your computer to work, edit or customize your design. You can also find more 3D designs for printers on LRS-75 Stand.