Luggage the Mimic
thingiverse
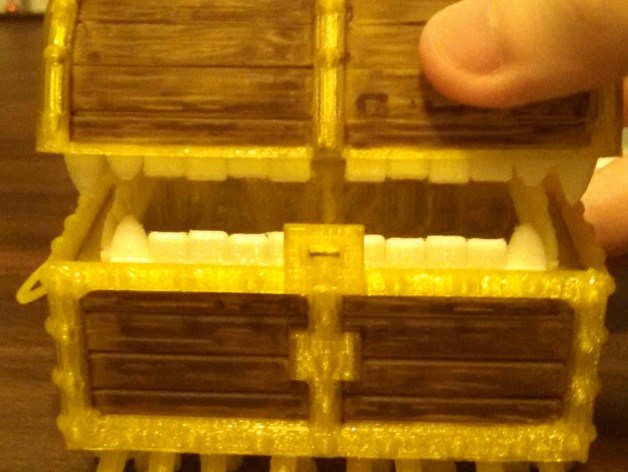
Has a working lid hinge and latch, posable handlebars, feet, and optional "dentures!" Fill him with all of your lil treasures! Using Cymon's Hinged Treasure Chest as a base, I added everything else using Tinkercad, whew did that take a lot of time! I originally made the Mimic as a Halloween present (see photos) and noticed 3 problems: 1) the feet were a bit difficult to pry off the build plate 2) the legs were a bit easy to snap off 3) the hinge was difficult to snap on As quick fixes: 1) I created a luggageBotHollow with the feet hollowed out to reduce footprint size and make it easier to remove from the build plate. Each foot has more or less 2mm thick walls. 2) I thickened the connection between the legs and the box to make them harder to snap off. 3) I didn't fix 3. I always dislike friction-based hinges because they (eventually) wear out when printed in a soft plastic, and it is a little too difficult to snap into place in the first place. I can't be bothered to test out various tolerances to make it better though XP. If you do print, please let me know how it turned out with the quick fixes I made. My original came out well since I was careful, but I wanted my published version to be more oops!-proof and generally better designed. I also removed the personal engraving from the inside that the original in the photos had. Print Settings Printer Brand: MakerBot Printer: MakerBot Replicator 2 Rafts: No Supports: No Resolution: Normal (0.2mm layer height) Infill: your choice Notes: Do High Resolution (0.1mm layer height) for the dentures. The mimic was designed to minimize overhangs and supports are built into the files. Rafts should not be necessary either. Post-Printing ASSEMBLY Carefully remove the built in supports skirting the underside of the box and lid. I used a very thin application of brown acrylic paint using a toothpick to create the woody texture. You may need to shave a bit of the nubs on the hinge off or clear out the holes for the nubs to be able to snap the lid onto the rest of the chest. It is a very tight fit. A moderate application of heat to the PLA may also make it temporarily a little more pliant. The handlebars at their given size are nice and springy and easily squish into place on the sides. I recommend gluing the teeth carefully in place using Elmer's glue. Bigger teeth go on top! If done properly the teeth should slide by each other and the canines fit in holes in the box for them, so that the lid can be completely closed without any gaps. By using Elmer's glue, if you mess up you can just dissolve it in warm water and try again. Instructions Print one of each file EXCEPT the luggageBot files. There are 2 versions, only print one of them. Print luggageBot if your printer has trouble sticking the first layer to the build plate. Print luggageBotHollow if your prints tend to print well to the build plate. (This version has hollowed out feet with ~2mm walls to minimize their footprint and make them easier to remove from the build plate.) I recommend printing everything in a nice gold or brown color except the dentures, which should be printed white. Mine was in yellow translucent PLA.
With this file you will be able to print Luggage the Mimic with your 3D printer. Click on the button and save the file on your computer to work, edit or customize your design. You can also find more 3D designs for printers on Luggage the Mimic.