Lulzbot 2.8W Laser Upgrade Mount - J Tech Photonics
thingiverse
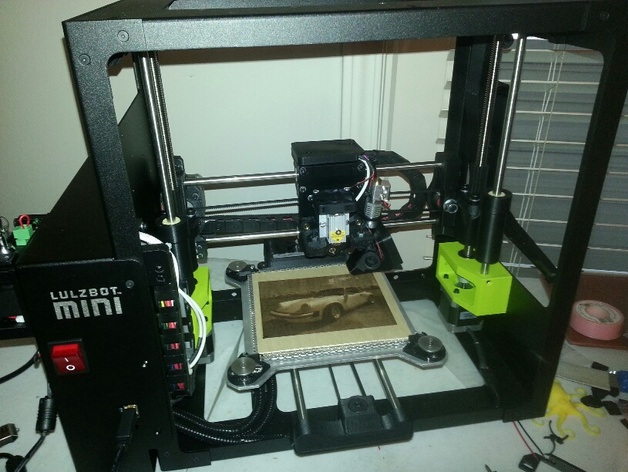
This is a modified mount for converting your Lulzbot printer into a laser machine by removing the extruder assembly to maximize space on the platform. For full instructions with images, visit http://jtechphotonics.com/?p=2440 Some videos showcasing laser capabilities are available here: Image engraving: https://youtu.be/-DyqshA7Jn4 Cutting Acrylic: https://youtu.be/NV5NWtxTdn4 Electronics: We will be using the fan1 connection on the Rambo board to control the laser, which offers PWM control required for image engraving and is easily managed with M106/107 commands in software. We removed the extruder assembly to create more room for the laser on the work surface but left the actual extruder attached to the Z axis as the firmware looks for it during startup. The driver was mounted on the side of the enclosure due to the abundance of electronics inside, making it easily accessible without adding more holes to the aluminum. The laser and fan cables were routed through the enclosure up to the Z axis, keeping everything neat and organized. Mechanical: A mount was designed to use the screws originally attached to the extruder assembly we removed, allowing the laser to point downwards on the work surface with the same positioning as the old extruder. This allowed for maximum table space without limitations. The fan upgrade kit simply mounted onto the back of the laser, requiring no modifications. We replaced the glass table with a 6″ x 6″ aluminum sheet purchased from Amazon small parts due to concerns about the laser burning through the glass surface. Aluminum holders were made to keep the plate secure in each corner. For optimal results, it's recommended to have a piece of aluminum that measures 7″ x 7″ but time constraints led us to this solution. Software: We had to modify the firmware on the Lulzbot because the PWM frequency was set too high for controlling the laser. The firmware can be downloaded from Lulzbot at http://jtechphotonics.com/?p=2440. To load all of the files into your Arduino compiler, make a new sketch that includes all the files and ensure you're connected to the correct COM port. In config.h, comment out the line:#define FAST_PWM_FAN and then compile the firmware. We utilized Repetier Host to control the printer due to its effective features such as the 'preview' feature for G-code management and it does a great job with everything else. Adjust some settings as the table will be slightly smaller. Instructions: 1. Open the Box: We like that it says Open on top. 2. Print out little tabs for the aluminum plate. Total of 4 tabs were needed when using the 6″ x 6″ aluminum sheet. 3. Place the tabs on the top of the aluminum plate, then attach a metal circle around the plate's edges to keep everything in place. 4. Remove the extruder assembly by unscrewing three screws from the back and disconnecting it at the top connector. 5. Disconnect the fan by pulling it away and unplugging its wires. 6. Detach the nozzle by removing it. 7. Take off the motor attachment using two screws located on each side of the extruder. 8. Install the laser mount and attach it with the provided extruder screws. 9. Connect the extruder motor assembly back to its new home but zip tie the motor in place for added stability. 10. Zip tie down wires after installing all necessary components, then close and screw down the top enclosure securely.
With this file you will be able to print Lulzbot 2.8W Laser Upgrade Mount - J Tech Photonics with your 3D printer. Click on the button and save the file on your computer to work, edit or customize your design. You can also find more 3D designs for printers on Lulzbot 2.8W Laser Upgrade Mount - J Tech Photonics.