Lulzbot Mini Enclosure
thingiverse
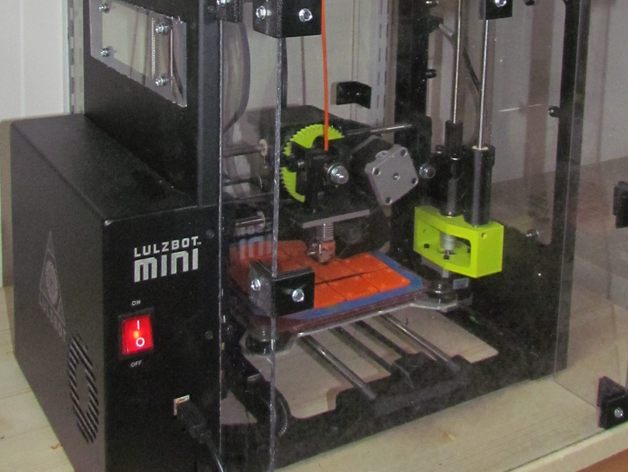
Trying to print in Bridge Nylon which delaminates awfully on the print bed. This cover will mitigate draughts and I will also try drying filament in the oven prior to printing. Made with Lexan available from Home Depot and Lowes in USA. Other plastics will work but Lexan cuts well with a circular saw - do not try with a plastic cutter, clamp the lexan securely when cutting and DO wear goggles. You need 4 inner and outer corners, and 14 inner and outer edge brackets which fit on the identical front and back covers. Each are 3" deep to clear the traversing print bed and are free standing. Lexan clamps hook under the printer frame to secure the top, left and right covers. Note before deciding where these clamps go make sure you closely watch the print head drive assembly movements especially when it goes through its initial homing routine. You need to keep the back left corner of the top cover clear of clamps especially or you will foul on this assembly. All brackets/clamps secured with #6 x 1/2" self tapping screws. For the Lexan I got most of the pieces out a 28 x 30 x .093 sheet but for the two top bits I had to buy another smaller sheet . See jpg for how I cut up sheets. Also see http://www.thingiverse.com/thing:1654725 for my later addition of a filament guide that mnimizes gap and hence down draughts from above print head. How I Designed This All clamps and brackets modeled in AutoDesk Inventor
With this file you will be able to print Lulzbot Mini Enclosure with your 3D printer. Click on the button and save the file on your computer to work, edit or customize your design. You can also find more 3D designs for printers on Lulzbot Mini Enclosure.