Lulzbot Taz 4, 5 or 6 Removable Build Bed Upgrade
thingiverse
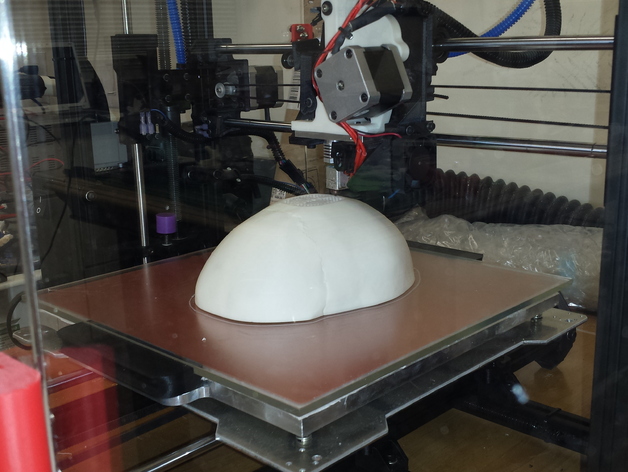
This text appears to be an upgrade guide for a 3D printer, specifically the LulzBot TAZ. The author has developed an upgrade package that includes several improvements to the stock model: * A removable glass bed system with high-friction silicone rubber on top * Easy-to-adjust leveling system using three thumb nuts instead of the stock hex drive * Improved part removal and cooling by allowing the bed to be lifted out immediately after printing * Enhanced stability and reduced vibration The author provides a comprehensive guide for upgrading, including: * Downloadable files with updated instructions and parts lists * Recommendations for ordering specific components (e.g. silicone heater, carbon fiber Y axis tray) * Tips for leveling the bed using a printed calibration file * Suggestions for improving overall performance, such as using an auto-leveling system or replacing the flimsy aluminum Y axis tray with a super-light and super-rigid carbon fiber one. Overall, this text appears to be a detailed guide for upgrading the LulzBot TAZ 3D printer to enhance its performance, stability, and user experience.
With this file you will be able to print Lulzbot Taz 4, 5 or 6 Removable Build Bed Upgrade with your 3D printer. Click on the button and save the file on your computer to work, edit or customize your design. You can also find more 3D designs for printers on Lulzbot Taz 4, 5 or 6 Removable Build Bed Upgrade.