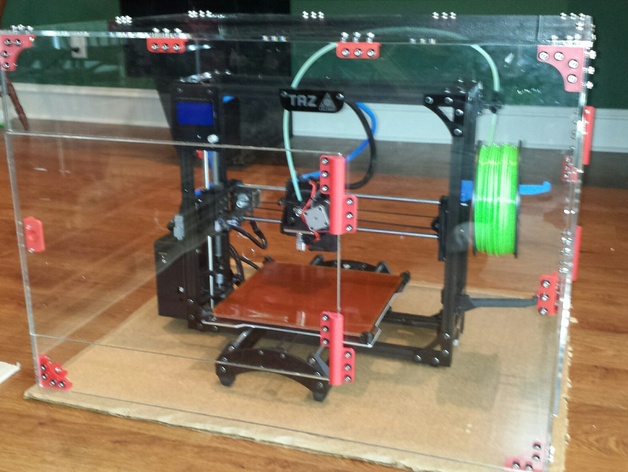
Lulzbot Taz 4 or 5 enclosure remix
thingiverse
This creation was inspired by the Lulzbot Taz Enclosure made by MrMcGuire. Attached is a dxf file with the panel details of my own enclosure make so you can have them laser cut, or use it as a guide to cut them yourself. Keep in mind that the dxf file isn't optimized for minimizing material, so feel free to rearrange the drawing if you want to do that. Also attached are my versions of MrMcGuire's corner bracket and L bracket with minor tweaks - they had issues with holes and an inconsistent hole pattern. Additionally, I've included my version of the MrMcGuire enclosure with a side door. You can find the stl files for the corrected corner and L brackets in this link, but be sure to use them instead of the originals to avoid alignment issues: http://www.thingiverse.com/thing:675652 Make sure you have well over 100 screws and nuts (around 150) on hand because this project needs them - two boxes of 100 each would be best, and if you want washers on both sides you'll need 300 of those too. For better results, I used a removable bed system with this enclosure; check it out! http://www.thingiverse.com/thing:1021403 The rest of the required printed components are available at MrMcGuire's thing page - be sure to check that out if you're using my dxf file for your panels. And keep in mind that my dxf file is not optimized to minimize material, so feel free to rearrange the drawing. As a quick tip, I recommend increasing the height of the enclosure from what the drawings show by 3 inches, since my model has this done and the filament tube impinges on the ceiling for taller prints. This thing fits together perfectly. The quality is superb and it was really expensive; if you want to make your life easier when assembling this, use Pololu.com - they ship things in the exact time frame they quote, with panels that are well packaged and arrive in perfect condition. I've even found an extra location where you can attach a vent fan: designed for 50x50mm dc fans. And it cuts the noise of printing almost completely down. Instructions for the installation follow below. Hardware Requirements: The instructions say I used #10 stainless steel socket cap head screws (or 4 mm) with locknuts and black nylon washers - you may be able to use something a bit longer than these too; at least 18mm will work fine. You can buy two boxes of each type in bulk for best results; I was glad to discover that. For better usability when assembling, keep your panels slightly thicker, about one eighth inch; they fit together just right and the handles print nicely so you can easily pick them up with these thick screws. It took a slow but easy process to put all of these parts in - it only requires about three or four hours to assemble everything. I even found two potential locations for the fan that I added (one at top and lower back), designed for 50x50mm fans, you'll have one more space available to add any cabling or whatever other type of electrical connections.
With this file you will be able to print Lulzbot Taz 4 or 5 enclosure remix with your 3D printer. Click on the button and save the file on your computer to work, edit or customize your design. You can also find more 3D designs for printers on Lulzbot Taz 4 or 5 enclosure remix.