Luzbot Taz 4/5 Bed Leveler
thingiverse
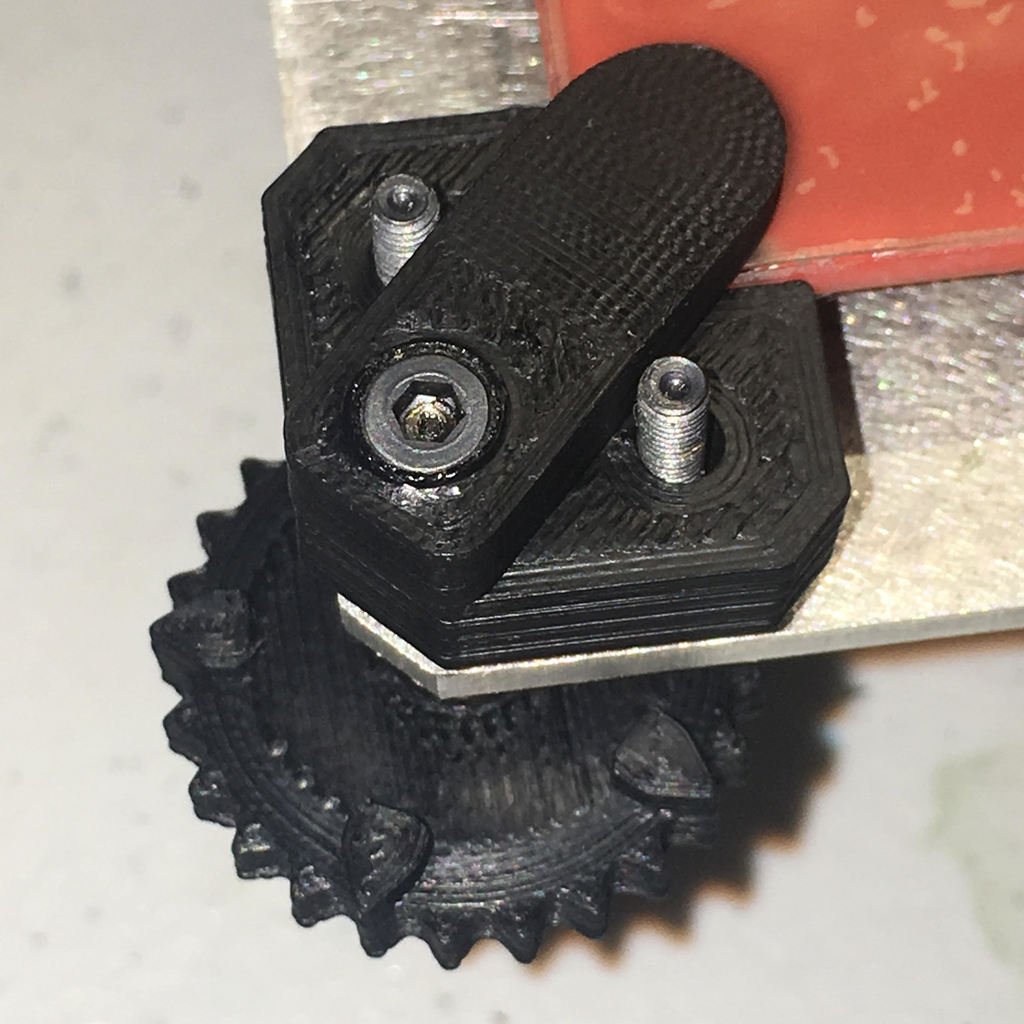
I'm very pleased with how this mod turned out. It is quite simple and can completely be reverted if you so choose. I really wish I'd thought of this sooner, but I'm trying to squeeze as much life as possible out of my Taz 4 and the only area I haven't upgraded yet is the bed leveling. The dial is a remix of the model I've linked to, and both the bottom and top models are remixes of the originals. The bed 'fingers' are longer to better hold the glass in place, but don't interfere with the home position (it's a bit close, but it doesn't touch the hotend). The bottom has been remixed to slide up and down inverted bolts more smoothly. You'll need: (8) 20mm M3 bolts (4) 25mm M3 bolts (4) M3 heat inserts (8) springs I'm not sure which springs I used, as I didn't have any and bought two variety packs from Home Depot. They are slightly shorter than the existing springs used to level the bed. They are also not as strong as the existing springs, but fairly stiff. It requires two variety packs, but you get a lot more springs for the price of a small bag. Here's how to install it: Step 1 - Print (4) of each of the three models Step 2 - Insert the heat inserts into each dial Step 3 - Heat press the 25mm bolts into the Bed Leveler 'fingers' * Trick: I used a heat insert to make the hole, removed it, then inserted the bolt with heat Step 4 - Disassemble the bed and remove it and the stock corner parts Step 5 - Use a drill to slightly expand the unused pre-drilled hole in each corner enough to allow the M3 bolt to freely pass through it Step 6 - Screw the (8) 20mm bolts in from the bottom of the originally used holes so that the threads face up Step 7 - Place the new springs over each inverted screw Step 8 - Place the bottom bed leveler part of the bed leveler onto each corner Step 9 - Place the glass bed back into position Step 10 - Place the original springs in between the bottom bed leveler part and the corner holes Step 11 - Put the bed leveler 'finger' in the corner hole of the bottom bed leveler part, from the top, through the original spring, and the previously drilled expanded hole in each corner Step 12 - Compress the bed leveler 'finger' and screw the dial in from below Step 13 - Rellevel the bed
With this file you will be able to print Luzbot Taz 4/5 Bed Leveler with your 3D printer. Click on the button and save the file on your computer to work, edit or customize your design. You can also find more 3D designs for printers on Luzbot Taz 4/5 Bed Leveler.