M Waverly Articulated "Action" Figure
prusaprinters
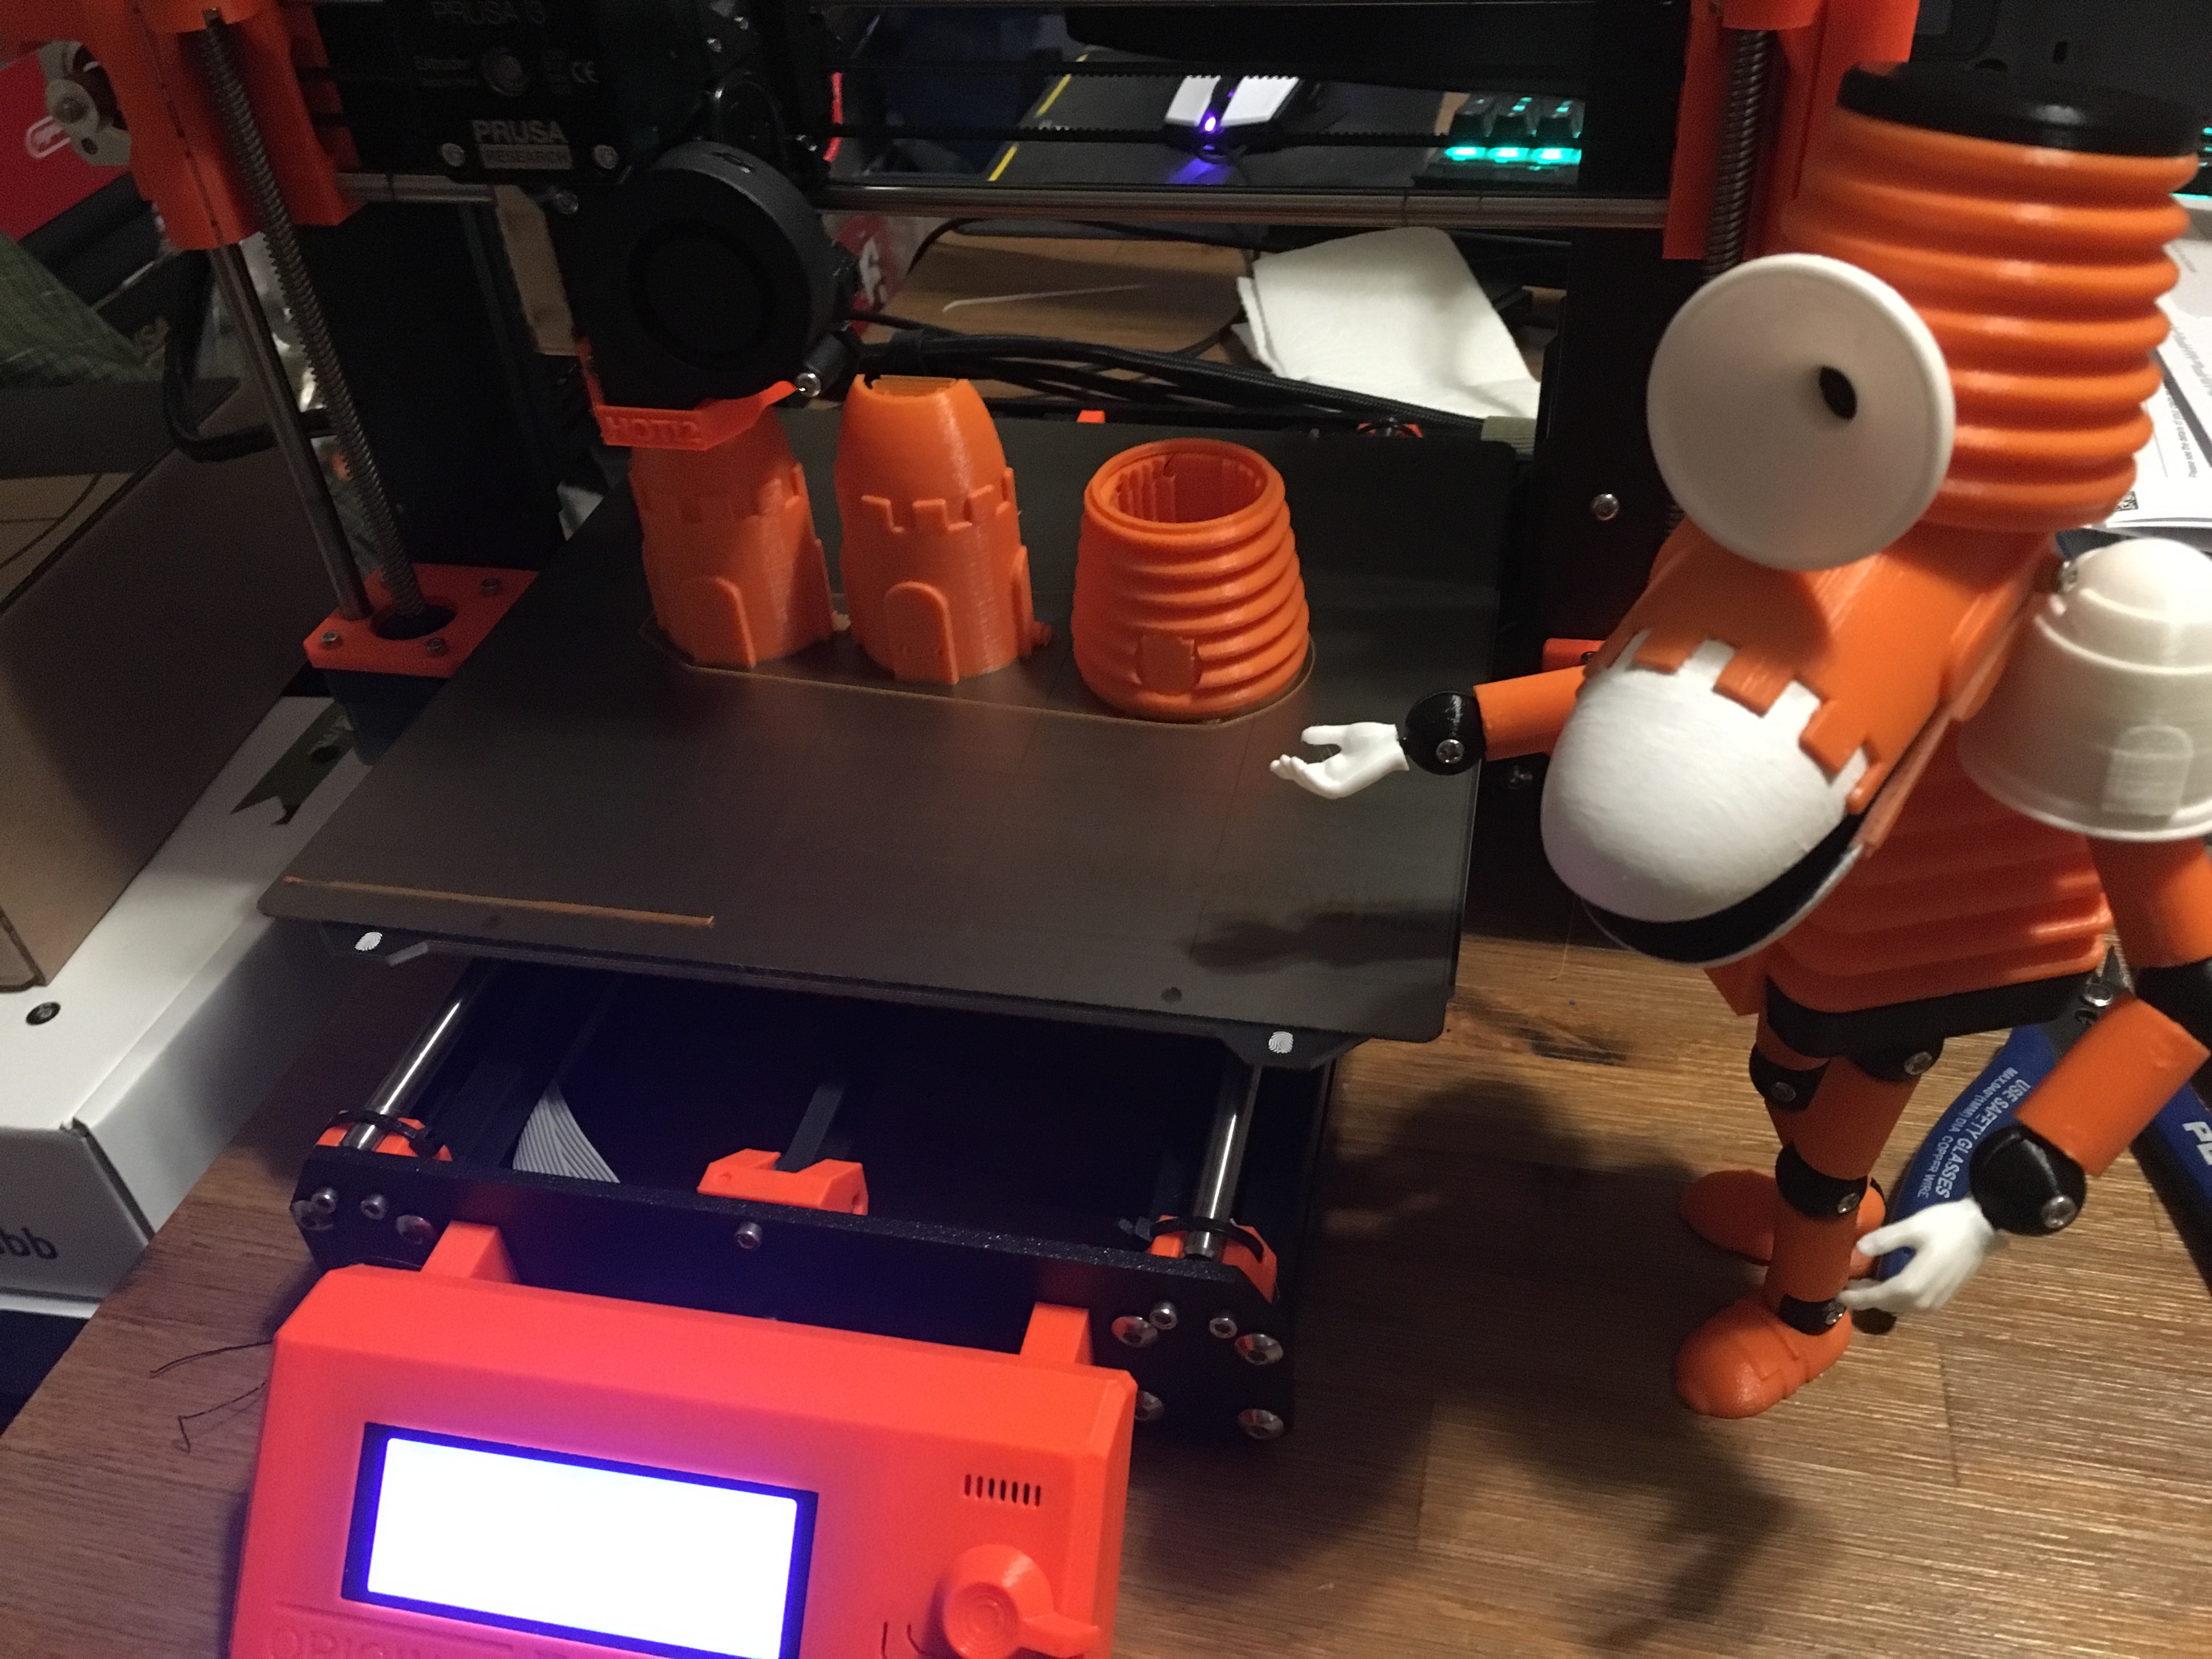
<p>M Waverly, the MST3K bot created by Grant Baciocco for Mystery Science Theater 3000 The Return which first appeared in the mst3k season 11 episode of "The Loves of Hercules" and again during the "Watch out for Snakes" live tour, can now be yours… well, at least in miniature form.</p><p>This 16.8cm tall fully poseable figure of MST3K's M Waverly has 16 points of articulation including mouth, head, arms, and legs. This model is moderately easy to print but can be a challenge to assemble as it requires the use of a soldering iron or 3d pen to thermally imbed parts and weld parts together in post-print.</p><p>Parts needed in addition to printed parts:<br/>Black and white paint<br/>M2x6 black button head screws<br/>M2 knurled nuts<br/>Soldering iron or 3d pen</p><p><strong>Notes:</strong></p><p>This model is moderately easy to print. Many of the parts benefit from supports and, for best results, I recommend using three different colors of your preferred filament type. The figure shown in the attached photos used the following:<br/>• Black (files starting with Blk) used black ColorFab HPLA.<br/>• Orange (files starting with Org) used either orange Hatchbox PLA or orange AIO Robotics PLA.<br/>• White (files starting with Wht) used white AIO Robotics PLA.</p><p><strong>Tips:</strong></p><ol><li>The torso can be printed vertically using a lot of supports or you can print with minimal supports by splitting the torso in half along the vertical midline then oriented horizontally for better finish.</li><li>There are two shoulder designs. Version 1 utilizes a split pressure joint that is squeezed into the shoulder "pouldron", but this often breaks the joint unless you use a strong plastic, like CFR Nylon. The Version 2 joint utilizes a square housing split in half that holds the joint, which is then glued or welded into a square slot in the pouldron, which reduces the stress on that joint to avoid breakage.</li><li>The joints are best printed vertically with the flat round bottom on the print bed. However, the split pressure jointed shoulder joints are best printed either at an angle or horizontally to strengthen the pressure joint if you're using the version 1 shoulder joint.</li><li>The mouth joints are thin, if they break when removing your print from the bed or cleaning the supports you can repair them by putting an M2 screw in the remainder of the joint then use it as a mold to form a new joint around it using a 3d printing pen. Otherwise, just print another one until you get a good result.</li><li>The neck can be printed vertically, but for best results and durability it's best to print it horizontally with a brim that can be cut off or sanded post print.</li><li>I recommend printing extra sets of the shoulder joints and using PETG or CFR filament for those joints if you're planning on using version 1 shoulder joints. They really do snap quite easily so you'll go through a few before you get one in right.</li></ol><p><strong>Post-Print prep and assembly steps:</strong></p><ol><li>Paint the inside of the top and bottom mouth black.</li><li>Paint the bottom of the hole in the eye black.</li><li>(Optional) Paint the joint part of the feet black.</li><li>Paint the tips of both mouth pieces white as seen in the photos.</li><li>Screw the top mouth piece into the bottom inside of the head (You may want to also weld it into place too as those holes can strip easily.)</li><li>Screw the bottom mouth piece to the top head piece. If possible, use M2 screws and nuts to secure the joints loosely so the mouth can move, but tight enough to provide friction if the joint itself is loose so the mouth will stay in any position you put it in.</li><li>Clean up and sand the bottom of the torso and the insides of the waist piece so that it slide snugly into place. If you do it just right, you won't even need glue.</li><li>Sand and insert and glue the bottom of the neck (the end w/o a hole) into the top of the torso.</li><li>Sand and insert the top of the neck (the end with a hole) into the head and screw it loosely into place.</li><li>After testing head rotation, glue the black cap to the top of the head.</li><li>stick very short segments of 1.75mm filament into the top holes of the torso, these will be guides for aligning the shoulder pouldrons with the torso into the proper positions later. Trim these posts so only about 1mm sticks out from the top of the torso.<ol><li>Before you do anything else: Insert the disc parts of each joint into a limb half, then press the other limb half together BEFORE you glue. I recommend starting with the ends of each limb (wrists and feet) and then laying out the joint halves before starting to ensure you don't accidently use the wrong joint halves.<br/>You want to make sure that the halves fit well, but leave a good bit of friction on the joints so they don't turn easily. This may require you to sand out some of the limb joint wells until you get a good fit. Once fit is assured then they are ready to weld together.</li><li>Once the limb and joint pairs are assembled, use M2 screws to put everything together.<br/>Finally, glue the shoulder pouldrons to the top of the torso using the pegs as a guide to align them properly.</li><li>Next, use an empty 3d pen or a soldering iron to thermally imbed M2 knurled nuts into each closed hemisphere joint where the screw hole is before assembling the joints with the limbs… this includes the joints attached to the shoes. This gives you more control over joint friction without risking stripping the plastic holding the screws. (Caution, make sure the knurled nut is flush with the surface of the joint.)</li><li>Now, use a soldering iron or 3d pen to weld the halves together along the seam. This helps improve the friction of the joint without risking getting glue on the joint.</li><li>You can also weld the top mouth to the inside of the head using the top of the head as an access point.</li><li>Then after gluing the shoulders to the torso, weld the seams to help secure them better.</li><li>When attaching the hands to the wrist, I recommend against gluing them in place so that they can be swiveled for posing.</li></ol></li></ol><p> </p>
With this file you will be able to print M Waverly Articulated "Action" Figure with your 3D printer. Click on the button and save the file on your computer to work, edit or customize your design. You can also find more 3D designs for printers on M Waverly Articulated "Action" Figure.