M42-Sony E tilt adapter
thingiverse
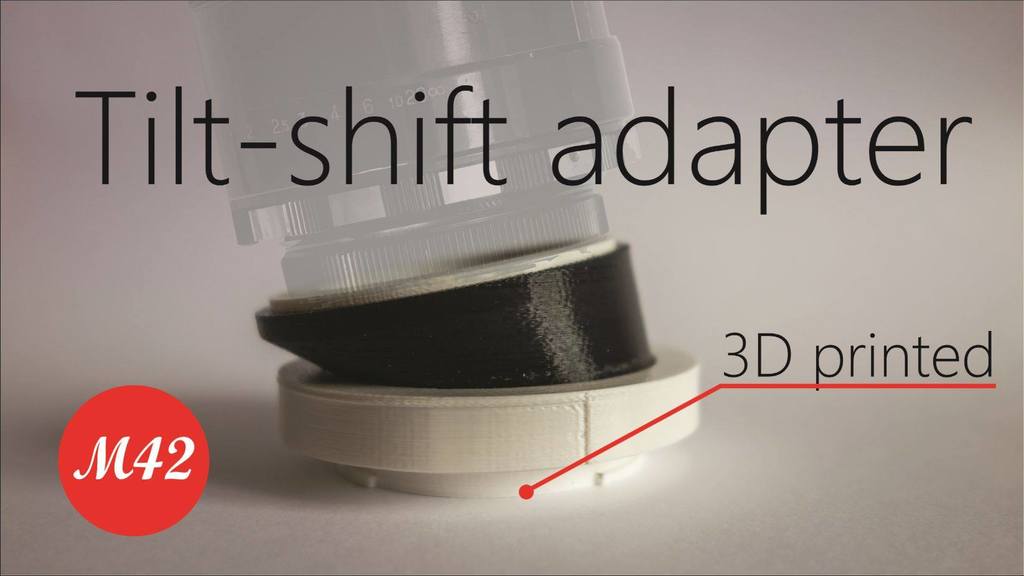
Be sure to watch the project's YouTube video as well: https://www.youtube.com/watch?v=pLFteiXMJGg Some time ago i saw some interesting looking photos, that looked like small models or just like a miniature. I found out that, such photos,are called tilt-shift photos. Immediately after seeing an amazing tilt-shift timelapse I took a closer look at how I could replicate this effect. As I found out, there are two main methods: You can either use a tilt shift lens or add this effect in post production with a software like Lightroom or Photoshop. Sadly, both methods had some significant disadvantages. The tilt-shift lenses are great and produce amazing looking photographs, but are very expensive; the cheapest lens I found was made by samyang and retailed for a little over 700$. The other method doesn't require any special equipment and can be applied to photos you have already taken by just editing them in post. However, I oftentimes ended up with very unrealistic results. I asked myself if there was another way of achieving the desired effect. I came up with the idea of making my own adapter which converts old vintage lenses into tilt-shift lenses. I use vintage lenses, because they are very sharp, and in the same time cheap, easy to find and with a long flange distance which is always a plus when making an adapter. I found the helios 44-2 and the Zenit- E body in my grandparents’ garage and the lens was perfect for the build. It had a focal length of 85mm when put on a APS-C size sensor. At first I thought that this particular lens was a very rare one, but after some research, it turned out that it was relatively easy find on ebay, which made it quite cheap. On average, a used copy costs anywhere between 20 and 40 dollars, depending on its condition. Mine was quite dirty, so i took it apart and cleaned it, which had no effects on the optical performance, but it did help in terms of ease of use and smooth focusing. The next step was to design and 3d-print the adapter. Before i started designing it, i had to make sure several constraints were fulfilled. First of all, and probably most importantly, the adapter had to be exactly 27mm long. The distance was calculated by subtracting the flange distance of the camera from the flange distance of the lens. The helios 44-2 is a m42 lens. Turns out, all m42 lenses have the same flange distance which is around 45.5mm. And since i am going to use it on a sony mirrorless camera with a 18mm flange distance, this meant that adapter had to be 27mm long. This distance is very important and if you go past it, achieving infinitive focus will be impossible. The second thing i wanted was to allow adjustability. I initially experimented with an adjustable tilt function, which rendered the adapter way too bulky. So the second prototype lost it, but that came at the cost of no adjustability. After extensive prototyping, the last design features a full 360° rotational setting. The last requirement was a design that consisted entirely of 3d printed parts, so that everyone could build it at home. This is what the final product looks like in fusion 360. Just to demonstrate the iterative nature of the design process, here are all the test pieces that led to it. The final assembly is built from 8 individual parts, each of which constructed so that no supports were needed. I will not go into too much detail about the printing itself, as it would be slightly beside the point of the video. If, however, you’re interested in the settings, times and other details, please visit the project’s thingiverse page, a link to which is in the description. Once all the parts were printed, it was time for the final assembly. Almost no post-production was needed owing to the careful design. Two subassemblies had to be prepared first. The thread adapter was press-fitted in the tilted barrel. The cap came in next, before the sprocket, for it wouldn’t fit in afterwards. The second subassembly was the bajonet. It had to be snapped and glued together: printing it as one part wouldn’t be feasible. The base for holding the barrel came on top. In the end, the two components were glued together to form the final adapter. If you have any questions, feel free to send me a message.
With this file you will be able to print M42-Sony E tilt adapter with your 3D printer. Click on the button and save the file on your computer to work, edit or customize your design. You can also find more 3D designs for printers on M42-Sony E tilt adapter.