M5 stack holder for WeatherXM
thingiverse
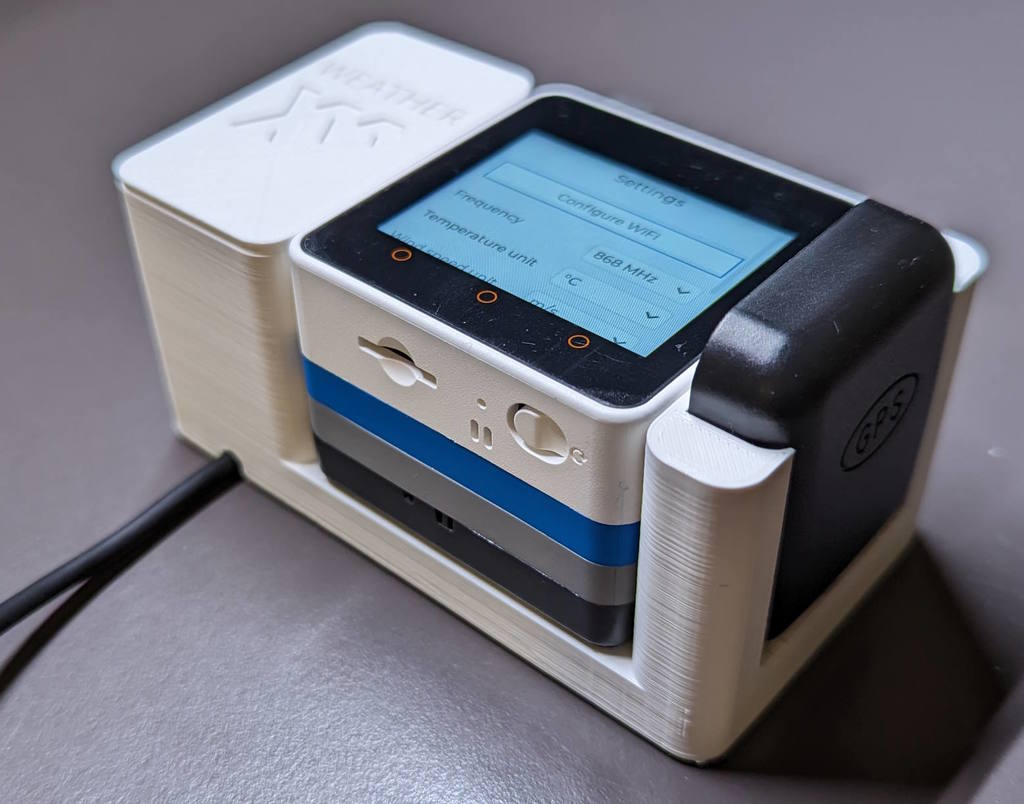
The design is inspired by jurajpe. My main goal is to have everything in one case. Since the internal antenna is useless, I want to have the external antenna built into the case and hide the cable. I have large windows, so the GPS signal is sufficient. This is version 6. I have to use double-sided tape, but this version has the option of using screws. There is added .stl with mouse ears to increase corners adhesion with the bed. Required: 1x M3x8mm bolt; 1x M2x8mm bolt; 1x double sided tape or 2x M3 screws. **Check if the selected location has sufficient GPS signal level.** Assembly instructions: 1. Push the GPS antenna cable through the antenna cable hole and back into the middle section. 2. Wrap the wire towards the center and then the second layer from the center outwards. 3. Pass the USB cable through the hole from below. 4. Connect the GPS antenna cable and the USB cable to the M5. 5. Place M5 in the middle. 6. Screw in M3 and M2 screws. 7. Put double sided tape. 8. Stick to the wall. 9. Put the cap on.
With this file you will be able to print M5 stack holder for WeatherXM with your 3D printer. Click on the button and save the file on your computer to work, edit or customize your design. You can also find more 3D designs for printers on M5 stack holder for WeatherXM.