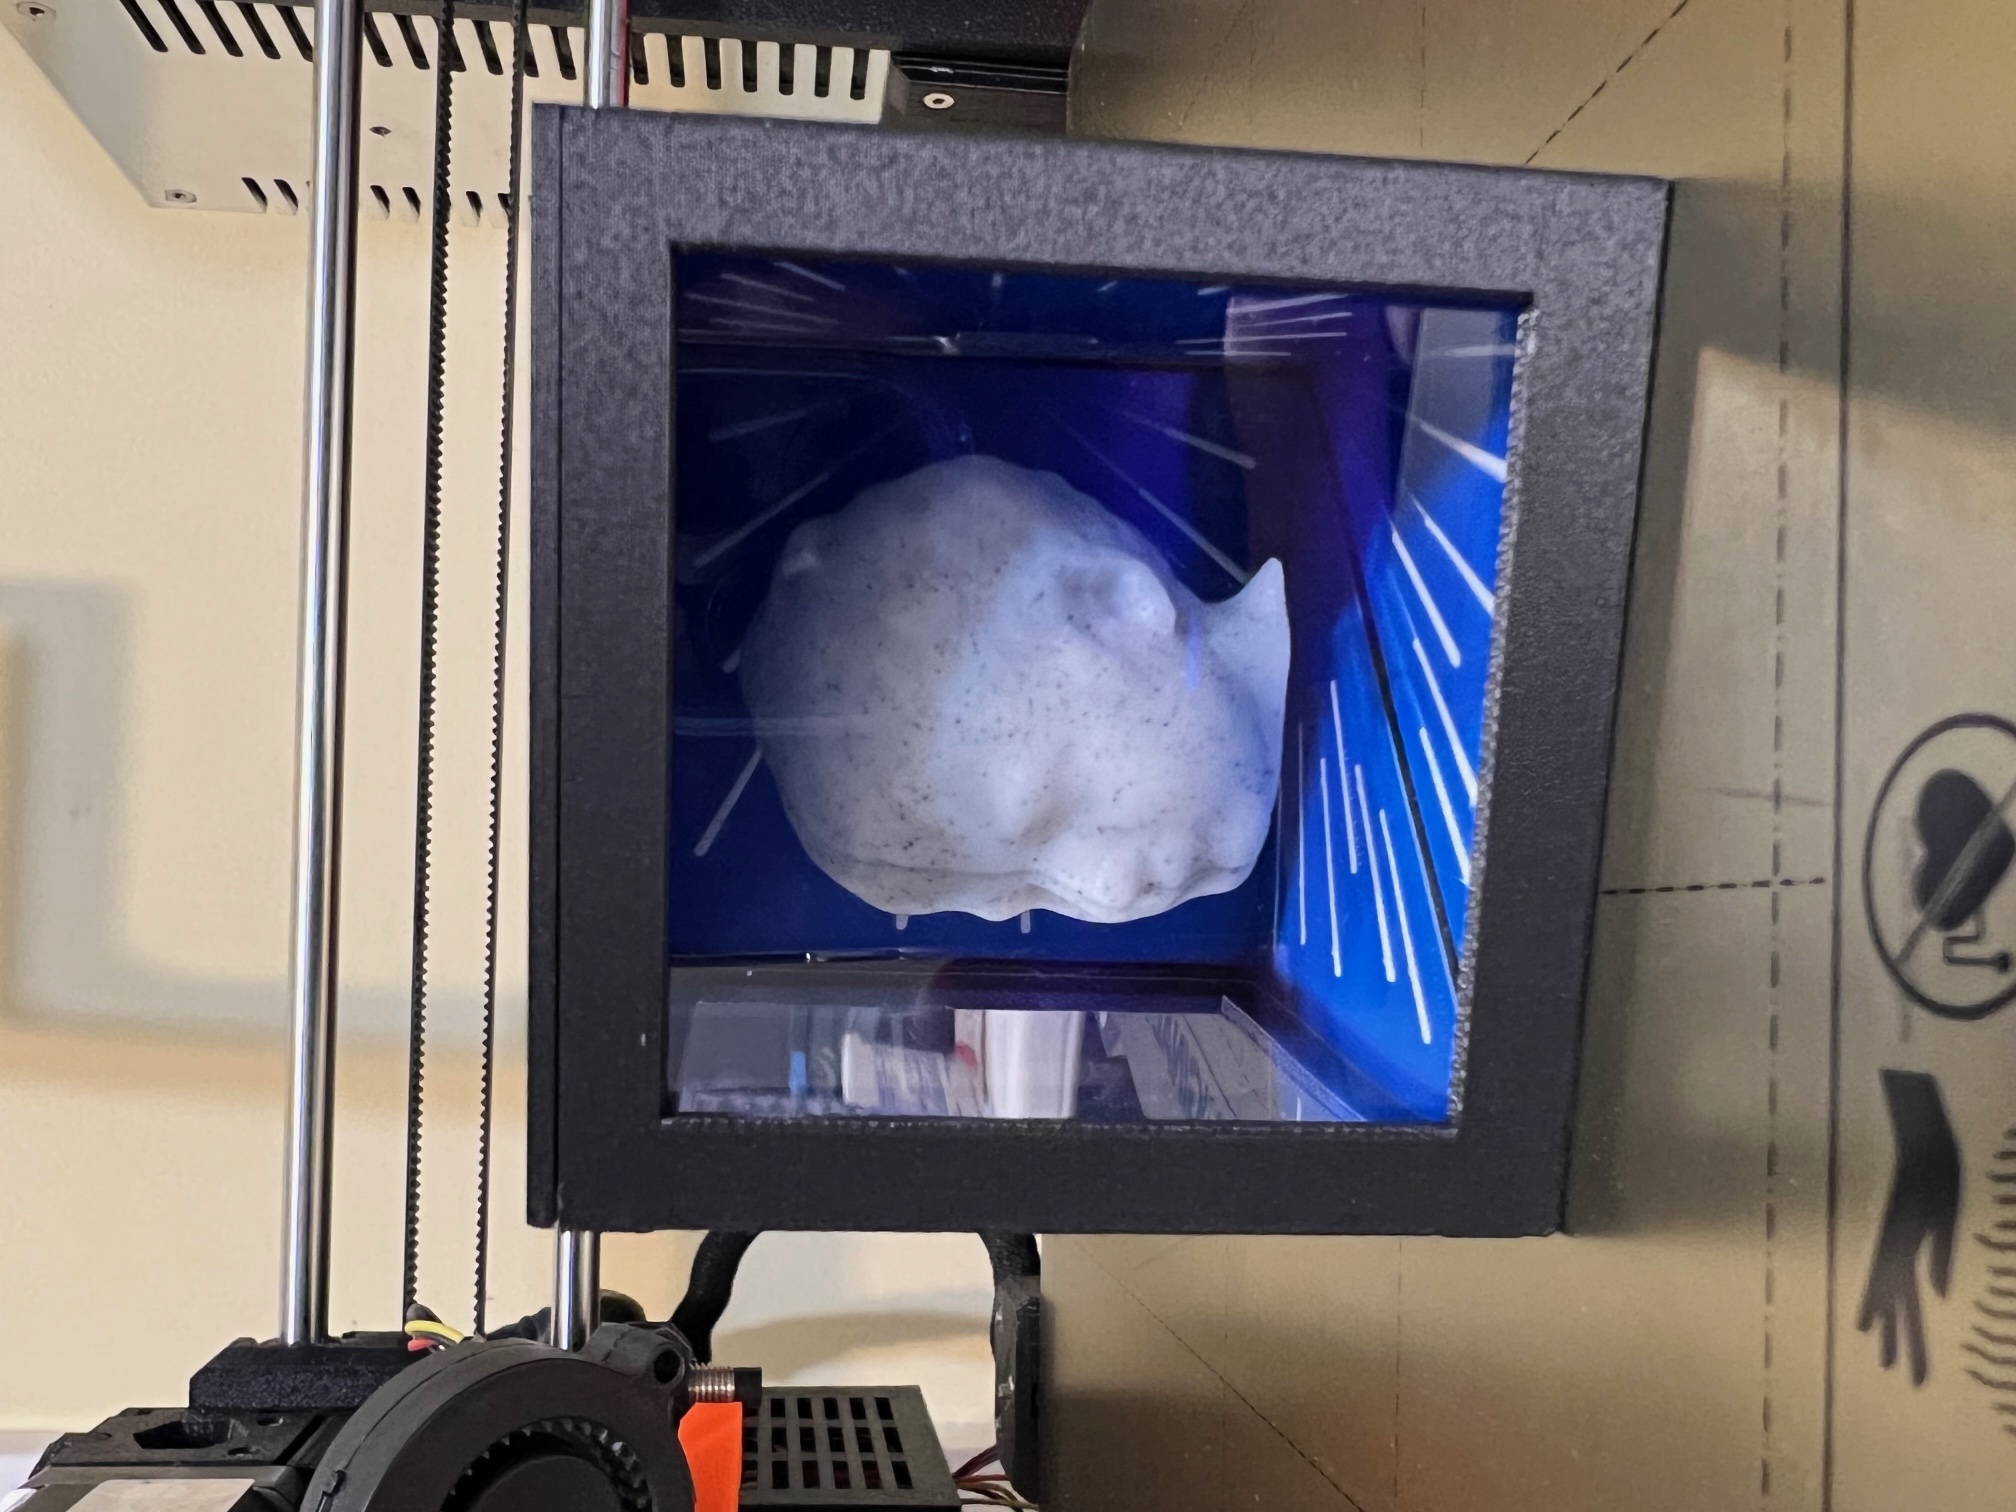
Magic Box
prusaprinters
<figure class="media"><oembed url="https://youtu.be/FPk5Oagb4Rg"></oembed></figure><p>Inspired by a 1996 Taco Bell Star Wars toy, with a Darth Vader head on one side, and Yoda on the other.</p><p>Replace with your own items to transform.</p><h4>Print Instructions</h4><p>Box printed at 0.2mm layer height. Sculptures printed at 0.12mm layer height. Project is designed for 0.4mm nozzle, but you can try a smaller nozzle on the Star sections to get finer detail.</p><p>Main Box part printed with supports (everywhere). Top of window frames need supports to look their best. No other supports needed.</p><p>Box and lid printed in Polyterra “Charcoal Black” PLA. Sky parts printed in Blue PLA, and Stars printed in White PLA. Try some other colors.</p><p>You must print any sculptures flat on the bed so that they fit flat against the mirror with a minimal seam.</p><p>I printed my sculptures at 42mm tall, but you can size as desired. See sample models of Ethan and his brother. I printed the models in marble PLA, but I recently discovered Printed Solid's Design White, which is an even better color and shows more detail. I cropped the sculptures just under the chin.</p><h4>Assembly Instructions</h4><p>Insert stars into matching sky parts and glue together. Then glue combined parts into cube, as seen in photos.</p><p>Glue bottom sky and stars in first, with stars shooting from back corner to front. Be careful not to cover bottom mirror slot. Lid sky and stars go on bottom of lid. Wall sky and stars shoot outward and go just behind window retainer. </p><p>Acrylic cutting tips: Measure and mark with a sharpie. Drawing on the acrylic is fine because you will be drawing on the protective film, which will be removed later. Score one side of acrylic with box cutter or acrylic scoring tool. Once score, snap acrylic, then cut protective film on opposite side to complete cut. 0.8mm acrylic is thin enough to trim up edges with a sharp pair of scissors if you need to make fine adjustments.</p><p>Cut Windows from 0.8mm thick acrylic sheets 57mm x 57mm. Trim as needed to fit then peel protective film. You need two windows.</p><p>Cut Mirror section from 0.8mm thick acrylic sheet 58mm x 81mm (mirror sheet will be applied to this later). Trim as needed to fit then peel protective film.</p><p>Insert windows then mirror acrylic to test fitting.</p><p>Apply self-adhesive mirror sheets to mirror acrylic. Apply one side of mirror sheet, then trim. Apply second side, then trim. Finally, peel protective film from both sides of mirror sheet.</p><p>Glue sculptures in desired position on the mirror (align eyes for best effect), insert mirror, then attach lid. Spay tack/adhesive works great to mount the heads because if you get the head in the wrong spot, you can remove and readjust.</p><h4>Supplies</h4><p>0.8mm acrylic sheets<br>https://www.amazon.com/dp/B08HL9K9FG/?coliid=I1PFFRCOMB9HC9&colid=200UUHK6LPX7F&psc=1&tag=prepperruss-20</p><p>Self-adhesive mirror sheets<br><a href="https://www.amazon.com/gp/product/B097N5W5X7/&tag=prepperruss-20">https://www.amazon.com/gp/product/B097N5W5X7/&tag=prepperruss-20</a></p><p>Sculptures were scanned with <a href="https://em3dscanningapp.com/">EM3D</a> iPhone app.</p><p> </p>
With this file you will be able to print Magic Box with your 3D printer. Click on the button and save the file on your computer to work, edit or customize your design. You can also find more 3D designs for printers on Magic Box.
