Maglite Switch Bump Tool
thingiverse
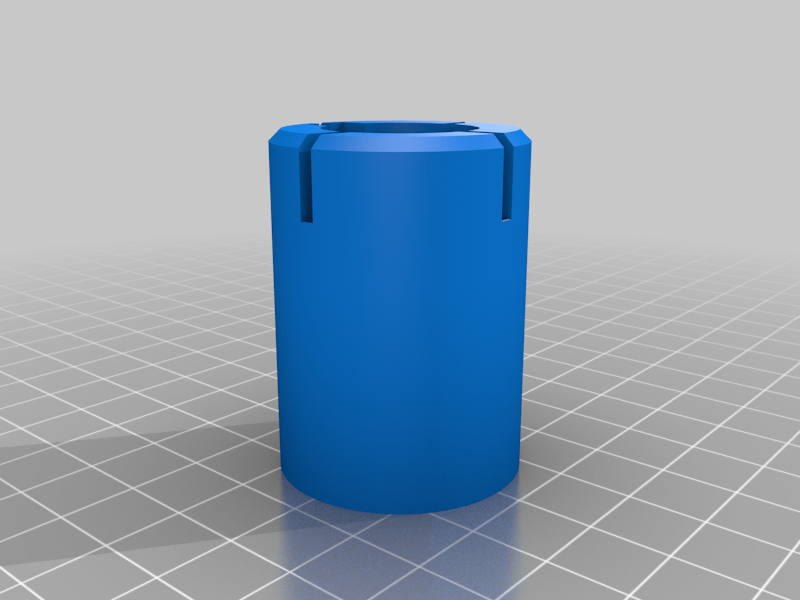
Here's the problem with Maglites: they last a lifetime - contrary to the batteries you put into them. As i recently discovered, cheapo D-cell batteries definitely have a lifetime much shorter than Maglites. Not 25 years (which is roughly how long i have my Maglite already), and probably also not 10 years (which is how long ago i last used it). I'm unsure about their actual lifetime, but i guess if i had replaced the batteries in my Maglite 6D those 10 years ago, i wouldn't have had the issue i'm facing now: at least 3, but probably 5 of the D-cells have expanded and leaked, causing some serious corrosion inside the tube, so now they've glued themselves to the inner wall and are totally stuck. I was able to tap the first battery with a woodscrew (and with the help of citric acid to dissolve some of the corrosion, then some WD40 for good measure) and pull it out - and then i was stuck with (probably) 5 more that i couldn't even get to, as then next battery was already too deep inside the tube for any screws or drills i have at hand, and in the front there's the switch assembly that can only be removed after all batteries in front of it have been removed. Or so i thought. So after searching around, i learned that you actually can get the switch assembly out the front, which would allow me to apply some violence from both sides (my favorite kind of violence). Unfortunately i was not able to pull the snap ring / retention clip in front of the switch assembly out, as the lip on the switch assembly was keeping the snap ring locked in place, and i couldn't push the switch assembly back far enough to (or: at all) to allow the snap ring to be pulled out from its groove. I read from other people that they just used whatever tools they had at their disposal to clobber the poor switch assembly into submission (or into pieces), but i thought there must be a more elegant solution to apply some evenly distributed force just to the base of the tower (where the bulb sits), as to not damage the tower itself... and a quick 15 minutes in Fusion 360 later, the "Maglite Switch Bump Tool" was ready! It features cut-outs for the 4 fins at the base of the tower, and a groove for the little focus nub on the side of the tower (no idea what it's actually called). Just slide it over the tower, making sure to align aforementioned groove with the nub, then break out your favorite mallet and get busy. Oh, you should also make sure to **loosen the grub screw** inside the actual switch, otherwise you'll only be fighting against that - at least until it breaks. I was able to break my switch assembly free just enough to slide a dental pick (the curved one that looks like a question mark) under the snap ring, then used a thin flat screwdriver to wedge it out of the groove while levering it up a bit with the dental pick. Not on the first try, though, and also not on the half dozen that followed. But eventually it worked, and with a bit of fishing line and some needle nose pliers i was able to pull the snap ring out. Added bonus: while clobbering away at the Maglite Switch Bump Tool (sorry, i had to make sure you still remember the name), the front-most battery also broke free and slid out along with the switch assembly. Oh well, only 4 more to go...
With this file you will be able to print Maglite Switch Bump Tool with your 3D printer. Click on the button and save the file on your computer to work, edit or customize your design. You can also find more 3D designs for printers on Maglite Switch Bump Tool.