Magnet assembly for bicycle light
thingiverse
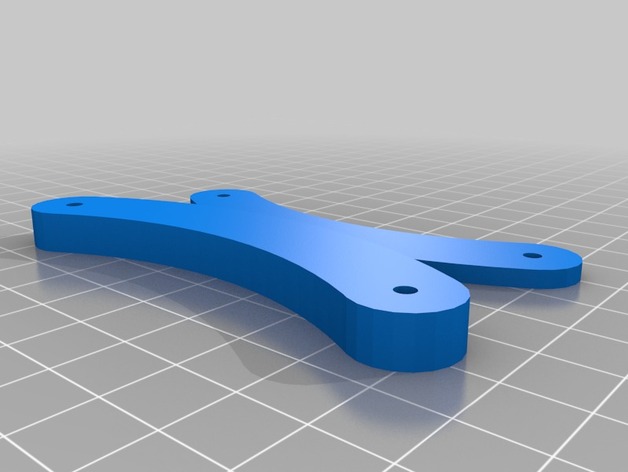
I have used the Reelight LED bicycle lights for several years. The first set of magnets rusted away. Luckily I had a couple of magnets. The two arcs are supposed to bend around the wheel spokes, and the magnets are placed inside the hollow cavity during printing. See Instructions. Instructions You must insert the magnets during printing. Hit the PAUSE button. Get the current position with M114. Retract filament and move extruder away with a G1. Carefully insert the magnets. Move extruder back at wind filament forward with a G1 and the XYZ position from step 2. Resume printing. You might need to reheat it to soften the plastic, so you can bend it.
With this file you will be able to print Magnet assembly for bicycle light with your 3D printer. Click on the button and save the file on your computer to work, edit or customize your design. You can also find more 3D designs for printers on Magnet assembly for bicycle light.