Magnetic addition to Hex Bit Driver Shaft Handle
prusaprinters
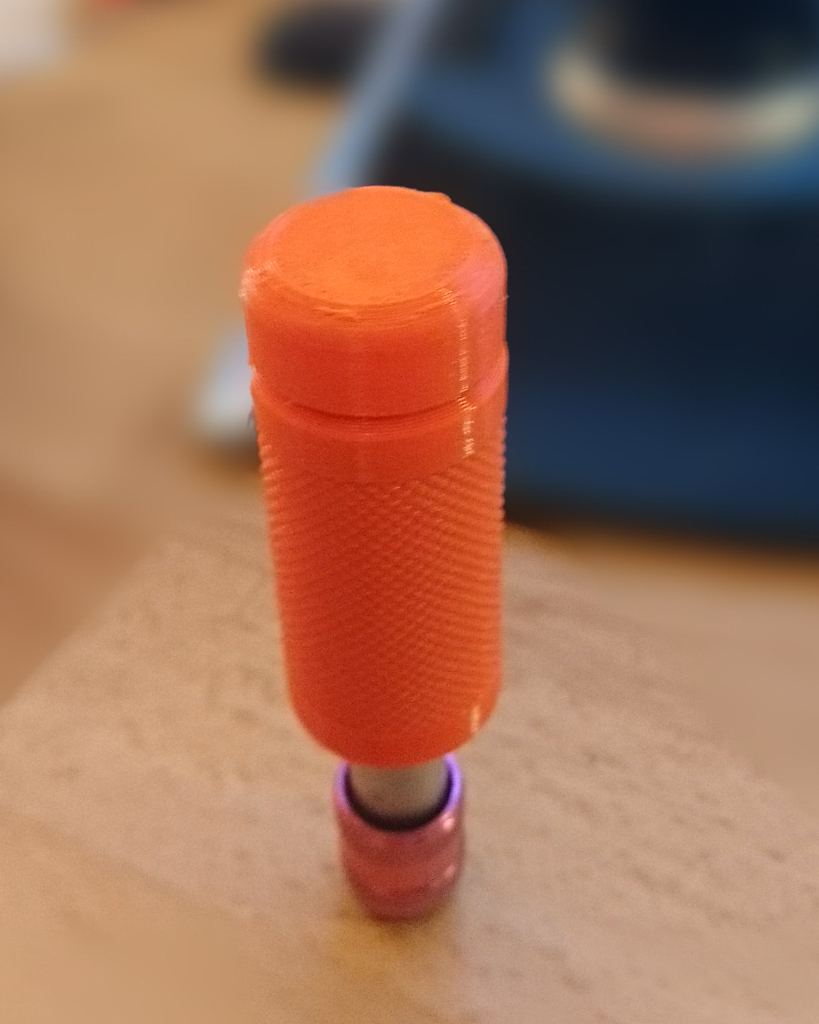
<p>You have to print the original “hex bit handle” and this thingy. Use print instructions from there for both parts.<br>I printed both in prusa orange PETG.</p><p>After printing superglue a neodym magnet (6mm diameter, min. 2mm thick) onto the shaft. Then put the shaft into the main part, but do not slide it fully in. (If it is to tight, use a file to widen the hex hole of the main part.) While it is not fully down, put some superglue between the 2 parts. Try to use less glue and try to apply it more in the middle. Remove glue asap if it drips out. I used a clamp to press both parts together.</p><p> </p><p>I use this handle nearly every day. With hex drill bits I can use it as a tiny hand drill to … (e.g. to widen holes in prints)</p><p> </p><p><strong>additional notes</strong></p><p>I'm interested in your feedback to improve my stuff! So give me likes, post makes, comment and rate the print to show others and me how well it goes.<br>If you post a make, let me know which filament you use.</p><p>If you want to support me by donating a coffee go to https://ko-fi.com/antimaterie I would real<strong>l</strong>y happy about it. The money will be invested in all stuff regarding 3d printing to give more and better quality models.</p><p>In general my Prints are not for commercial use, but if you a print farm owner and want to sell some of my stuff, please contact me.</p><p>Hope you enjoy my models.</p>
With this file you will be able to print Magnetic addition to Hex Bit Driver Shaft Handle with your 3D printer. Click on the button and save the file on your computer to work, edit or customize your design. You can also find more 3D designs for printers on Magnetic addition to Hex Bit Driver Shaft Handle.