Magnetic base for dial gauge - 3D Printer Calibration
thingiverse
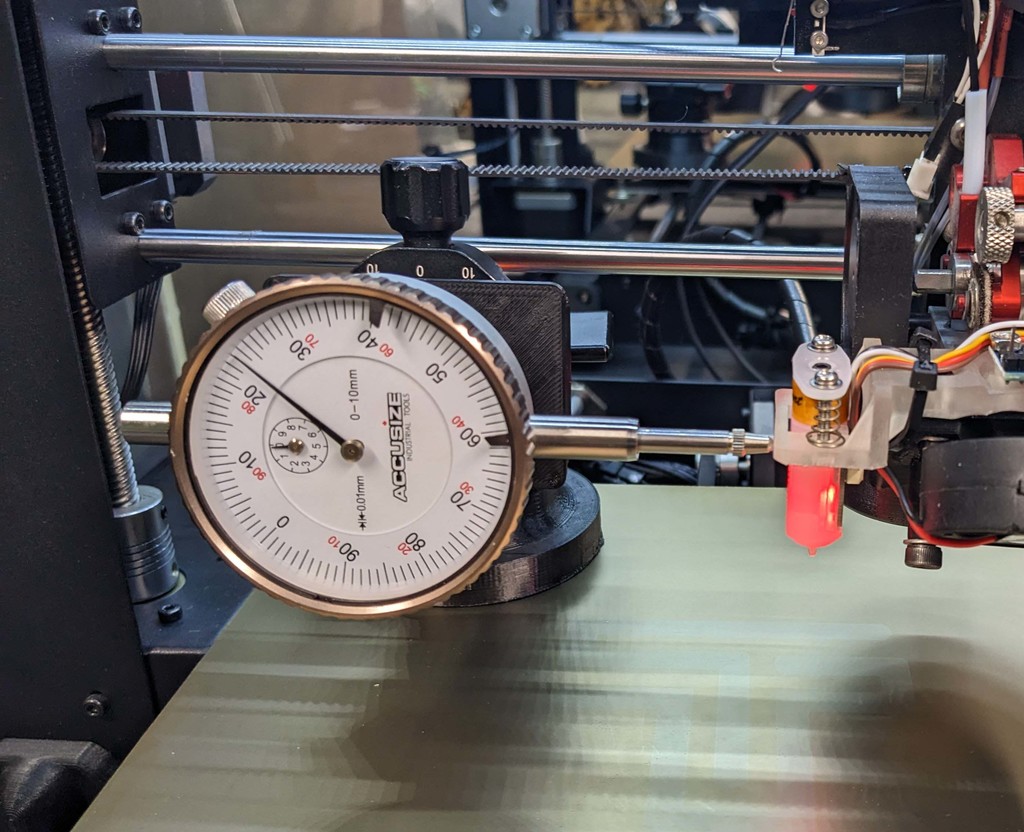
I used a Arca Swiss ball head to manage the gauge orientation. Use 1/4 inch screw to fix the magnetic base plate. You can use 8x3mm or 20x3mm magnet or both to be glued on the bottom of the base plate. I've put a light coat of liquid electrical tape to cover the bottom of the base plate to prevent slipping.
Download Model from thingiverse
With this file you will be able to print Magnetic base for dial gauge - 3D Printer Calibration with your 3D printer. Click on the button and save the file on your computer to work, edit or customize your design. You can also find more 3D designs for printers on Magnetic base for dial gauge - 3D Printer Calibration.