Magnetic dial indicator mount for i3 Plus
thingiverse
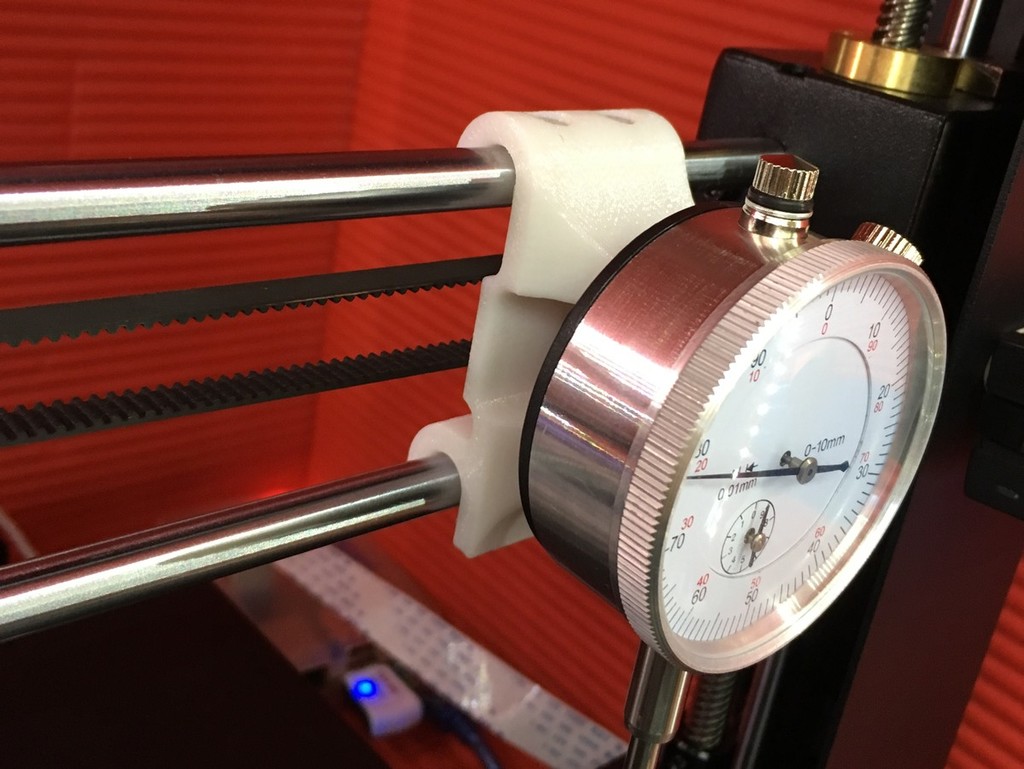
This is a dial test indicator mount that uses magnets to produce a consistent down-force on the rod. Together with the width of the mount, this means that the dial indicator is always held flat against the rods, and you can lift the indicator's spindle without affecting the alignment of the set-up. This mount fits onto the X-axis rods of the i3 family of printers, assuming that the rods are 8 mm OD and 45 mm apart. I use a dial indicator for tramming the Z axis and leveling the bed. ### Parts needed - 1× dial test indicator. - 1× `Dial indicator holder.stl`. If your dial indicator has a straight tab ~18 mm wide, use the `holder (analog)`. If your dial indicator has a tapered tab that is ~17 mm at the base, use the `holder (digital)`. - 1× 1/4-20 UNC screw, 25 mm long. - 1× 1/4-20 nut. - 2× 6×2 mm neodymium magnet. ### Assembly 1. Attach the dial indicator to the printed mount with the screw and nut. 2. Hang the mount on your X axis rods. 3. Place one of the magnets on top of a magnet hole above the top rod. It will snap to the correct polarity. 4. Remove the mount + magnet from the printer together. Hammer the magnet into the hole. 5. Repeat for the second magnet.
With this file you will be able to print Magnetic dial indicator mount for i3 Plus with your 3D printer. Click on the button and save the file on your computer to work, edit or customize your design. You can also find more 3D designs for printers on Magnetic dial indicator mount for i3 Plus.